Wednesday, January 30, 2019

TWO FLAGS ONE NATION (ACW) Action at Mill Creek Introductory Scenario PART I

Thanks to Jonathan and Norm for schooling me in the latest version of TF-ON otherwise I'd still be playing a a dated copy of the rules!

I had a few minutes after work today to try out Norm's latest & greatest version of "Two Flags - One Nation" his excellent ACW rules.  (download available in the link section on the right hand portion of this blog)

 I played the introductory scenario "Action at Mill Creek" which is located in the back of the rules.  Norm was nice enough to provide 2 x scenarios, first being Mill Creek, and second being a personal favorite of mine, McPherson's Ridge from the Battle of Gettysburg.  I played Mill Creek because I have just enough Regiments for the battle and most of the terrain needed was already out.

The Rebels' mission is to evict the Union from the field and especially the heights on the other side of Mill Creek.

Schenk's Division, with Porter's 1st Brigade and Richardson's 2nd Brigade on the table, astride the road.  3rd Brigade under Keyes is marching swiftly to arrive!
 The Union starts with 2 Brigades on the field and another marching to arrive as reinforcements.  The Rebels begin with all of their force, 8 full Brigades in all with divisional artillery. 

Brigadier General Holmes' Louisiana Brigade occupies the Rebel flank.  They'd march in lockstep with the 1st Brigade to their left and assault the heights on the opposite bank of Mill Creek.

Porter's Brigade upper right, with Richardson's Brigade low-center.  The Artillery Battery is from the 1st Ohio Artillery.

Richardson sees the fight heating up with the 7th Ohio so he attaches himself to that unit.  The 7th Indiana, Zouaves in dress only, are on their right.

The Rebels come on quickly wherever the terrain allows.  

End of Turn 1

3rd Brigade surges forward


The Rebels are massing at Mill Creek
The game flows very smooth - much smoother than the first time I played.  The action is developing nicely with the Yankees firing their artillery as the Rebels come on.  The whole thing plays out like something from a history book as terrain hampers some of the Rebel Regiments.  Others find themselves quickly getting into trouble.  The Union gunners train their guns on the 13th Virginia Infantry and it starts to accumulate casualties.

RANDOM EVENTS!  Beginning of turn 2, the Union play the confused orders result on the 52nd Virginia and they fall back along with the Brigade commander.

Union guns pound the Rebels as they come on.  Even amidst rough casualties, the tide and momentum of the Rebel assault probably can't be stopped!

Here they come, boys!  Pour it into them!
 The 13th Virginia takes more cannon fire and fails their capability test (as noted by the casualty marker and the strewn-about stands).  The Brigade commander gets a close shave from a shell but lives to tell about it.  Meanwhile the rebel cannonfire is ineffective this turn.


8th Ohio Artillery trains their guns on the 13th Virginia (straight ahead)

Note the Rebel 3rd Brigade on the far left.  They're about to cross Mill Creek and asaault the heights!

The Louisiana troops approach the creek under fire.


General Holmes attaches to the 6th Louisiana.  They're going to need all the help they can get making this crossing un


The Rebel 3rd Brigade splashes across Mill Creek amidst terrible fire.  The steep banks disorder them as they fail their capability tests (of note, they would also be quick to rally - rallying in that same turn with both Regiments).


Picture of the battlefield.  Note the top-center where the Rebels are crossing Mill Creek.  further to the south, they're making slower progress.  Good thing, too, because the entire Union 2nd Brigade are armed with smoothbore muskets.  The only units in this game to be so-armed!
 I played this incorrectly and launched the charge straight into the Union square, vrs from an adjacent square.  either way, it played fine.  The battle for the hills is about to be joined!


 Beginning of turn 4, the Rebels get an "up and at em, boys!" result on the random events table and will add a +2 to their pre-charge capability test.

General Holmes rallies his men and drives them forward to assault the Yankees on the ridgeline.  The 2 is a reminder of their charge capability test bonus.  I love this feature!

Meanwhile the Rebel assault on the left is starting to pick up steam.  The men of the 7th Indiana and 7th Ohio are in musket range now!

Holmes' Assault goes in!  The Rebels yell their ghoulish war cry and charge the hill, bayonets glistening in the sun!  They have a unit in support.  

They have 1 heavy casualty marker, but the Union pre-charge fire, while passing their cap test, is totally ineffective!  4 dice yielding no results!  They're going to take the full brunt of the Louisianians' charge!


Another unit, the 8th Louisiana, in support.


On the Union Right, the men of the 7th Indiana can see the whites of the rebel eyes now!  This is it, men!  

dramatic photo

Ohio Infantry of 1st Brigade fire on the Rebels as they cross Mill Creek.   The fight is about to heat up along the entire line!  Where the hell is General Schenk and the 3rd Brigade???


hard fighting!
I had to stop playing at the bottom of turn 4.  The Rebels are about to enter close combat with the Yankee troops atop the hill, and combat will break out along the entire line very soon.  

Wow what a great game so far!  I cannot wait to play the rest of the turns.  Without reinforcements, I'm not sure the Union will be able to hold out but you never know.  There have been many reversals of fortune already, between the Confederate artillery arrving late (failed capability test to carry out their unlimbering action) terrain slowing down the Rebels (confusion played against a Regiment) and other Rebel units failing to rally, you never know what will happen.  one thing is certain, it's a nail-biting Union defense of their position, and Two Flags-One Nation have been a great set of rules to fight it out with.

They have been simple enough for me to catch on quickly, and I love the ebb and flow of how the battle unfolds.  The random events also add some great uncertainty and period flavor.  I truly hope Norm gives the AWI and Napoleonic period the same treatment.  He has really captured the imagination with these rules and done his homework.  Stay tuned for Part II coming....soon?

Monday, January 28, 2019

TWO FLAGS ONE NATION (ACW) First Play Questions

It was inevitable that during my first play of Norm Smith's "TWO FLAGS-ONE NATION" ACW rules I would have some questions.  I wrote them down in my phone for easy reference later.  Unfortunately last night's blog post was hurriedly typed and I wanted to devote another blog post entirely to questions that arose from play.


The good news?  Well as it turns out, I was playing with the WRONG VERSION (dated) of the rules.  Since the version I was using, a newer version has come out that rectified some of my very questions!  Quite embarrassing for me - but great in the sense that some of my questions are no longer even relevant and another playtest is in order.

Anyways here goes.

Most of my questions, as you will see center around timing and when certain things are supposed to happen within the rules.  

1. The concept of the timed disorder really threw me for a loop and I got confused when multiple disorders piled up on top of another.  Disordered for 15 minutes, then another 10, and another 10.  When does the clock start?  Is it the turn it happens?  (say start tracking disorder at 10:18am?)  The moment it happens?  The next turn?  Also, if I get a disorder effect, and the turn ends up being longer than 15 minutes, are they automatically NOT disordered?  Or would I now still have to take a capability test?

I believe this was rectified with the elimination of the turn clock and the concept of timed disorders.  Now a unit is simply disordered upon failing the capability test, and must "rally" by passing a capability test.  I think?


2. My next question had to do with artillery status, and command.  How many actions are afforded to a battery in a turn?  So, if I start a turn unlimbered, I am assuming I would limber with a capability test (like a facing change) and afterwards, I would not be able to actually move until next turn?

Is the opposite true?  So if I start the turn limbered, I could technically move, and unlimber in the same turn?  (although no firing).

Also, are batteries attached to brigades in the beginning of the game?  And if so, must they be in command?  From reading the rules I feel as if they do not need to be "in command" although I tried playing them that way anyways (the battery was attached to 1st Brigade on the Union left).

3. I believe the Division Command stand does NOT afford a unit "in command" status.  I am quite certain the rules mention this specifically but I thought I'd ask.

4. Do all disordered units have to take a capability test at their next available opportunity?

Norm specifically asked about squares and I must admit I did not have any trouble with the squares vrs hexes.  The artillery was in a square there part of its fire arc was obscured by woods to their front-right, meaning their shooting was confined to straight ahead and to their left, however I did not have any issues with firing.  I will say however that this was a very straightforward battlefield, not quite so complex as some battlefields I've set up.
squares marked by flocked pennies

I used Norm's advice for playing Tigers at Minsk with squares (fire arc is 3 squares wide immediately in front of the firing unit's square) and I thought it worked out very well.  I did allow diagonal movement and firing, as long as there was Line of Sight that existed from firer to target.  The LOS rules using squares is very restrictive - even if the line clips the tiny corner of the square with cover in it, then it (LOS) may not pass through the square at all.  Having these restrictions in place also sped up game play.

So there you have it - a really interesting and fun game that produces many decisions on the part of the commander.  I will play TFON again soon, especially while it's fresh in my head.  The more I play it, the more keen I am on playing EAGLES AT QUATRE BRAS for a large scenario like Aspern-Essling.

Sunday, January 27, 2019

TWO FLAGS ONE NATION (ACW) First Play!

Apologies for my absence of late - I've been sick and recuperating from it.  Today I had some precious quiet in the house and retired to the gaming bunker to finally play a game of Norm Smith's "Two Flags, One Nation" American Civil War rules [click].  As my readers know, I have always liked Norm's well thought-out, simple, and challenging rules including "Tigers at Minsk" WWII and "Eagles at Quatre Bras" Napoleonics.  His TFON rules have been rigorously playtested (Norm continues to play many games of TFON) and I have been wanting to try them for the last 2 years.

Well the wait is finally over as I threw a couple brigades of Union troops, and a single brigade of Confederate troops on the table today.  The year is 1863 (this matters for gameplay - I'll explain).  The Rebels must prevent the Union troops from breaking through and linking up with their comrades further down the pike.

2 Union Brigades of 3 Regiments each - they face 1 single Rebel Brgiad
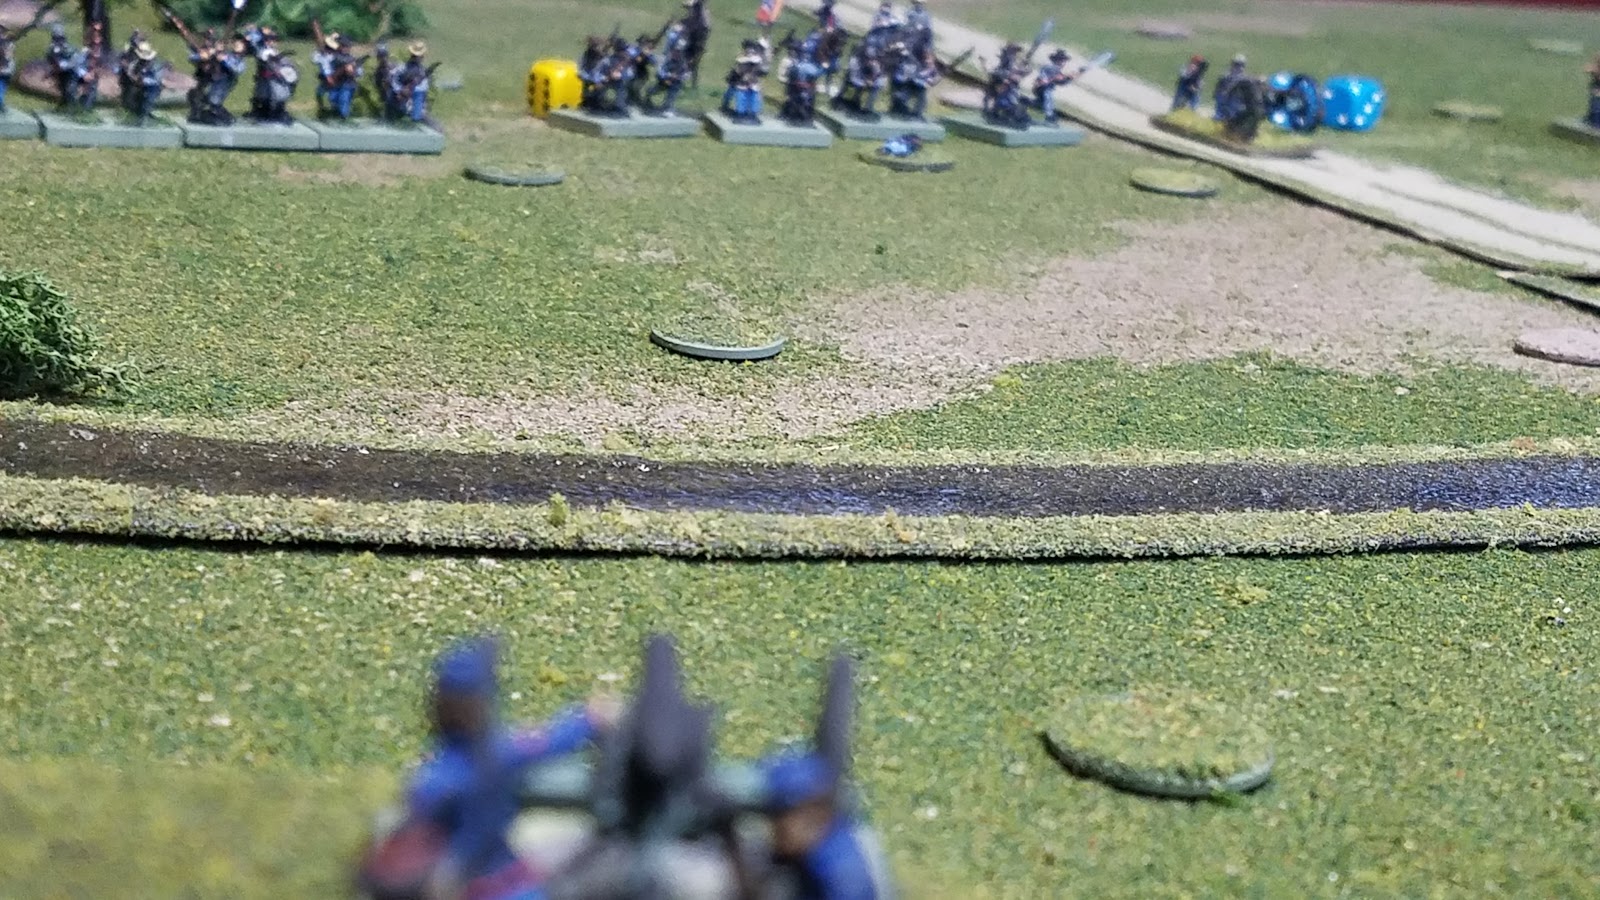
 All troops on the table are "seasoned" and all units save for 1 Rebel Regiment are armed with rifled-muskets.  I will note that Norm's rules TF-ON use hexes.  I have used squares here with flocked pennies marking the corners of the squares.  The effect works and the squares are unobtrusive and dont', in my opinion, detract from the action or the visual spectacle.
Rebel Regiment in the treeline.  These fellows are armed with smoothbores.  In Norm's rules, the armaments can be variable and fluctuate more with the year.  Early on in the war, more troops are armed or have the possibility to be armed with smoothbore muskets.

Union Divisional artillery and the Division Command stand.  Most of my ACW are a work in progress and need rebased badly!
 The rebels occupy key terrain astride the road, including a nice piece of forest that juts out and commands the approach.  The rebels have a battery of artillery to cover the road approach, and have placed a regiment of troops in the woodline, backed up by another fresh regiment who are supporting the lead regiment in the treeline.  In TFON, units offer support by being in command and directly behind.
Rebel officers survey the yankee approach march.  "The damn Yanks form well!"

 The Yankees approach their designated objectives on either side of the road.  The Rebels have left a single regiment on the left of the road behind some rough scrub terrain.  Their main effort is clearly weighted against the Union left where the approach is quickest and terrain is more conducive to a solid defense.

Yanks march right up to the woodline.


Union Brigade on the Union left facing off against a battery of guns and a Regiment of troops in the woodline.
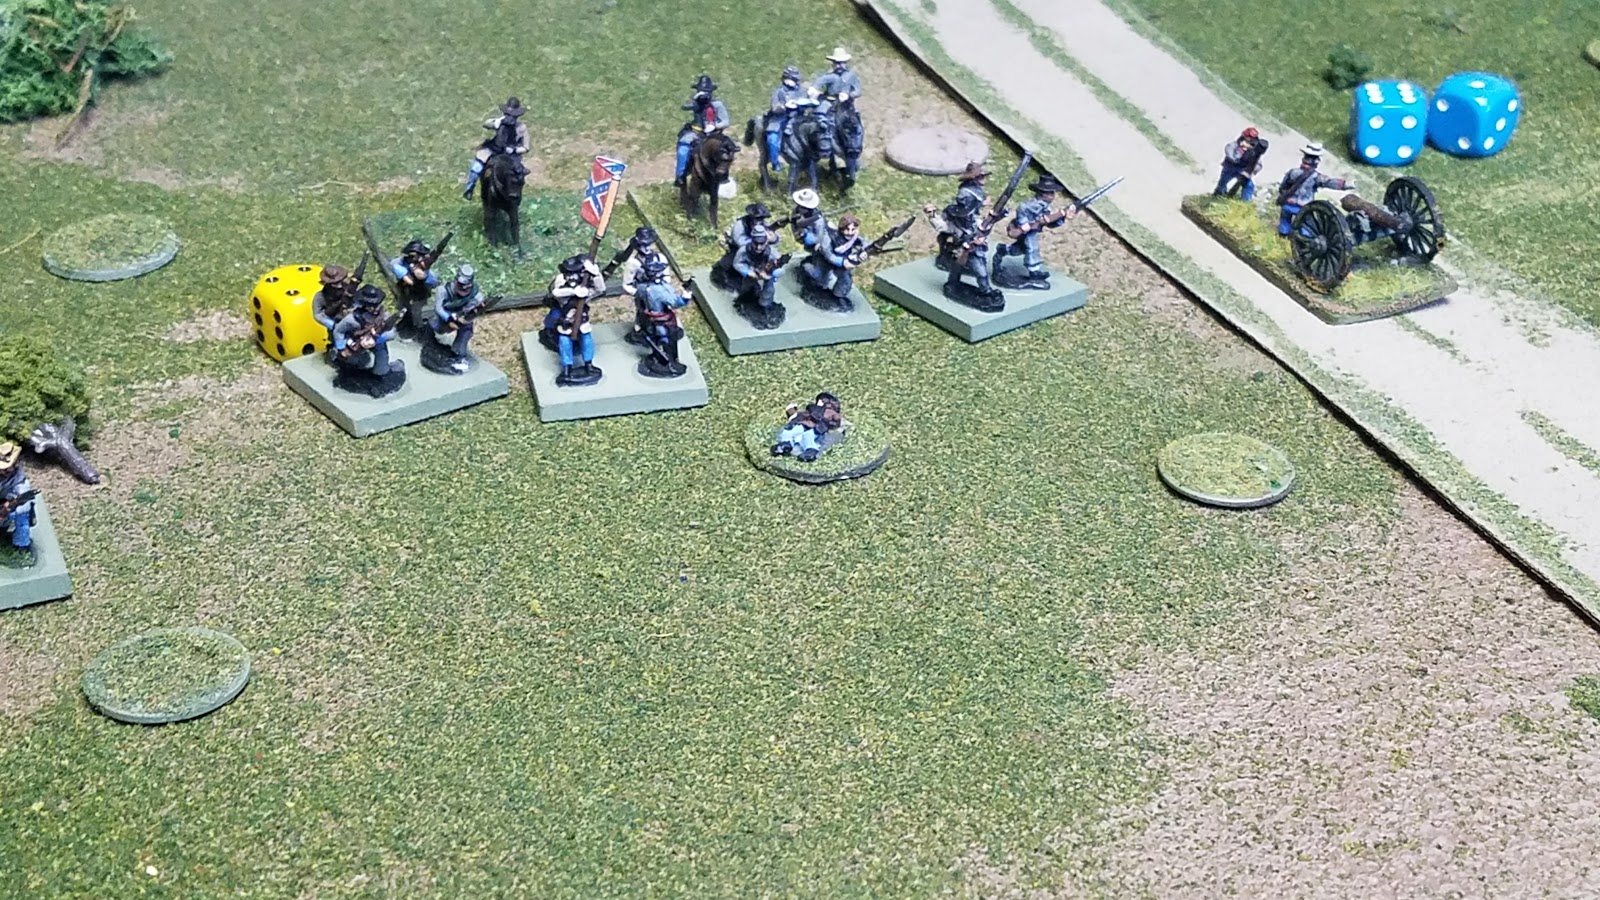
 The Union right sees much more success as the yankees send a flanking force to the rear of the Rebel Regiment in front of them.  They advance into the scrub and trade shots with the rebs in the cultivated field.
Regiment (left) is flanking the unit in the cropfield.
 The Rebel turn sees them hold their fire until the last possible moment to good effect - a Yankee Regiment is sent reeling back from casualties with 2 "hits" against them in the open.  They fail their capability test and retreat 1 square.  A hole in the Union line!  The Union regiment is disordered for 15 minutes.


It's now the end of the first turn.  I roll 2D6 + 8 giving me the result of "19".  The clock advances to 10:19am.  I'm playing until noon.  The Union brigade on the Union right has made good progress trying to flank the single Rebel Regiment to their front.  On the Union left, it's a much different story, and a single Rebel Regiment in the treeline and a single Rebel battery is holding up an entire Union brigade.

using my yellow dice to track the advance of time
The Union flanking maneuver on the right goes well, with 2 Regiments holding the Rebels while a third Regiment moves forward and flanks them, putting the Union in a perfect position to close assault the Rebels in their flank.

successful Union flanking maneuver


A Union unit in close combat with the Rebels earns paydirt with 3 hits - and a flanking bonus gives you extra dice!

The Union Regiment on the left charges home!  The flanking bonus gives even more dice to the attackers

The Rebel capability test forces them to retreat.  They retreat towards the main line next to the artillery battery.

They'll be disordered for 30 minutes.  Units take 8 hits before they break. 
 The next turn I roll random events and a Union Brigade commander is killed.  I randomly dice for the victim and it's the Union left (1st) Brigade, who have been having the worst luck for the whole battle so far.  Not only have they been standing in front of the Rebel battery, but the shooting from the smoothbore-armed Rebel regiment has been incredibly effective.

Casualties piling up with the yanks from the single Regiment in the treeline.

THey couldn't hit an elephant at this ....THWACK  In TFON, a new commander is appointmented next turn in the rally phase.  until then, the Union units of this brigade will remain disordered, without a commander.

The Rebel Regiment supporting behind the treeline moves up and closes the door on the Union 1st Brigade.  


The Rebels did an excellent job of keeping the Union 1st Brigade bottled up on the left.  Note the 2nd Brigade in the upper-center of the picture - their attack has been much more successful.

Better look at the attack by 2nd Brigade who pushed the Rebel Regiment out of the cropfield.


I ended up quitting the game after this but overall it was great fun.  I played through 4 total turns, ending at 1058am.  The Union had alot of options with the 2nd Brigade's breakthrough, and the appointment of another commander in 1st Brigade.  The Rebels, however, put in a fresh Regiment and their smoothbore-armed regiment who did such an outstanding job of holding off 1st Brigade only has 1 hit against them.

Lots of questions that I think I'll post in another blog post but I will definitely play TFON again soon.