Sunday, September 25, 2022

The Fight at Ulianovo: ENOUGH ALREADY!

 At what time does a blog post/topic become Spam?  I'll quietly let you be the judge of that and continue on with the latest developments at Ulianovo in 1943 during Operation Kutuzov!  

Start here if you're just tuning in.  The rest of you must suffer along with this topic as I develop the "perfect" scenario, originally based on the Skirmish Campaigns "Red Recon" scenario from the "Red Guards at Kursk" book.  I'm happy to report after game #7 (!) that we're getting close.

Saturday morning I was up with the chickens to try the whole thing out with Battlegroup: Kursk.  Surprisingly, a company-sized infantry-only force with heavy weapons (mortars and MGs) was still only about 350 points with a morale rating of 28/29.  I would play the game on and off throughout the day and it delivered all the flying-lead, mortar exploding action that Battlegroup offers.  

Did you ever wonder what a full Soviet Rifle Company looks like in Battlegroup: Kursk?  Now you know!

I did not thoroughly document the Battlegroup game because I was only playing to see how it would go and if the outcome would be any different than the 6 Flames of War games I had played previously. 

 Bottom Line - it wasn't - *however* the game was an intense nail biter that went all the way to the end.  The Soviets and the Germans were both 1 point away from their breakpoints and the Soviets drew a "4" ending the game in the Germans' favor.  The casualties were horrendous - at least 5 to 1 for every Soviet to German knocked out.  Sov's started with  a 3 x platoon company and the Germans a 2 x platoon company.  Both sides had mortars and heavy weapons.

Defense Line scenario - Germans in the first trench - pinned from the preliminary barrage!

Many turns later - the Soviets have gained the first trenchline and the Germans are reinforcing the second!

The defining characteristic of the Battlegroup game that makes it significantly different from FoW?  TIME!  Roughly the same number of infantry stands on the table equated to about 2 x more hours of game time.  You'll have that when you're shooting with individual figures and rolling for 1. observation, 2. to-hit, 3. save, and 4. morale!  Nothing against Battlegroup - it was a ton of fun, but it wasn't the convention game experience I was looking for yet.

Anyways later in the day I reset (Again!) and tried out ANOTHER formula for the Soviets.  I was using "expensive" troops IE Scouts and the Storm Group, which are the best quality units the Soviets have for the 1942-43 time period.  This time I tried a FULL Battalion of "Hero Rifle Companies" and a "Hero SMG" Company.  4 total companies of troops, with battalion command and mortars.  

Changing tactics again - STAVKA demanded a coordinated attack.  Note there are 3 companies abreast across the front line trace.

I made the mission a bit closer to the "No Retreat" mission in the FOW Rulebook (more on that later) and pushed the German positions back a bit further.  Once again, German platoons are quite large - 9 teams each, with 2 x HMG sections each.  THey also have mortars on the table.  A load of firepower.  

No no no, Comrade.  This time the assault will go differently!

THe Soviet plan is to overwhelm the German trenches from each side and flank the position.  The second German platoon is in reserve per the mission rules.  I like that as it gives the Russians a fighting chance before those trenches get filled in with people.

View from the German side.  Note the second trench line is not filled in.  German CP is in the far building on the right

Soviet attack down the middle is a sacrifice to soak up the Germans' fire.

Cool picture

Commissar!

The Soviet attack is making good progress.  The Germans are firing furiously into them, with the HMGs on the flanks, the riflemen are taking care of the Soviets in the center.  With 4 total companies on the table, there is no shortage of targets!

Soviet wave attacks moving out


Far left Soviet company - Commissar blown up my a mortar strike!

They're pinned now


The Germans did not receive their reinforcements until turn 3, which means they wouldn't engage until turn 4 or 5.  This helped the Soviets get as far as they did.  Flooding both flanks, along with a frontal attack was the turn call, as it turns out.  Both sides have an even 35 points, by the way.

Note the Soviets on the left swinging around to capture the white house.  The objectives are capture every house, or destroy the German command post.

Note the Soviet company in the middle of the field being slowly whittled down.  The horde advancing on the right, and left are still going strong.  Also the German second platoon is advancing in the lower left


Soviet right most company makes it as far as the white house.  Their luck is going to run out soon.


The reinforcing Germans are moving towards the imminent Soviet breakthrough at the white house.  It's important to mention that This is the furthest advance a Soviet company has been able to make from any of the 7 games I've played so far.

The shooting goes the Germans' way at the white house, and a brutal counter attack eventually wipes out the advancing Russians.  The white house is secure again.


On the Soviet left however the joint Rifle and SMG companies are continuing to advance even amidst being pinned then unpinning.  The fight is now heating up on the left!

Defensive Fire will force the rifles back and the German first platoon will eventually maneuver to knock out this Soviet company


The rifle company reaches the German CP with enough stands to launch an assault, which is beaten back by defensive fire twice!  The Germans annihilate the company over 2 more turns however it's been just enough time for the submachine gun company to slip past them and assault the house!  The flame throwers here have been very handy.  THe presence of the mortar platoon and battalion headquarters are enough to keep the battalion "in good spirits" and the assault goes in again!  Flamers knock out one of the German HQs stands!


Success!  The Soviets capture the HQs and destroy the Radio!  They're 2-5 for this series of games!

THOUGHTS

Well we're getting closer.  The 4 x company option of troops was much better for the Soviets than the expensive "Storm Group" which cant afford to take casualties.  The mortars were great, too, because they enabled the pinning of the first German platoon in the trenches, which had multiple mortar strikes against it go off because of the "REPEAT" rule.  This allowed the Soviet center company in the open to advance as far as it did.  Following the NO RETREAT mission in the rules, the Soviets also got a single minefield which was fun positioning the Red ARmy troopers around it so as not to blow themselves up. 

The German reinforcing platoon coming up later also was a nice touch and I think, rather than roll for it, just have it come in automatically on turn 3 giving the Russians a bit more of a fighting chance (not much, mind you, ALOT had to come together for those SMG'ers to destroy the HQs)

Adding an additional SMG company might throw the game off a bit too much.  The other option is to *actually* handicap the Germans at 7 x stand platoons with only a single HMG, or limit the entire force to 2 x HMGs and have them both start on the table.  This gives the Soviets a 4 x point advantage.

THis has been an incredibly fun and satisfying exercise, and I think I'm getting alot closer to a playable game where both sides could, reasonably win, even with the trenches.  I will also likely move the German defenses up a bit further where they were for the last 6 games.

We're looking at one or 2 more games of Ulianovo before I'm willing to call it done, but it's been a blast so far. 

A few more tweaks and I should be ready to publish this and playtest it with my group if they're willing to play. 

Also I'm much looking forward to trying the new Perry Bro's rules "Valour & Fortitude" (it kills me to write "valor" like that :) but after Norm's outstanding review, I'm not sure how I can afford NOT to play them.


Wednesday, September 21, 2022

The Fight at Ulianovo: Red Recon in Action TAKE 4!

Some priceless opportunities here and there to escape to the gaming bunker enabled me to reset the Ulianovo attack a few more times and try out some different tactics.  During today's battle, STAVKA wasn't playing around, dedicating a full Soviet Rifle Company and a battery of 122mm guns to take the position.  Will the heroes of the Motherland return successful from this mission?

A Soviet Rifle Company - not the "Hero" Rifle Company I was previously using of only 10 stands.  This unit is 24 stands backed up by HMGs and a Flame Thrower Section!

I told you I wasn't messing around this time!

Soviet 122mm Guns!

There are a number of tactical problems for the Soviets to solve here.  The Germans have less of a dilemma except where to put their copious machine gun teams.  Firstly, do you concentrate your force down a single flank?  The first game saw the Scouts wildly successful albeit completely on their own.

The second and third games saw some shifting of strategy, with the Soviets concentrating ALL units on the first trenchline, with an aim to then move to the second.  So far that has been the winning move, but more on that later.

This game I chose to use the Scout "Spearhead" rule allowing them a move prior to the game.  This mobility helps greatly by closing the distance to get to the objective, but traffic management is a huge problem stuffing all those Ivans into a small wood, you're bound to attract fire from the Germans.

Subtle Soviet Tactics...

German platoons back up to 9 stands each because I just cant help myself!

Anyways the attack moves through the woods but eventually the Soviet company has to align itself to attack and they start to move up heavy weapons.  This attracts alot of fire during the German turn.  This time, though, they're much harder to pin with the 24 stands!

My outstanding Soviet Scouts leading the way again!  Damn they look good!

The Soviet artillery scores a lucky "6" when ranging in on the first trench line.  The 122mm guns make short work of 3 stands (failed their saves).  This also pins the first trenchline.  We're looking good so far.

If I had cool artillery impact markers, you'd see them here now.

The Soviets start to arrange their lead company for an assault but given the odd angle they're attacking at, they can only make contact with so many German stands.  Perhaps they should have waited longer to assault the second trenchline?

Shooting is bad so the Soviets just go in with everything they've got.  The German defensive fire reached 24 dice (!) then I stopped counting.  Needless to say the initial assault is broken off.  


Overall situation.  Turn 5.  Soviets assaulting the German second trenchline.

The assault against the first trenchline goes a bit getter with the Germans breaking off.

The Soviet situation at end of turn 5.  What a mess!  And where is that flamethrower?  (red bead)

A Soviet HMG section that refused to die

The Soviets also move the Battalion Commander up to spot for the guns.  He moves close to the treeline (within 2 inches so he can see out).  The next disaster occurs during the next round of German shooting as the Battalion command and staff team are wiped out, dying tangled up in their field phone wire.

"Comrade Battalion Commander perhaps we should not set up so close to the Germans?"  "Shut up private!  I will make the Command Decisions here!"    Last words of Lieutenant Colonel Stepanovich

The death of the command group is the final straw.  The Soviet guns will have to spot for themselves against the second trench line and they'll move a whopping 4 inches per turn, taking 2 more turns to get into position.  I throw in the towel.

Final situation.  The Soviet company is scattered throughout the bottom-center of the pic

This has been a hugely fun experiment with Flames of War and historical scenarios but as you can see there is still some work to do to make this a workable, somewhat balanced force.  Points-wise, this is still an even game and "technically" anyone can win it.  With the addition of trenchlines, though, I'm not so sure that's the case and if anyone knows the answer about a "cost" for fortifications in FoW let me know).

Anyways I tried multiple approaches for this engagement with very interesting degrees of "success".

1. Indirect Approach.  Large force is a diversion, assaults down the left of the table and soaks up all the fire and attention while the scouts slip in the woods on the right and assault the command bunker.  Literally everything came together for the Scouts (bad German defensive fire, bad counterattack rolls etc) and the Sov's win the engagement through subtlety.  

2. Direct Approach. Same forces as #1, except they all follow behind the scouts.  The second assault goes VERY badly.  The Scouts are mercilessly cut down attempting their wide flanking option and the Hero Company is torn up at the woodline.  Germans reduced to 7 stands per platoon in this game instead of the 9 stands, and I honestly think they would have been fine with 5 stands per platoon...

3. Concentrated Attack.  Same Soviet Forces.  Reduced German forces as in #2.  This time the Soviets focused on the first trenchline instead of the victory conditions (the houses and the command post).  I know, that's not going to win the game but I wanted to see how it would go.  This turn out successfully with the Hero Rifle Company assaulting the trench from one side, and the scouts with the storm group attacking the other flank and the center.  They Soviets gained the first trenchline, and might have had the strength to assault the second trench but I got called away (!)  Might have to refight this one.

From Game 3, the Soviets gained control of the first trenchline

4. Concentrated Attack.  New (and more) Soviet Forces.  Full Strength German Forces.  Literally this blog post.  A massive Soviet company with artillery support and scouts.  The Germans back with their full complement of HMGs.  Traffic management and positioning was an issue in this game as the Soviets could not bring their numbers or assault equipment/firepower to bear.  A better option might have been to just continue south and take the buildings from the rear.  (hmmmm I might be on to something here....use a unit to soak up all the bullets while the second unit flanks the position and captures the buildings)

Thoughts
Again - a very fun exercise and a nice series of "practice" games for Flames of War.  While I'm super tempted to try this with Bolt Action or Crossfire or Battlegroup (Battlegroup would be a fun one to try) I really want to make this work with Flames of War, especially given all of the decisions you will have to make and the high stakes of a low-point game.  Neither side can afford to take huge risks, and the Soviets must commit to a single option of attack as there is not much room to alter the plan once it's in motion.

This isn't something you see often with large point FOW games as more units usually means a more forgiving game if you make a mistake.  With only a few units in your formation here, the stakes are extremely high.

There are a few more things I'd like to try (the deep flanking maneuver being one of them) and that includes increasing the number of Soviet units a bit (2 x Hero Rifle Companies) which is sort of what I did today, but they were all in the same unit of 20 stands.  This would give the Soviets 2 companies of 10 stands.  

I was also thinking about the trenches and considered replacing them with foxholes/fighting positions instead, which also give bulletproof cover, but once you move you lose it, as opposed to trenches which enable you to be "gone to ground" and "concealed" even when moving within them!  Trenches just might be "a bridge too far" for this scenario.

Probably keep the artillery support but reduce it to either 76mm guns or 82mm mortars as they are more mobile.  I'll reduce the Germans again to 7 stand platoons, but sadly, I dont think it will make much difference as those trenches are a tough nut to crack!  

Will we see a Round 5 for Ulianovo?  


Sunday, September 18, 2022

The Fight at Ulianovo: Red Recon in Action

I'll attempt to make the argument here that what the world needs more than ever are good WWII scenarios to game, rather than another set of WWII rules.  

I've been on the hunt lately for historical scenarios that I can use for Flames of War battles (or that I can shoe-horn for other rules), maybe with the aim of putting on a good convention game.

I like Flames of War alot for what it delivers.  What I do not like are the stylized, tournament styled scenarios in the rules, preferring historical scenarios using the Flames of War rules.  (and there ways to reconcile both, IE finding similar situations to the tournament scenarios from a historical battle and selecting similar forces - more on that another time).

The Battlefront website has a big collection of great historical scenarios but for this post, I'll explore another resource I tried out that I completely forgot about - the Skirmish Campaigns series.  Following the advice of world-class gaming hero Paul OG, many years ago I purchased "GrossDeutschland at Kursk" and "Red Guards at Kursk" Skirmish Campaigns books for use in developing Battlegroup: Kursk games.  I've been down this road before, and if you've been reading the blog long enough (11 years going) you might remember this post with Battlegroup: Kursk and a 15mm skirmish action.


I had an idea about using the scenarios from the Skirmish Campaigns books for use in Flames of War or Crossfire (or Battlegroup) battles enabling me to put a historical challenge on the table.  This post is about the planning and playtest for Scenario 1 in "Red Guards at Kursk" aptly named "Red Recon" and puts us at the jump-off point of Operation Kutuzov on 11 July 1943.


On the 11th of July 1943, the Soviet forces task organized under "Operation Kutuzov" began "small scale" attacks in preparation for the opening of the Soviet counter-offensive at Kursk on 12 July  The scenario pits a Soviet platoon against a dug-in understrength German platoon to capture multiple buildings at a crossroads or destroy the radio.  Clearly we're aiming for bigger games than that, but what about using the OOB in Skirmish Campaigns and "scaling up" - meaning a squad is a platoon or company?  That's exactly what I did.  Instead of destroying the radio, Soviets had to destroy the Command Post with the Grenadier Company HQs, which also houses the radio.

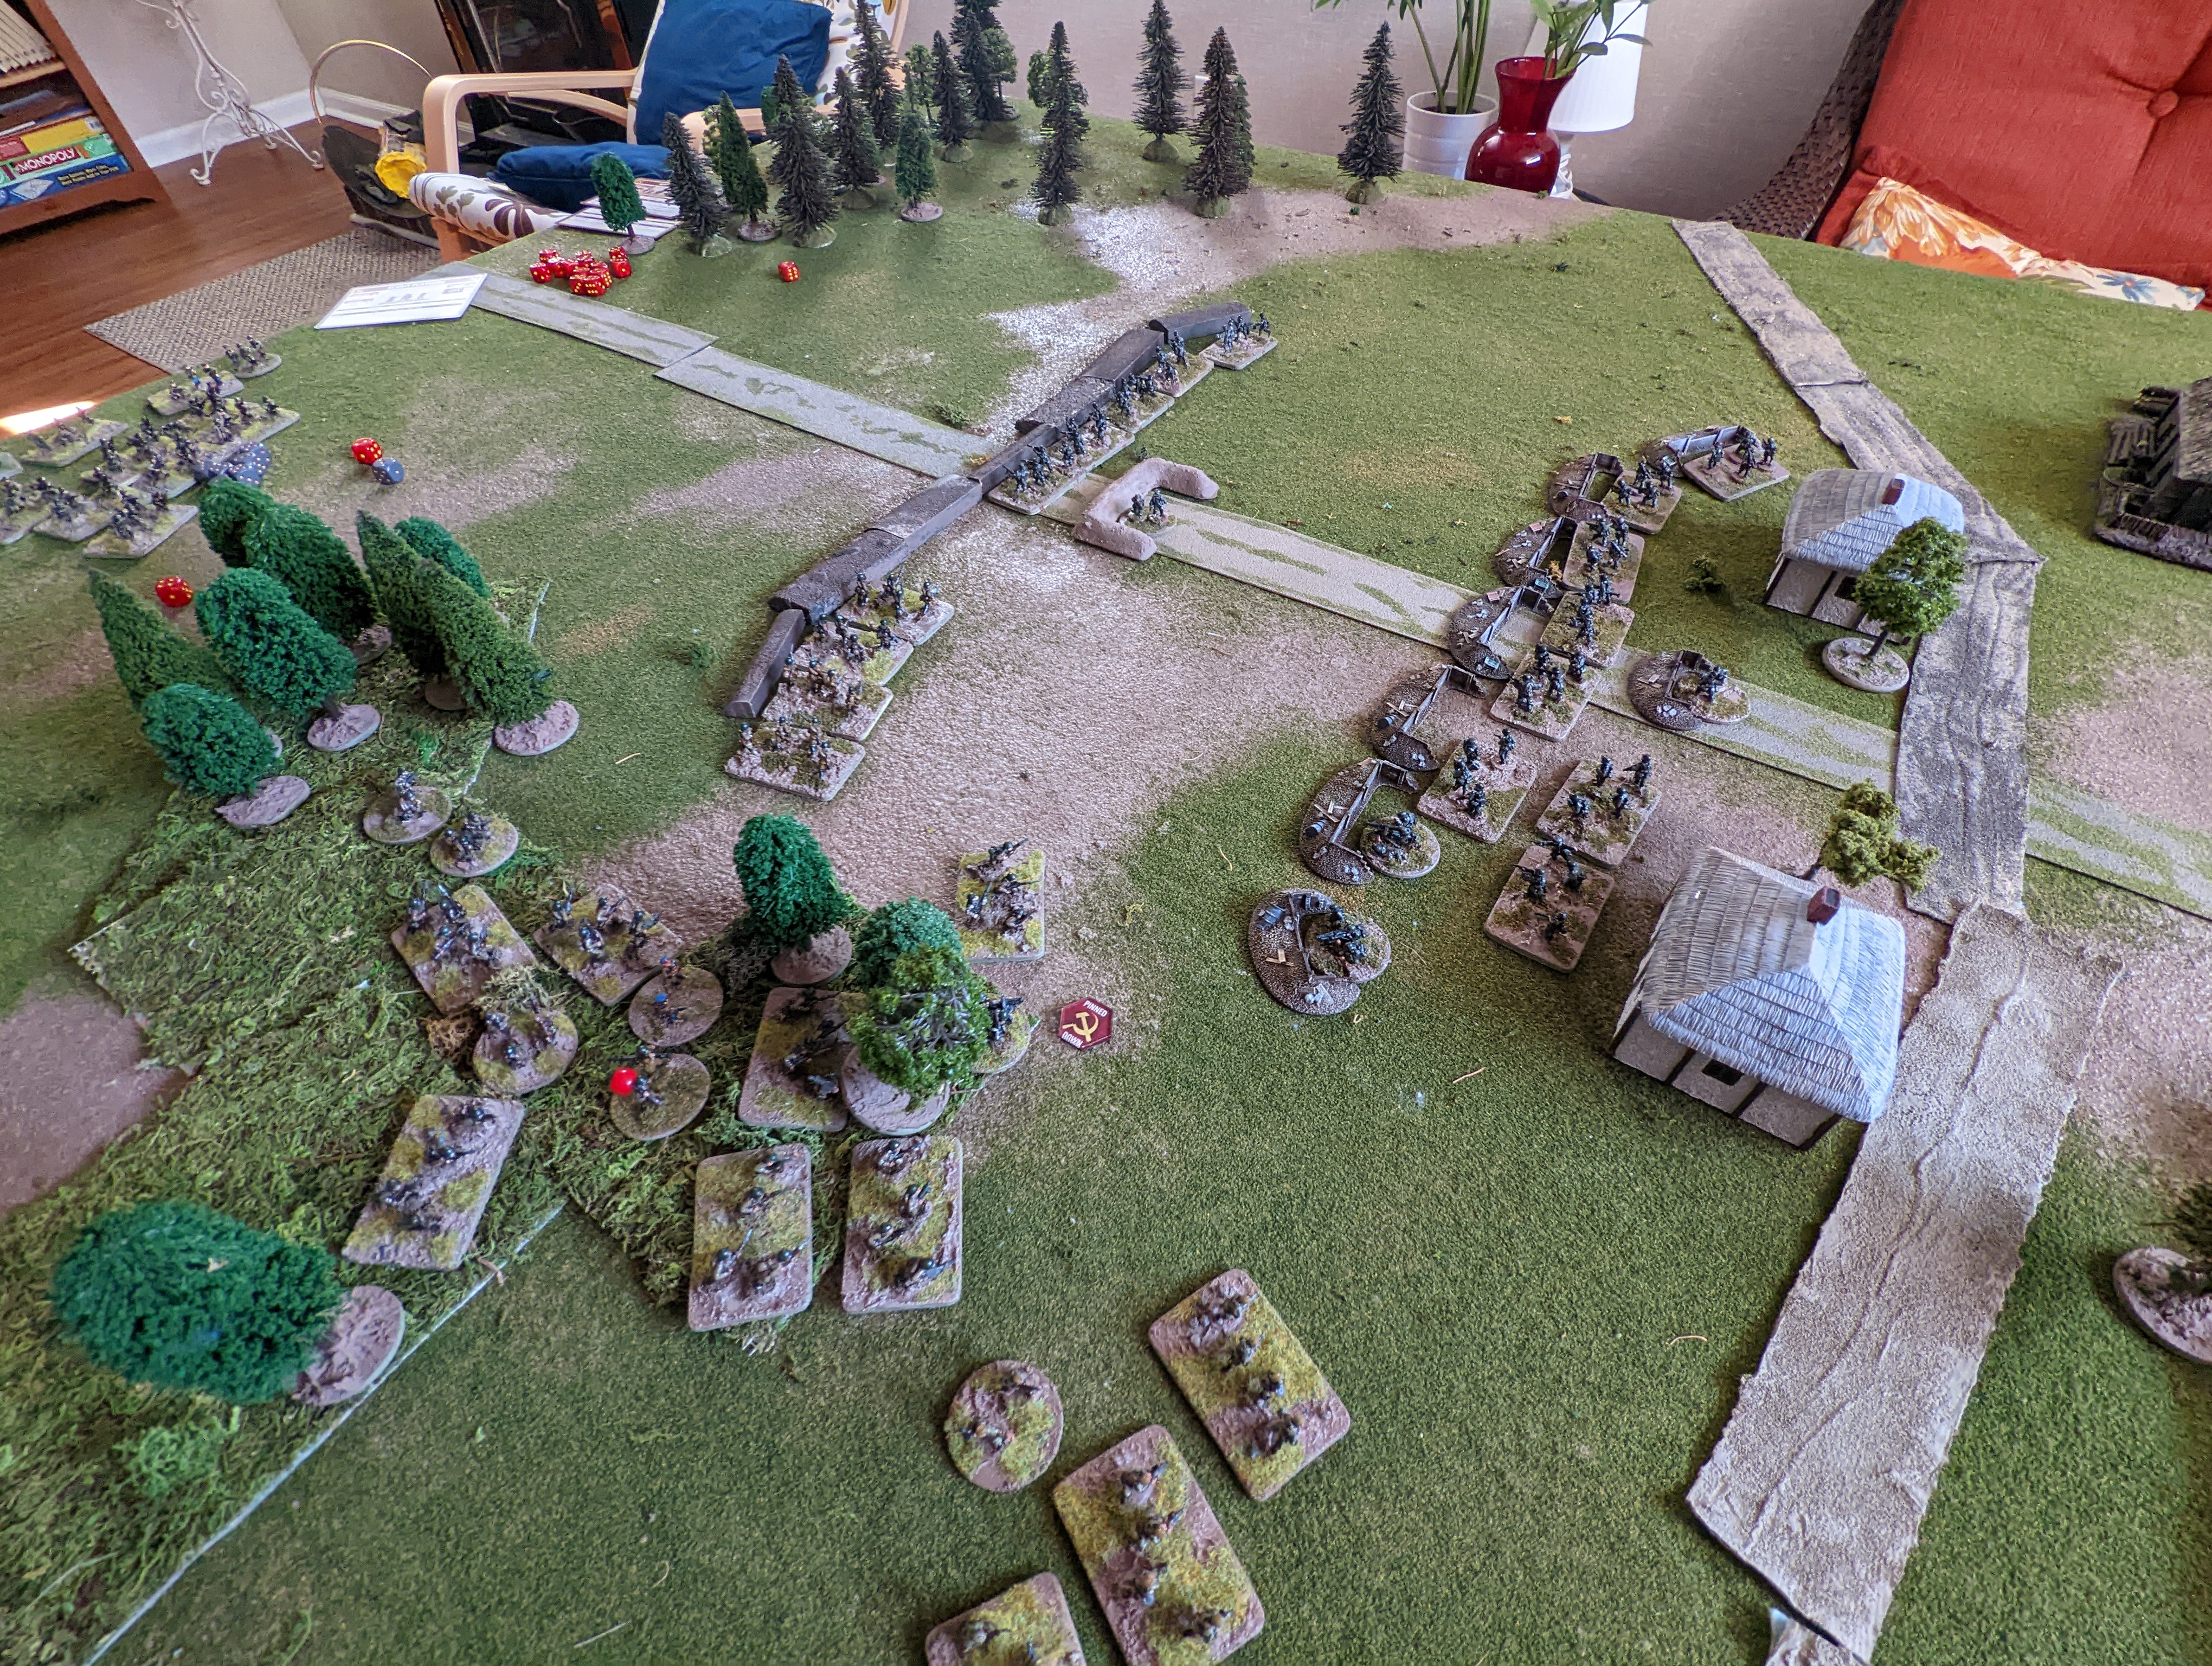
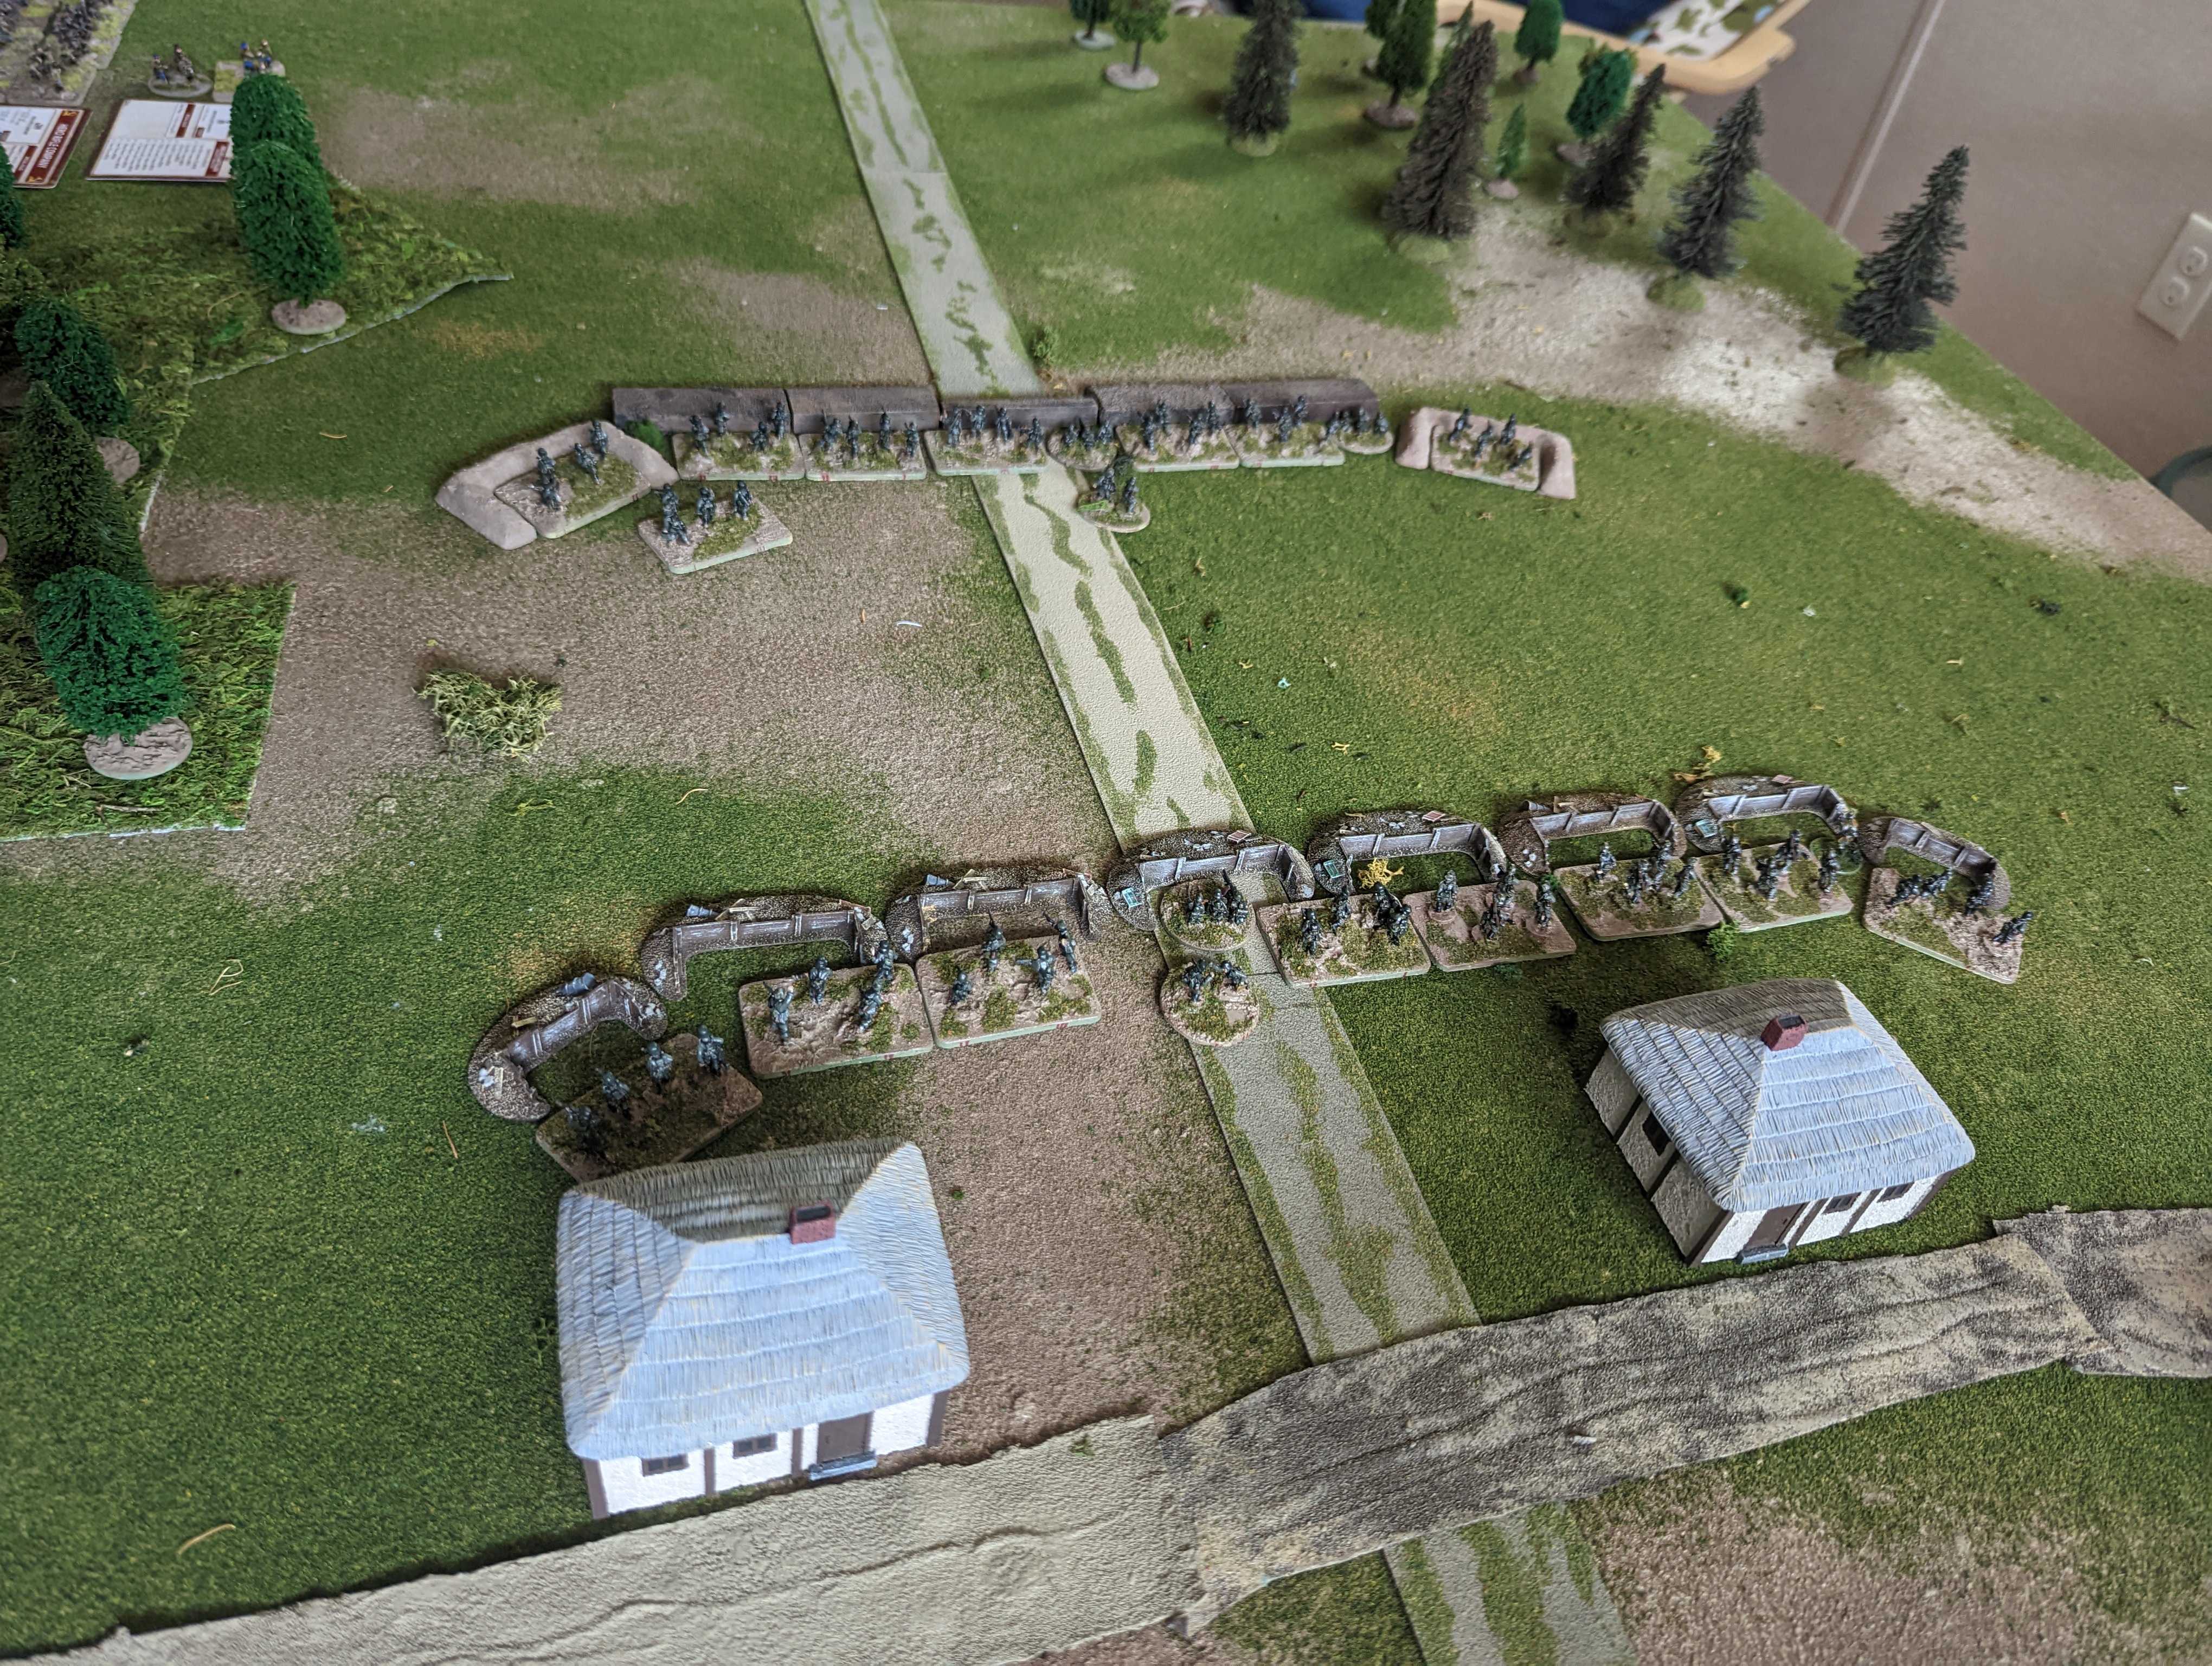
Soviets starting from the top (north) and must destroy the CP or capture all buildings.  Germans are in 2 successive trenchlines in the center.

The Soviets, which are elements of 26th Guards Rifle Division, 8th Guards Rifle Corps fielded a Battalion HQs, "Hero Rifle Company of 10 stands, a "Storm Group" of 5 SMG stands, ATR, 2 x HMGs, and a flame thrower, and, my favorite, a Soviet Scout platoon of 7 x stands (their first time in combat since they were painted).  Combined total points are 35.

Entire Soviet force - Company, Scouts, and "Storm Group" - all from the "Enemy at the Gates" book

The Germans, which are elements of 306th Infantry Regiment, 211th Infantry Division, consist of a Grenadier Company Headquarters, 2 x full strength Grenadier Platoons with HMG attachments, and a sniper.  Combined points are 35.
2 x full Grenadier platoons in "trenches" - I need to build some trenches.  The CP is in one of the houses but the Soviets won't know which.  I diced for this after the first turn.

I think the points will get us into trouble in a bit and that harkens an entirely new debate but for now let's talk about the playtest of the scenario.  The Soviets must 1. locate and destroy the command post OR 2. capture all buildings.  The Germans must avoid this.  6 full turns, then each turn after 6 we will roll to end the game.  If on turn 7 a "1" is rolled, the game ends.  On turn 8 a "1" or a "2" is rolled, etc.

I did use the special "Spearhead" rule for the Scouts and they get a free 12" move to expand the Soviet deployment area (which I did NOT take advantage of)

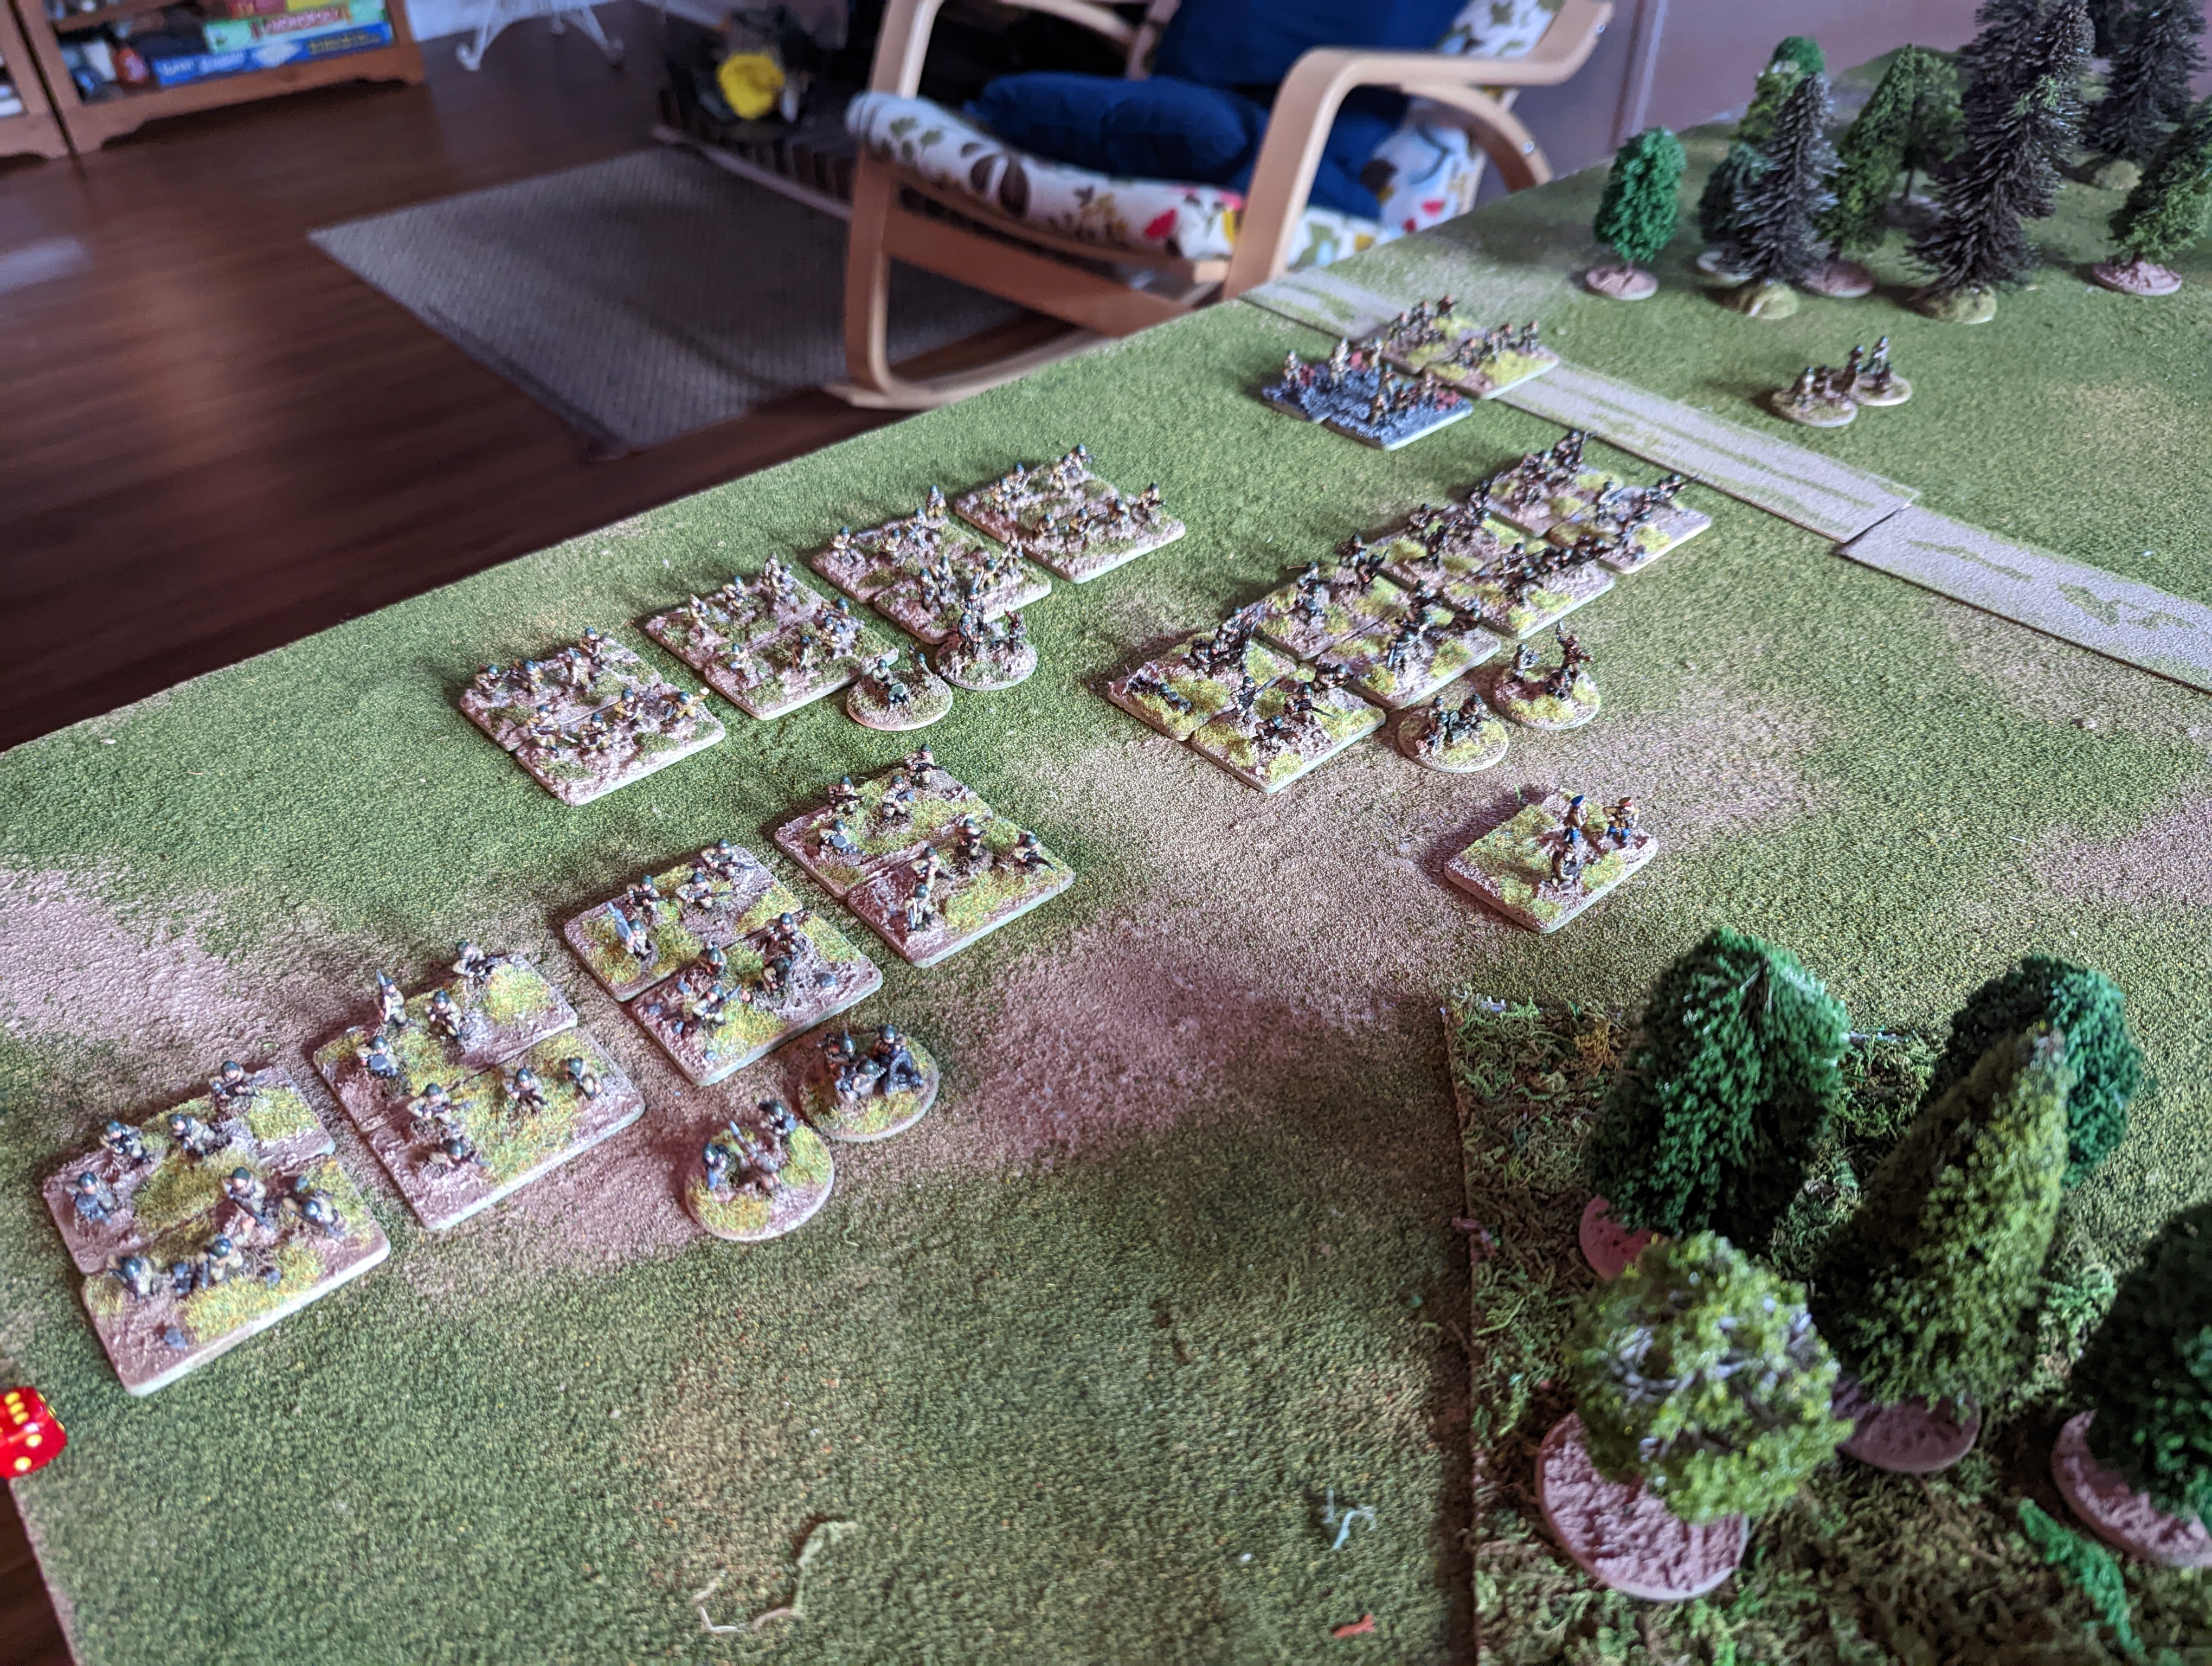
Hero Rifle Company at the start line 

Soviet scouts skulk their way up to the their "Spearhead" start line +12"

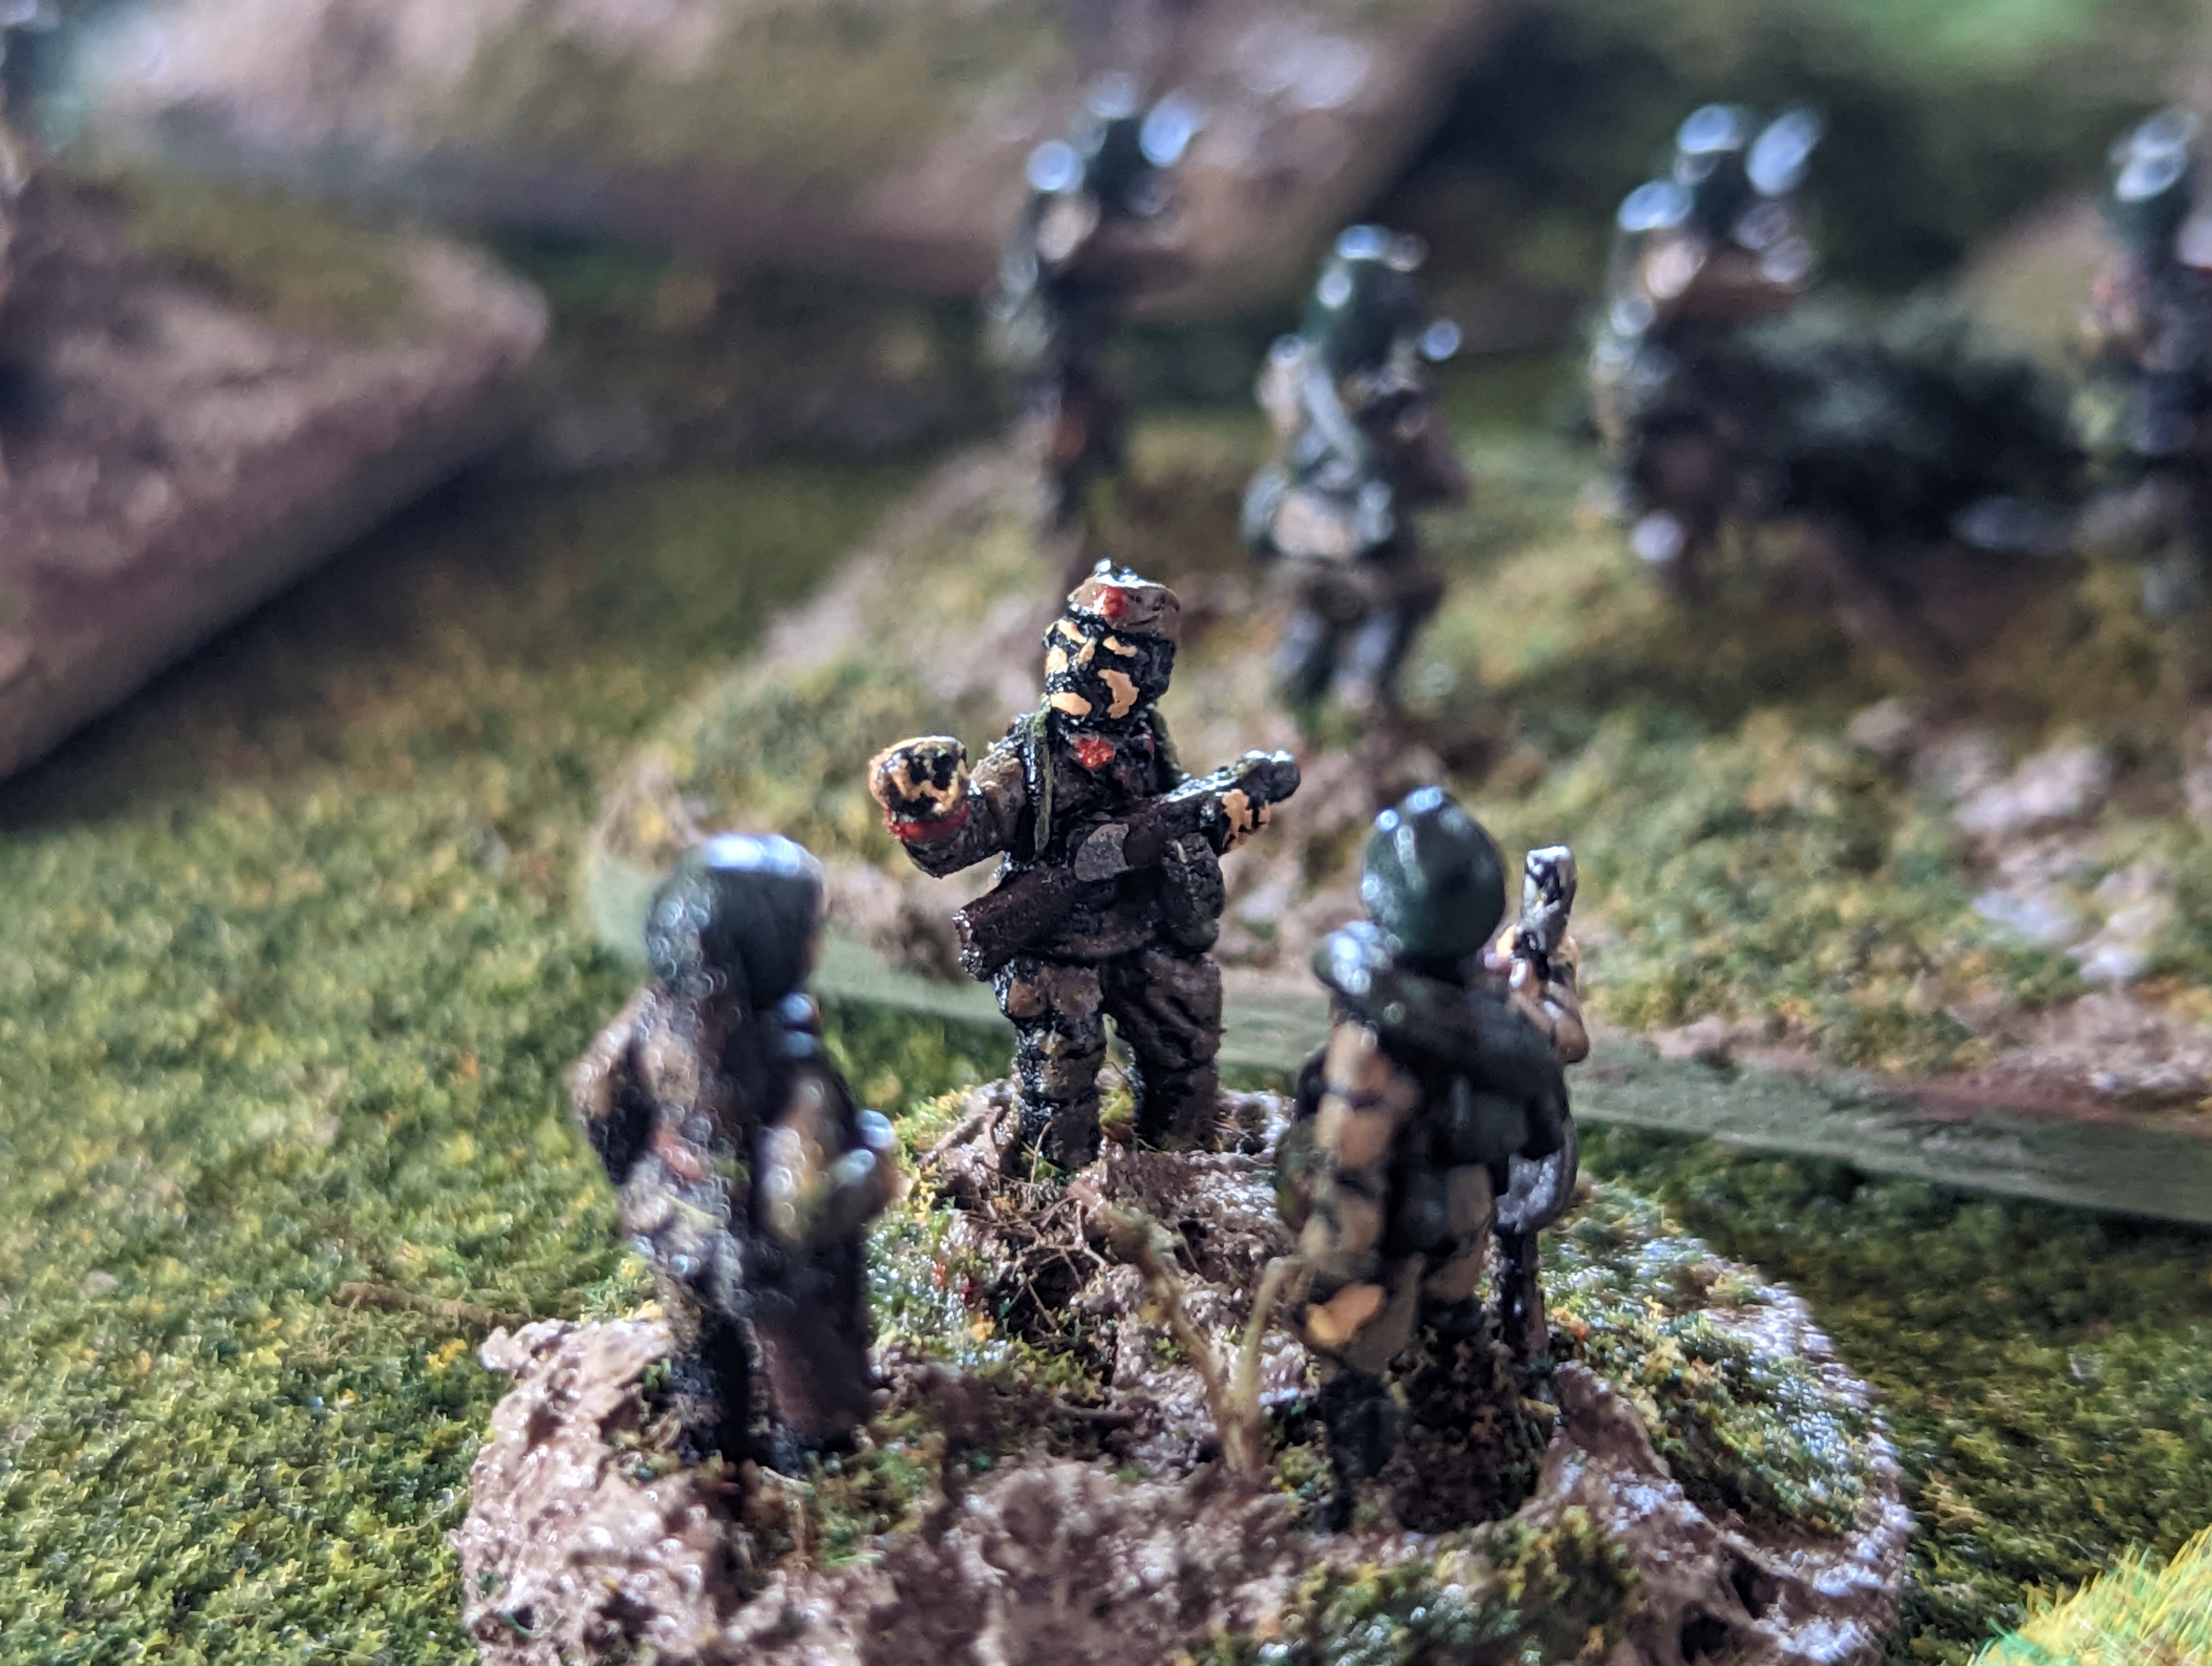
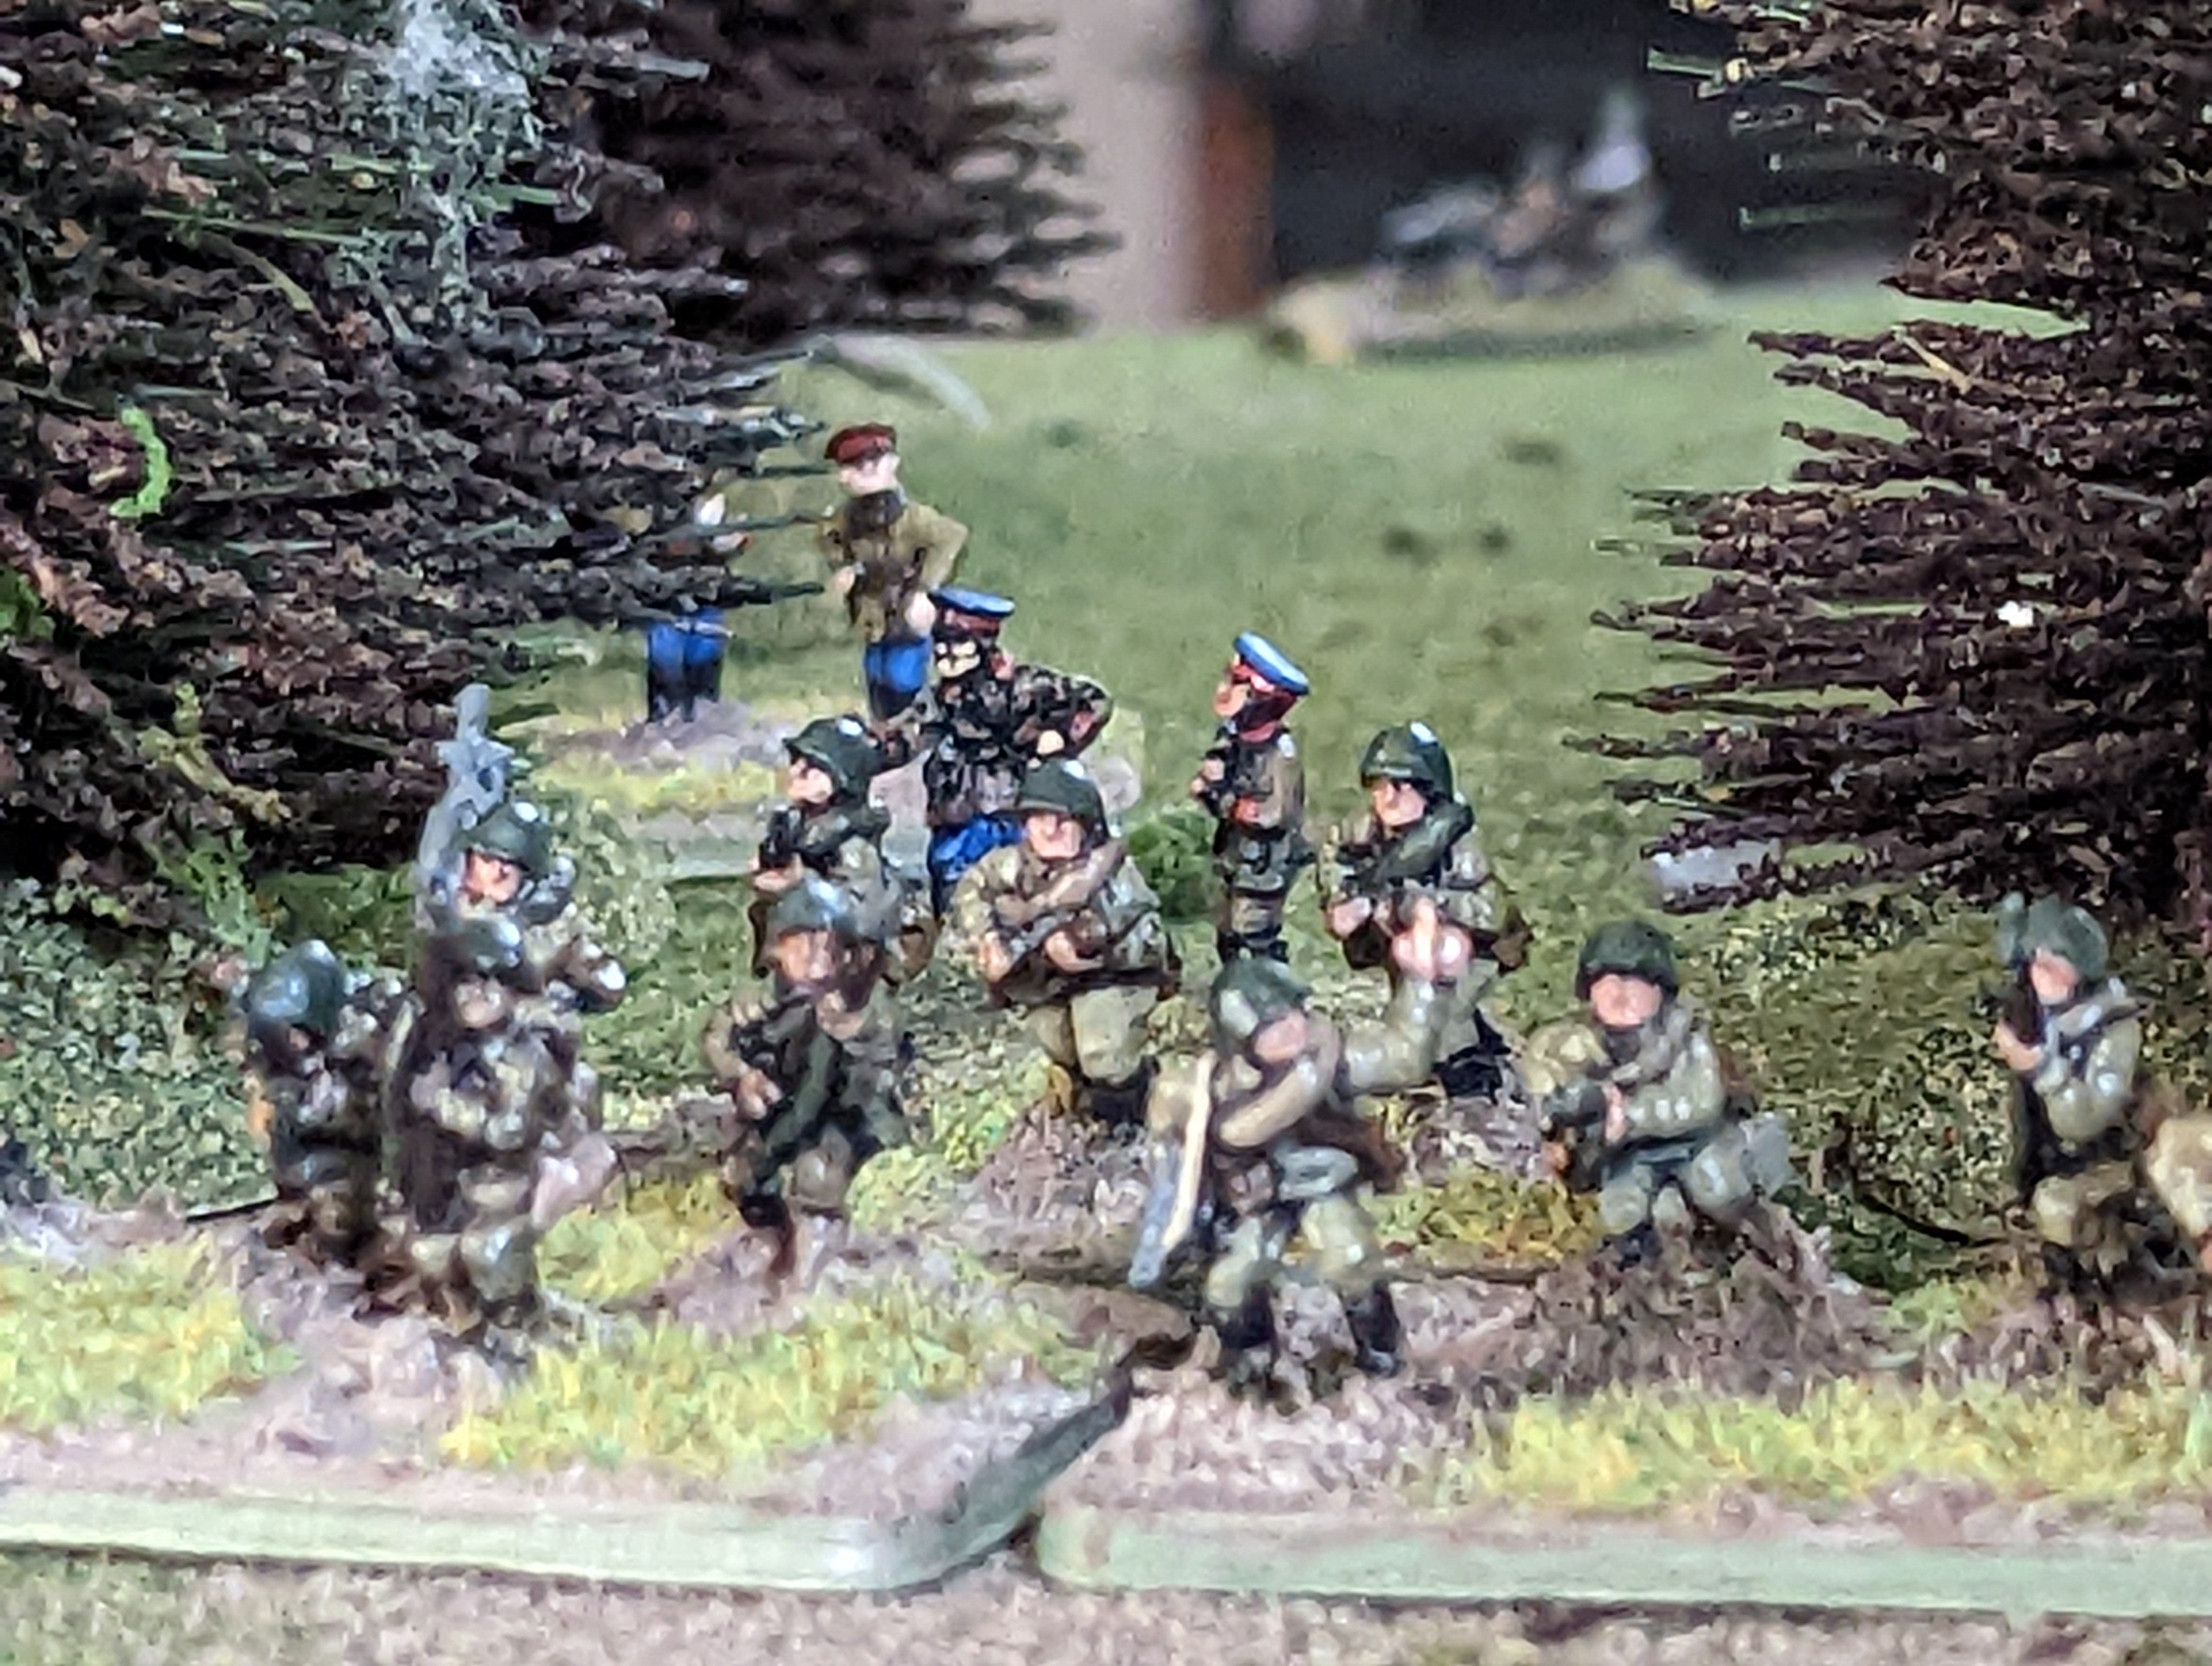
Im immensely proud of my Soviet Scouts and was looking forward to getting them on the table.  Forward you scum!  This is our first battle on the table!  We'd better not die!

The Soviet push through the woods is uneventful and the Scouts start on the right shielded by a large woods as well.  The Germans do not spot anything yet...

Picking their way through the forest, Soviet infantry know what's up ahead...

note the rifle company and "Storm Group's" advance on the left and the scouts all tucked in cozy next to the woods on the right.  The Soviet company on the left will approach the 2" line for Line of Sight and will be targeted by German HMGs...

During the German turn, the Soviets are spotted and 2 teams are engaged by 2 x HMGs in sustained fire mode!  12 shooting dice hitting on "4s" guarantees some casualties and the Hero Rifle Company is pinned.  An inauspicious start to Operation Kutuzov!

Soviet Rifles pinned!
Machine gun tracer fire rips through the pine forest and limbs and branches fall on the ducking, crawling, and cowering Soviet troopers.  Men look to their leaders for instructions as the lethal German fire tears into the lead squad.

Meanwhile on the right, Soviet scouts reach the far edge of the woodline and spot the houses on the Ulianovo road.  The "maskirovka is working" as the Hero rifle company is engaged, the scouts slip past the first trenchline towards the houses...

Soviet scouts eyeing the terrain before them.

On turn 2, the Soviet Hero Company fails to rally from Pinned status as the German HMGs continue to hammer away at them.

German HMGs in the trenchline

War weary Landsers await the attack with dread.

 On turn 3 the Soviets unpin and make for the treeline.  The plan is to keep the first trenchline engaged while the storm group races forward to engage the right side of the second trenchline.  It's all a diversion so the scouts can assault the buildings.

Soviet scouts burst from the treeline on the right to assault the building.  Just one problem - it's a bunker...
The Germans rolled for reinforcements and the command post is actually in a BUNKER.  Bunkers are big trouble in Flames of War (hell - they're big trouble in any game or actual battle).  I rolled to see if this is a pillbox or a nest - luckily it's "just" a nest but the Bunker status means the house cannot be assaulted except from the front.  Guess what's in front?  Yes - a trenchline full of veteran grenadiers...
By luck of the die roll, the house closest to you houses the German CP (and radio) ....and is a bunker.

The Scouts move out to assault the bunker and maybe even win the game.  Then I read the rules for bunkers and realize it cannot be assault except from the front.  Change of plans.  We're going to assault the MG on the left flank of the trenchline - enter the trenchline and work our way towards the house so it can be assaulted.  The only easy day was yesterday!

Turn 3 Soviet rifles unpin and make for the treeline to engage the Germans in the first trench, holding them up.  There are 3 HMGs targeting the trenchline now but it's not able to pin the Germans.

Any man not shooting, will be himself shot!

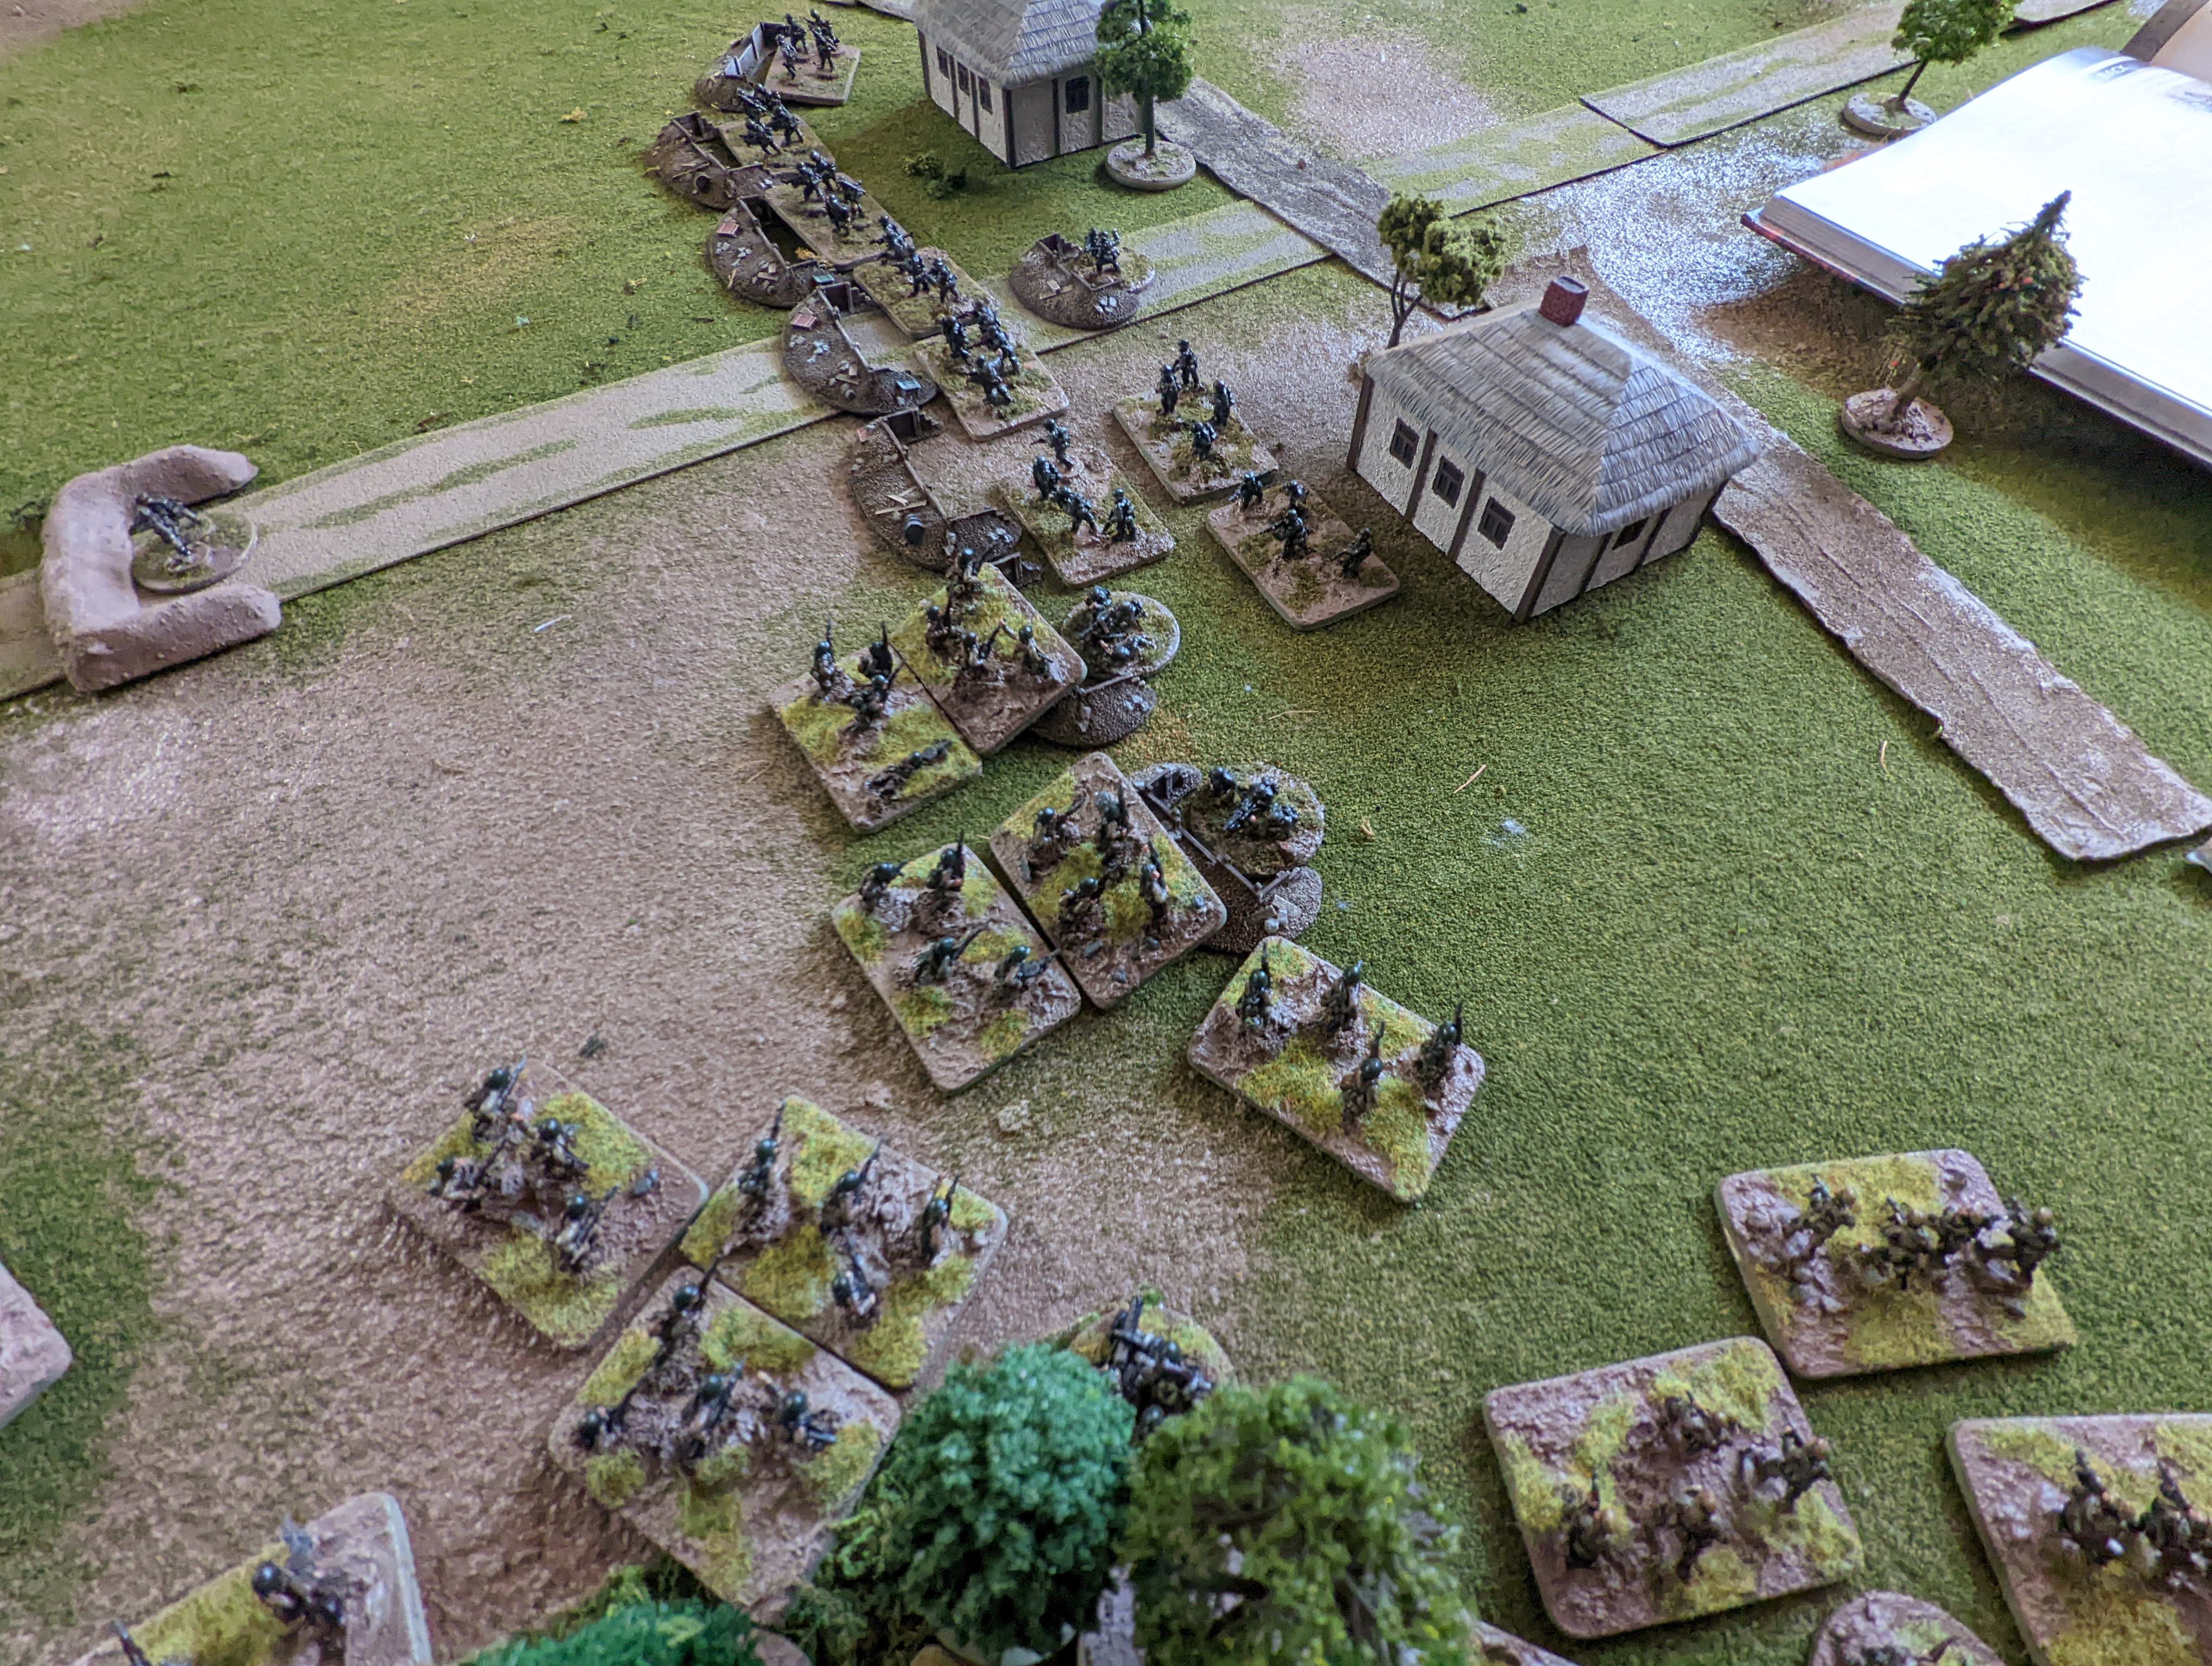
THe close combat in front of the house is intense but eventually goes the Germans' way.  The HMG stand is taken out and the Grenadiers closest to the house retreat 6".  The Soviet Scouts gain a foothold in the trenchline!  What they wouldn't give for a flamethrower!

Scouts in the trenchline!  NExt turn they will assault the bunker (lower right)

German turn 4 maneuvering against the Scouts in the trenchline.  It's a nasty fight with grenades, entrenching tools, pistols, machine pistols, bayonets, and fists.

The next turn, the Soviets assault the bunker/CP and knock both teams out!  THe Scouts have eliminated the Command Post (a very Soviet scout task) but the game isn't over yet.  The German grenadiers mass to counter-attack the Scouts in the trench and in the bunker - but the bunker has new owners.


Soviets fending off attack after attack in the trenchline

At turn 6, the Soviets go for broke.  They know the Scouts are toast and cant keep going toe to toe with the Grenadiers and so the Hero Rifle Company breaks from cover in an almost suicidal frontal attack.  The Storm Group also moves out to assault the second trenchline.  

As the German player you'd have some significant options to consider right now.  Do you risk not covering the right flank with the Grenadier platoon, knowing that Engineer Storm Group is coming your way by launching everyone to counterattack against the scouts?  Or do you sit tight thinking the main attack is coming on YOUR right with those conventional forces?  The Germans risk it all and counter attack the scouts.  

A lone sniper is left to hold the right flank.  1 hit is enough to pin an entire platoon.  And pin them he does!  The storm group, probably the premier Russian unit of the entire "Enemy at the Gates" force, is pinned by a single figure!  

storm group in upper right is pinned!  you dont want those guys anywhere near your defense


One man to hold down the entire flank?

On turn 7 I rolled a 1 and the game ended.  The Soviets managed to destroy the command post, thus winning the game but there were some definite lessons learned if this game is to be run for other folks.  The Hero Rifle Company was reduced to 4 stands (2 squads) and the Storm Group never was able to un pin itself.  The Scouts were eventually forced out of the trenchline and into the open.  While the 2nd platoon in the second trench had not more HMGs, they were still the undisputed masters of the crossroads.

Some thoughts on "Balance"
This is a hotly debated topic and most folks would rightly claim that in real battle, generals don't commit to a balanced fight.  They commit forces where there is clear advantage.  In the "Skirmish Campaigns" book, the Russians outnumber the Germans by 2:1.  Here there is a clear 1:1 force laydown and both side have equal "points" - meaning that both sides should have a reasonable chance at victory.  I do like that because I want the best general to win if I'm hosting.  

In applying FoW Victory conditions, the Soviets would likely NOT have been able to hold an objective however with committing either the Storm Group or the Hero Rifles or both along with the scouts along the same axis, they may have.  More play-testing is obviously needed but my first thoughts during the game were that the Soviets needed another company on the table to outnumber the Germans by almost 2:1.  (adding 10 more stands would still not achieve those numbers)  Part of me also considered mortars or artillery, but the spirit of this action is supposed to be a reconnaissance.  My scenario is obviously a "reconnaissance in force" - but it's still an operation where scouts are needed - hence the lack of significant heavy weapons.

For the next game - i'll play with some modifications - namely -

The Germans will use the reduced platoon numbers and likely only have 5 or 7 stands, not 9.

The Germans will only have 1 x HMG each.

The bunker was a nice addition to the game and would add considerable tension if the Soviet player didn't know about it (i found out when I researched the rules on bunkers - this is when my scouts were already poised to attack it - that's exactly the kind of thing that would have happened in real life).

Final Thoughts

You CAN use Skirmish Campaigns for historical Flames of War battles but you have to consider all of the advantages and disadvantages each force has, as well as the advantages bestowed by terrain or fortifications.  In this instance, the trenchline makes the Germans extremely hard to kill, with hits occurring on a "6" and "gone to ground" status in effect even when they move in the trench!  If you thought the bunker was a tough nut to crack, welcome to the joys of trench warfare.

I'm going to run the scenario with roughly the same ratios again, but with slightly smaller German platoons (this is after Kursk shot its bolt, after all).  I want it to be a nail biter for both forces, with huge gambles taken.  The Soviets paid for sending in the scouts alone (the Storm Group is obviously not to be wasted in a frontal assault...) but the gamble of assaulting wiht the scouts paid off with the destruction of the Command Post (and clenching victory in the game).  So the Red Recon in Action scenario is still a work in progress and I have more "work" to do in fine tuning it for a convention fight.

All in all, a very fun game and that's what it's all about.  The Skirmish Campaigns books offer a wealth of history, scenario potential, and ideas for the budding scenario designer.  For this wargamer, the discussion is turning away from "rules" and more towards good scenarios where I can get lots of toys on the table.  Mission Accomplished!