Dave was over for our bi-weekly game Saturday night and we cashed in on the eve of 209th anniversary of The Battle of Quatre Bras using Peter's "D3 Horse & Musket" rules and my newly re-based 10mm French Napoleonic troops.
I also took the opportunity to try out some new "experimental" rules for use in OHW and Peter's "D3 Horse & Musket" games, which of course I tinkered with and made them "3D6 Horse & Musket" rules because I just cant help myself from tinkering😁
 |
| The Battlefield looking towards Quatre Bras. We used a heavily modified version of the One Hour Wargames scenario along with a host of "experimental" rules |
The OOBs for today's battle were taken from the Neil Thomas "One Hour Wargames" book, using a 6 x unit OOB, and a 3 x unit OOB combined for a total of 9 units per side. All units take 9 hits. Here is a short breakdown:
French under Ney
- 5 Infantry "Units"
- 2 Cavalry "Units" (in this case, we diced for Cavalry composition - 1 light and 1 heavy cav unit)
- 1 Artillery "Unit"
- 1 Skirmisher detachment
Anglo-Allies under Wellington
- 5 Infantry "Units" including 2 Dutch/Nassau Units, 2 British Infantry Units, 1 Brunswicker Infantry Unit
- 1 Cavalry "Unit" of King's German Legion Light Cavalry
- 1 Artillery "Unit" of Dutch Artillery
- 2 Skirmisher detachments 1 of 95th Rifles (rifle-armed), and 1 of Nassau Light Troops
Key differences from the OHW battle were the table was a 6 x 4 instead of a 3 x 3. All other facets remain the same. including the reinforcement schedule. We kept the 15 turn limit although in retrospect probably should have increased it to 16 or 18 turns.
We also included a Battlegroup-styled "morale clock" which I'll delve into later. For now let's get to the fighting!
 |
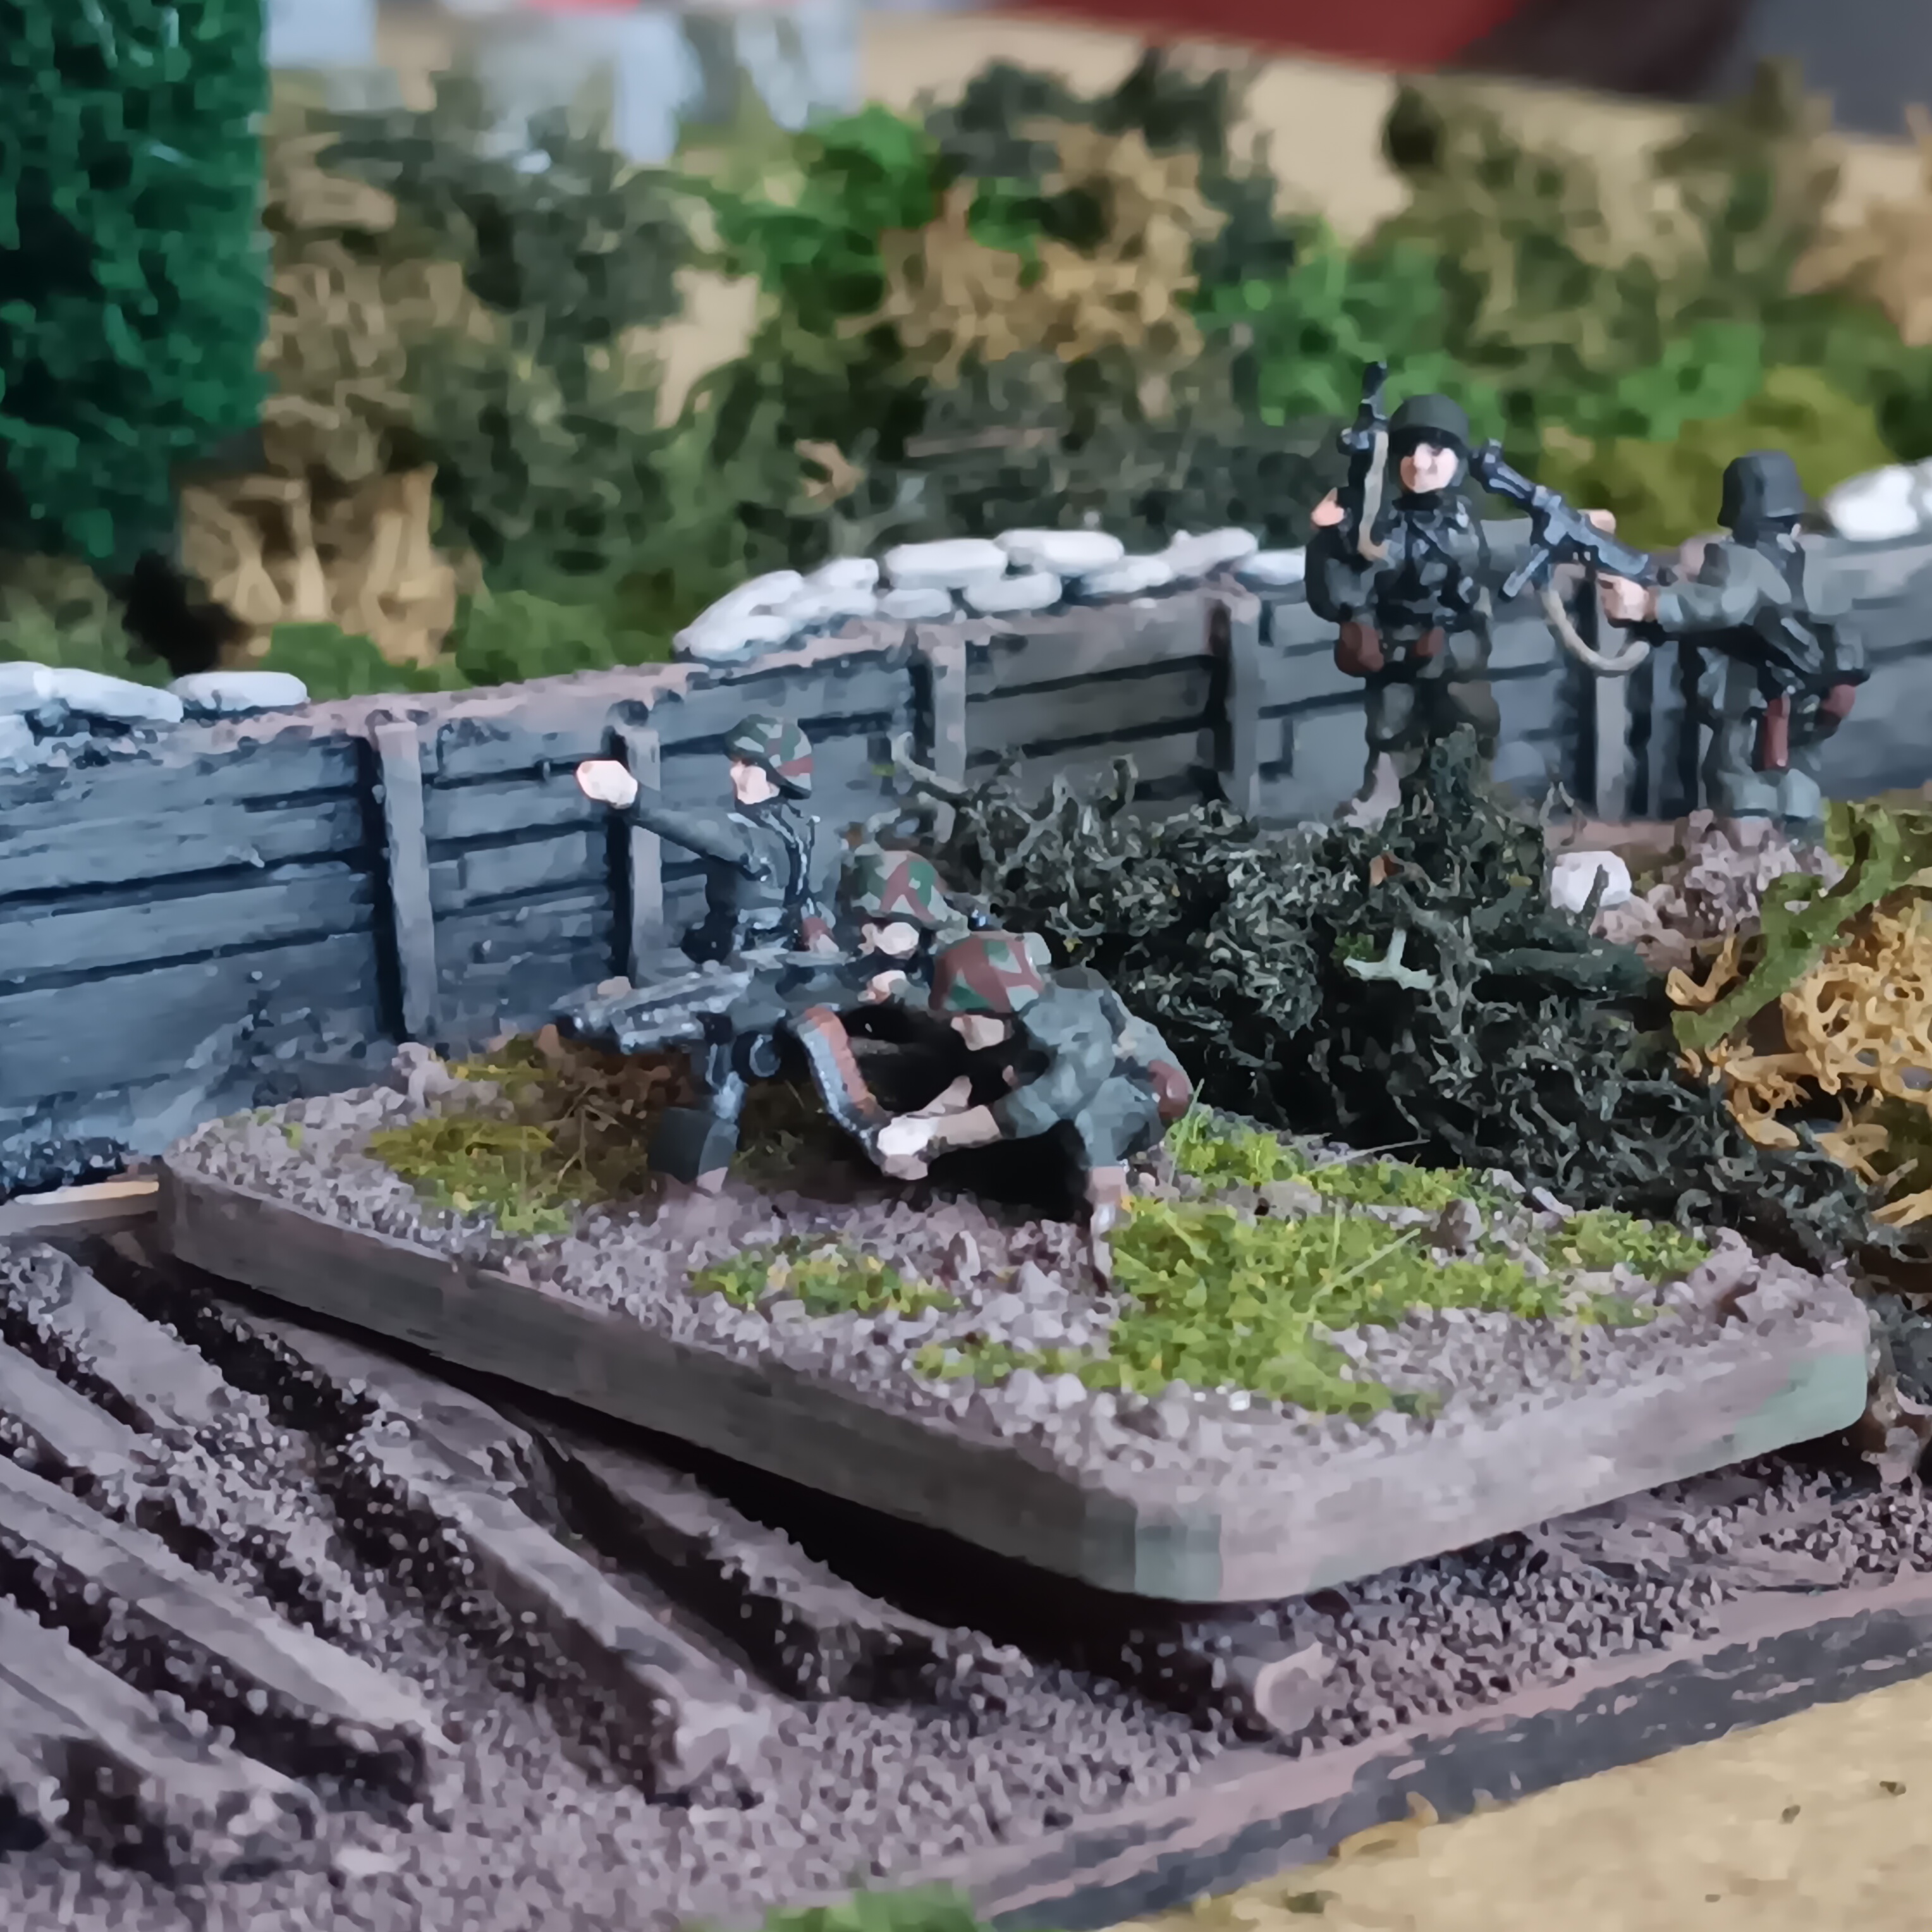
| Dutch Troops - looking very lonely facing a mob of French Brigades! |
 |
| These are my 10mm Dutch-Belgians who do double duty as Nassauers and triple duty as Peninsular Portuguese. If you are an easily offended button-counter - stand down! |
 |
| French Cavalry "Division" of 1 unit of Hussars and 1 unit of Dragoons charges forward and flanks Gemioncourt! Dave wants to get in behind the Dutch line. |
 |
| Meanwhile, Ney brings on the French infantry who are spoiling for a fight! |
 |
| After about 4 turns, Dave lays the guns and starts blasting away at the Dutch who are taking the fire cooly. |
Dave's advance with his Cavalry is text book and by turn 3 I'm biting my nails. The British line infantry reinforcements are going to deploy in the town and along the road just as they did historically - not because I wanted to, but because the French Cavalry are out in force!
 |
| bottom-center French guns and astride the road are the 2 French infantry "divisions" as they advance towards the Dutch. Note Dave maneuvering his Cavalry in the upper right of the photo. Dave also moved his voltiguers up to skirmish with the Dutch and pin them in place! |
 |
| French cavalry rounding Gemioncourt farm and preparing to assault the Dutch in the rear. Note the British infantry behind them marching into position - making this turn 4 or 5. Dave has 15 turns to capture the crossroads at QB. |
 |
| British reinforcements arrive and bolster the defense around Quatre Bras. Given the....intense (?) interest experienced from my last post given my poor WWII British aircraft recognition, I'm going to hold off from naming regiments on the field, for the fear of leaving out an Oxford comma or improperly spelling the name of a Lieutenant Colonel of the 33rd, 69th, 73rd etc. Anything that could invite reprisal comments below 💀 |
 |
| Meanwhile French light troops skirmish with the Dutch-Belgians. Wellington and the Prince of Orange are behind them, lending a potential activation re-roll. |
Peter's rules have activation rolls if the unit has hits, and the unit must roll above the number of hits on 2D6 to activate for its action that turn. A general within 12" allows a re-roll. We added an experimental rule that an attached General allows +1D6 to your attack roll, however, if a unit has an attached General and takes a hit, you have to roll to see if the General is hit!
 |
| The French are setting up a massive attack against the Dutch units around Gemioncourt. Note the Dutch infantry Regiment retrograding center-right. The guns and center Regiment would remain in position to buy time for the rest of the force. French Cavalry are preparing to assault the rear of the Dutch line. Meanwhile, British infantry garrison QB and Nassau lights |
 |
| Closer shot of the action. Dutch troops moving back towards the rear, while the remaining infantry and guns are fighting with the French skirmishers. Note the legions of French infantry lining up behind the skirmishers to assault! 2 x French regiments are preparing to overrun Gemioncourt. The French steamroller presses on! |
 |
| A valiant stand by the Allies as the French skirmish with them in order to hold them in place. The focus of the battle is starting to shift back towards QB now. |
 |
| Nassau Light Troops! |
 |
| Dave harries the retro-grading Anglo-Allies but given who I'd rather take double hits from (hit in the rear or flank = double hits in Peter's rules) I turn to face Dave's heavy cavalry! |
 |
| The battle in the center now |
 |
| French Dragoons assaulting the Dutch-Belgians now. |
 |
| Dave also sends his light cavalry to assault my Nassau light troops. |
 |
| Ney lending his re-roll and following the infantry out of Gemioncourt. |
 |
| Gratuitous shot of Dave's French advancing! |
 |
| Dave's getting the assault going now on Turn 7. Like Ney in real life, Dave realizes halfway through the battle he needs to step up the intensity of the assaults! |
 |
| Battle in the center taking place in front of QB. The Cavalry would eventually destroy these Dutch Belgians, but they did their job admirably, soaking up French hits while the reinforcements get into position. Speaking of which, there are Brunswickers, 95th Rifles, and KGL Cavalry coming on soon. |
 |
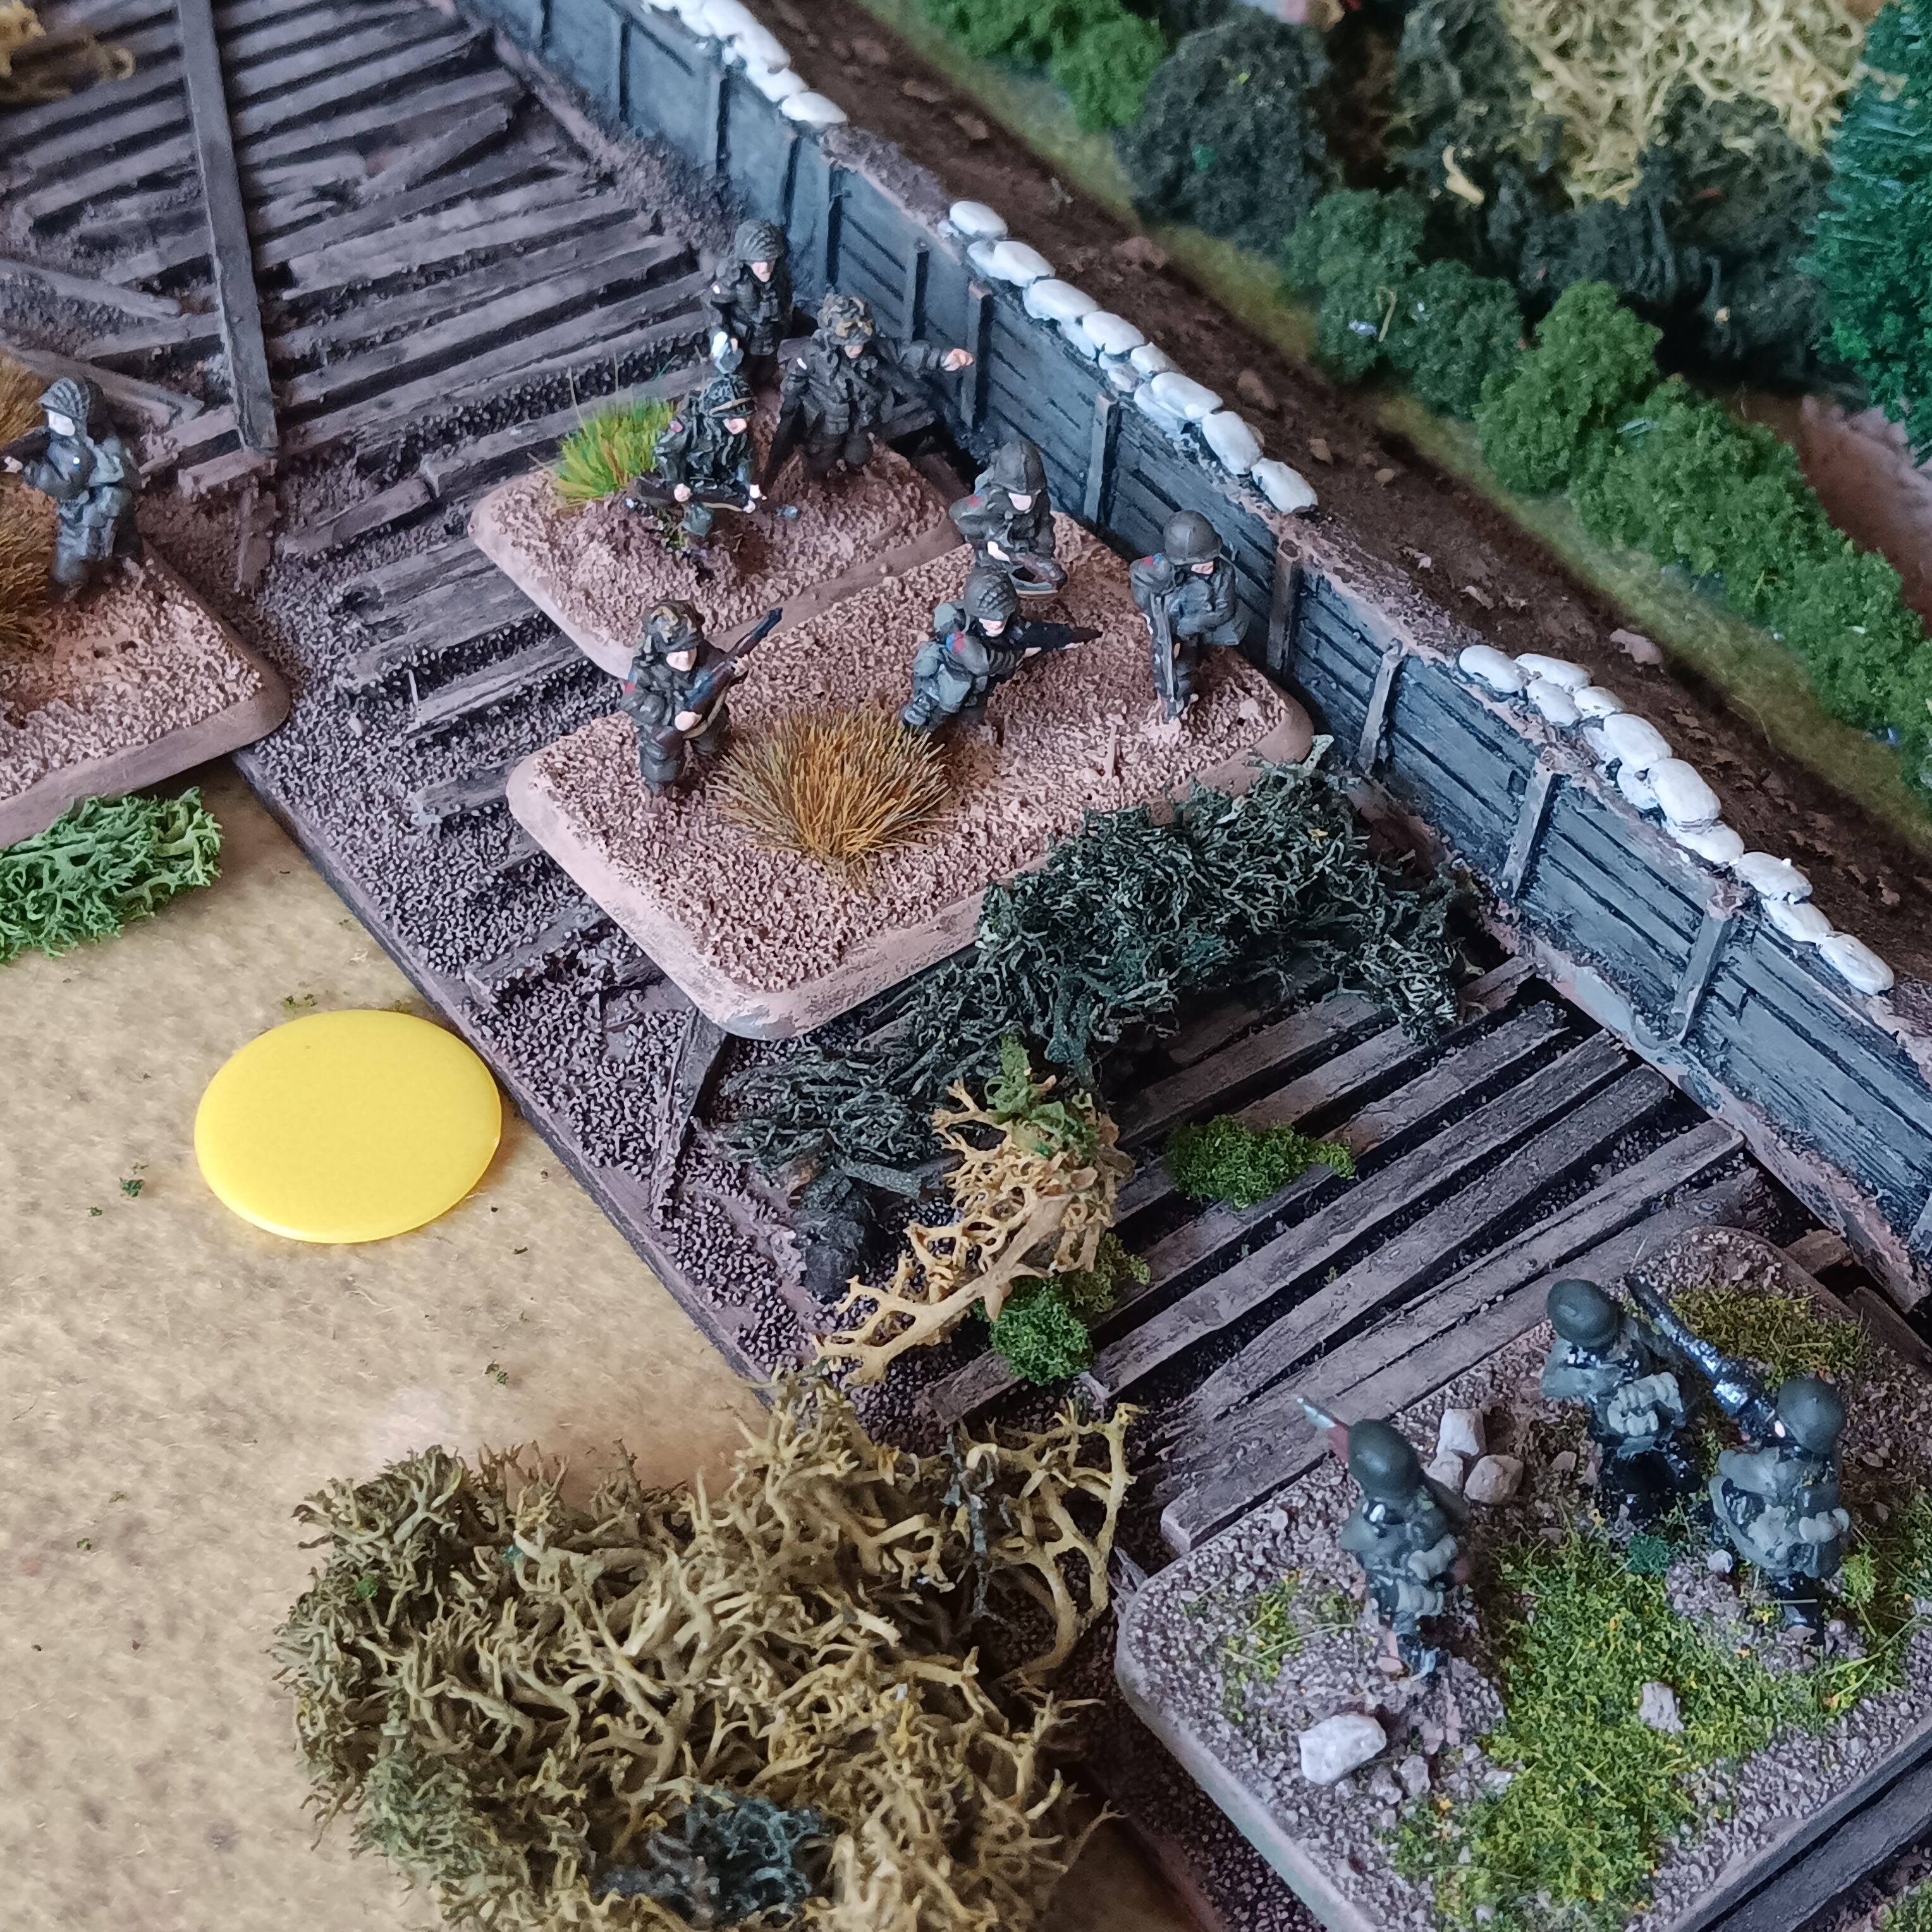
| Overall situation - Brits have garrisoned Quatre Bras and the flanks are secured. The French are massing forces to advance on QB and it's Turn 8. Still about half of the game left. Note the upper-center of the picture there are 3 French regiments and 2 in the left of the picture. |
So Dave and I tried a new method to try and "end" the battle, taken from "Battlegroup's" morale chit system. We calculated a morale-point value for the troops. Infantry were worth 2, Cavalry worth 3, Artillery were worth 2 and Generals were worth 3. You add up the total of all of your units and this is your "force morale value". The French, who had 2 Cavalry Regiments, were 23. The British were 20. Each time one of your units is destroyed, you roll an average die and take that many points from your "force morale value".
We tried it this time and the battle went to 15 turns without any force actually breaking, but we were close! Dave's French "force morale value" had 8 points left and my Anglo-Allies had 10 left. I think the value of the units to calculate the value need to be tweaked but this was a viable system for "ending" the battle before each unit is destroyed, as tends to happen in OHW-styled games.
 |
| Dave massing infantry Regiments to assault Quatre Bras, but he is facing fresh British muskets left of QB town. |
 |
| British units watch the cavalry charging in the center. The streets of QB are garrisoned. |
 |
| Dave attaches Ney to the Dragoons and assaults the Dutch-Belgians. |
 |
| QB is holding! Dave is whittling down the protecting units and not assaulting QB itself! I might actually win this thing! |
The "Surprise Attack" scenario in OHW (actualy modelled on The Battle of Quatre Bras) is a tough one for the attacker. The 15 turns means you can't "dilly dally" and must focus on whittling down the defenders in the town. The reinforcements on TUrn 9 certainly dont help. Dave was able to skillfully break through the line, but this was no time for holding back. You need to "flood" the town and get as many units firing at it as possible in a short amount of time, before the rising tide of reinforcements.
 |
| Dave moving past the Dutch and moving everyone towards Quatre Bras. It's turn 11. |
 |
| KGL (Risk Pieces) Cavalry move to reinforce QB! |
 |
| Sean Bean leads his rifles and elements of the "South Essex" towards Quatre Bras. |
 |
| Wellington's "Funeral Hearse" AKA the Black Brunswickers show up |
 |
| Meanwhile the Dragoons are still pounding away at the Dutch-Belgians. Dave is knocking out a ton of units these last few turns. |
 |
| Right into action directly from the march! These Riflemen line up and begin skirmishing with a French infantry regiment! |
It was Turn 15 and Dave manages to get his guns pushed up to fire on Quatre Bras but the game ends with only 2 hits on the unit garrisoning the town so this is a comfortable Anglo-Allied victory. As stated before, the British still have 10 left on their force morale value and the French have 8 left. Peter's rules handled this battle with 9 units per side remarkably well. We added some changes to Peter's rules but overall this gave a fun and relaxing game with a historically plausible result.
This was a fantastic game. Both Dave and I failed activation rolls at very inopportune times and the General's re-roll saved our bacon when we needed. Some of our volleys failed to cause any hits when we really needed them to! Dave's skillful assault at the Dutch-Belgian line was great, with Dave using minimal force to tear open the allied line, but he was not able to capitalize on his success fast enough and that cost him the battle! To be fair, Dave had adequate combat power to seize the town if he would have instead focused on the QB instead of the supporting Allied units.
Some of the changes to Peter's rules?
We made it 3D6 vrs D3. All dice hit on a 4+. Close Order Infantry roll 3D6 to fire. Skirmishers roll 2D6, along with Artillery. Cavalry are the only units that can conduct "hand to hand" combat. We differentiated between Light and Heavy cavalry - Lights got 3D6 in combat, with an extra D6 if assaulting skirmisher detachments. Heavies got 4D6 in combat, with an extra D6 if assaulting skirmishers or Light Cavalry.
Attached Generals to a unit give +1D6 combat support, but at risk if the unit they are with is hit. (killed on 11+ on 2D6)
We added some other rules to the game such as "Bayonet Charge" from Martin Rapier's OHW Napoleonic rules. This is simply occupying the ground if you destroy a unit with Close Infantry shooting after it is picked up.
We also introduced a "Rally" roll whereby a unit may, as its action for the turn, rally off 1 or 2 hits on the roll of a 1D2. I completely forgot about this re-roll however, and we ended up not using it.
We introduced a "Rifles" special rule whereby a rifle-armed unit can re-roll misses, as well as a "Guards" unit that is eliminated in 10 hits instead of 9 hits.