I wanted to re-run the Neuville scenario (LT Turnbull's Stand) but this time with the Flames of War rules as originally intended, to see how the scenario would work. Pretty much the same OOB from my Battlegroup: Overlord game with Dave, except plussed up with 2 x Marder IIIs, and 2 x American infantry platoons. The Germans have 3 full platoons - an entire Panzer Grenadier company to throw at the junction, but they are under-strength platoons of 5 stands each, but they lack heavy weapons - the only ones being onboard the Marders.
The Americans are battle-hardened, high quality Paratroopers but also lack significant heavy weapons or armor. The Americans have a scratch force of one large platoon on the table and a small platoon in reserve. The Company Command team starts on the table and the Americans ahve a 57mm ATG in ambush, along with a minefield. This was held lots of surprises for both sides.
 |
| LT Turnbull scans the road - the men all hear the sounds of approaching armored vehicles from the north |
The scenario is based off the "No Retreat" scenario from Flames of War and it worked very well for this clsoe scenario (when I say close I mean it. Read until the end to see how close I'm talking here. This was a game of inches.)
LTC Vandervoort heads up to the second floor of the large building at the crossroads. He is greeted with open fields full of Germans just out of small arms range. They are moving with a purpose right towards the junction. The fight is on!
 |
| Looking to his right, he spots Germans appraoching the position from the right |
 |
| Looking to his left, there are Germans in and around the Chateau. |
The Germans put their platoons abreast with 1st platoon on the left moving towards the hedges. They would have the least distance to travel. 2nd platoon up the middle as support for the Marders and the 3rd Platoon on the right. THey'd have a huge open field to traverse. Casualties were expected to be high...
 |
| German 1st Platoon double-timing it through the fields - you can see the chateau behind them just barely out of focus. 3rd platoon is there. |
 |
| The single American platoon at the junction is feeling very lonely right about now. |
The German Marders move down the road, their infantry keeping pace on either side of them (2nd Platoon). The Americans are too far back for small arms to open up. The Germans, smelling a trap, don't push their marders down the road past the chateau (also there are mines on the road to try and force the Germans to cross the hedges on either side of them - they dont take the bait and hence the 57mm ATG ambush is not yet sprung).
 |
| LTC Vandervoort screams into the Radio to LT Turnbill"ABLE FIVE FIVE THIS IS BLUE SIX. GET THAT SIXTY WORKING! THERE'S KRAUTS ALL OVER THE G**AMNED PLACE! |
 |
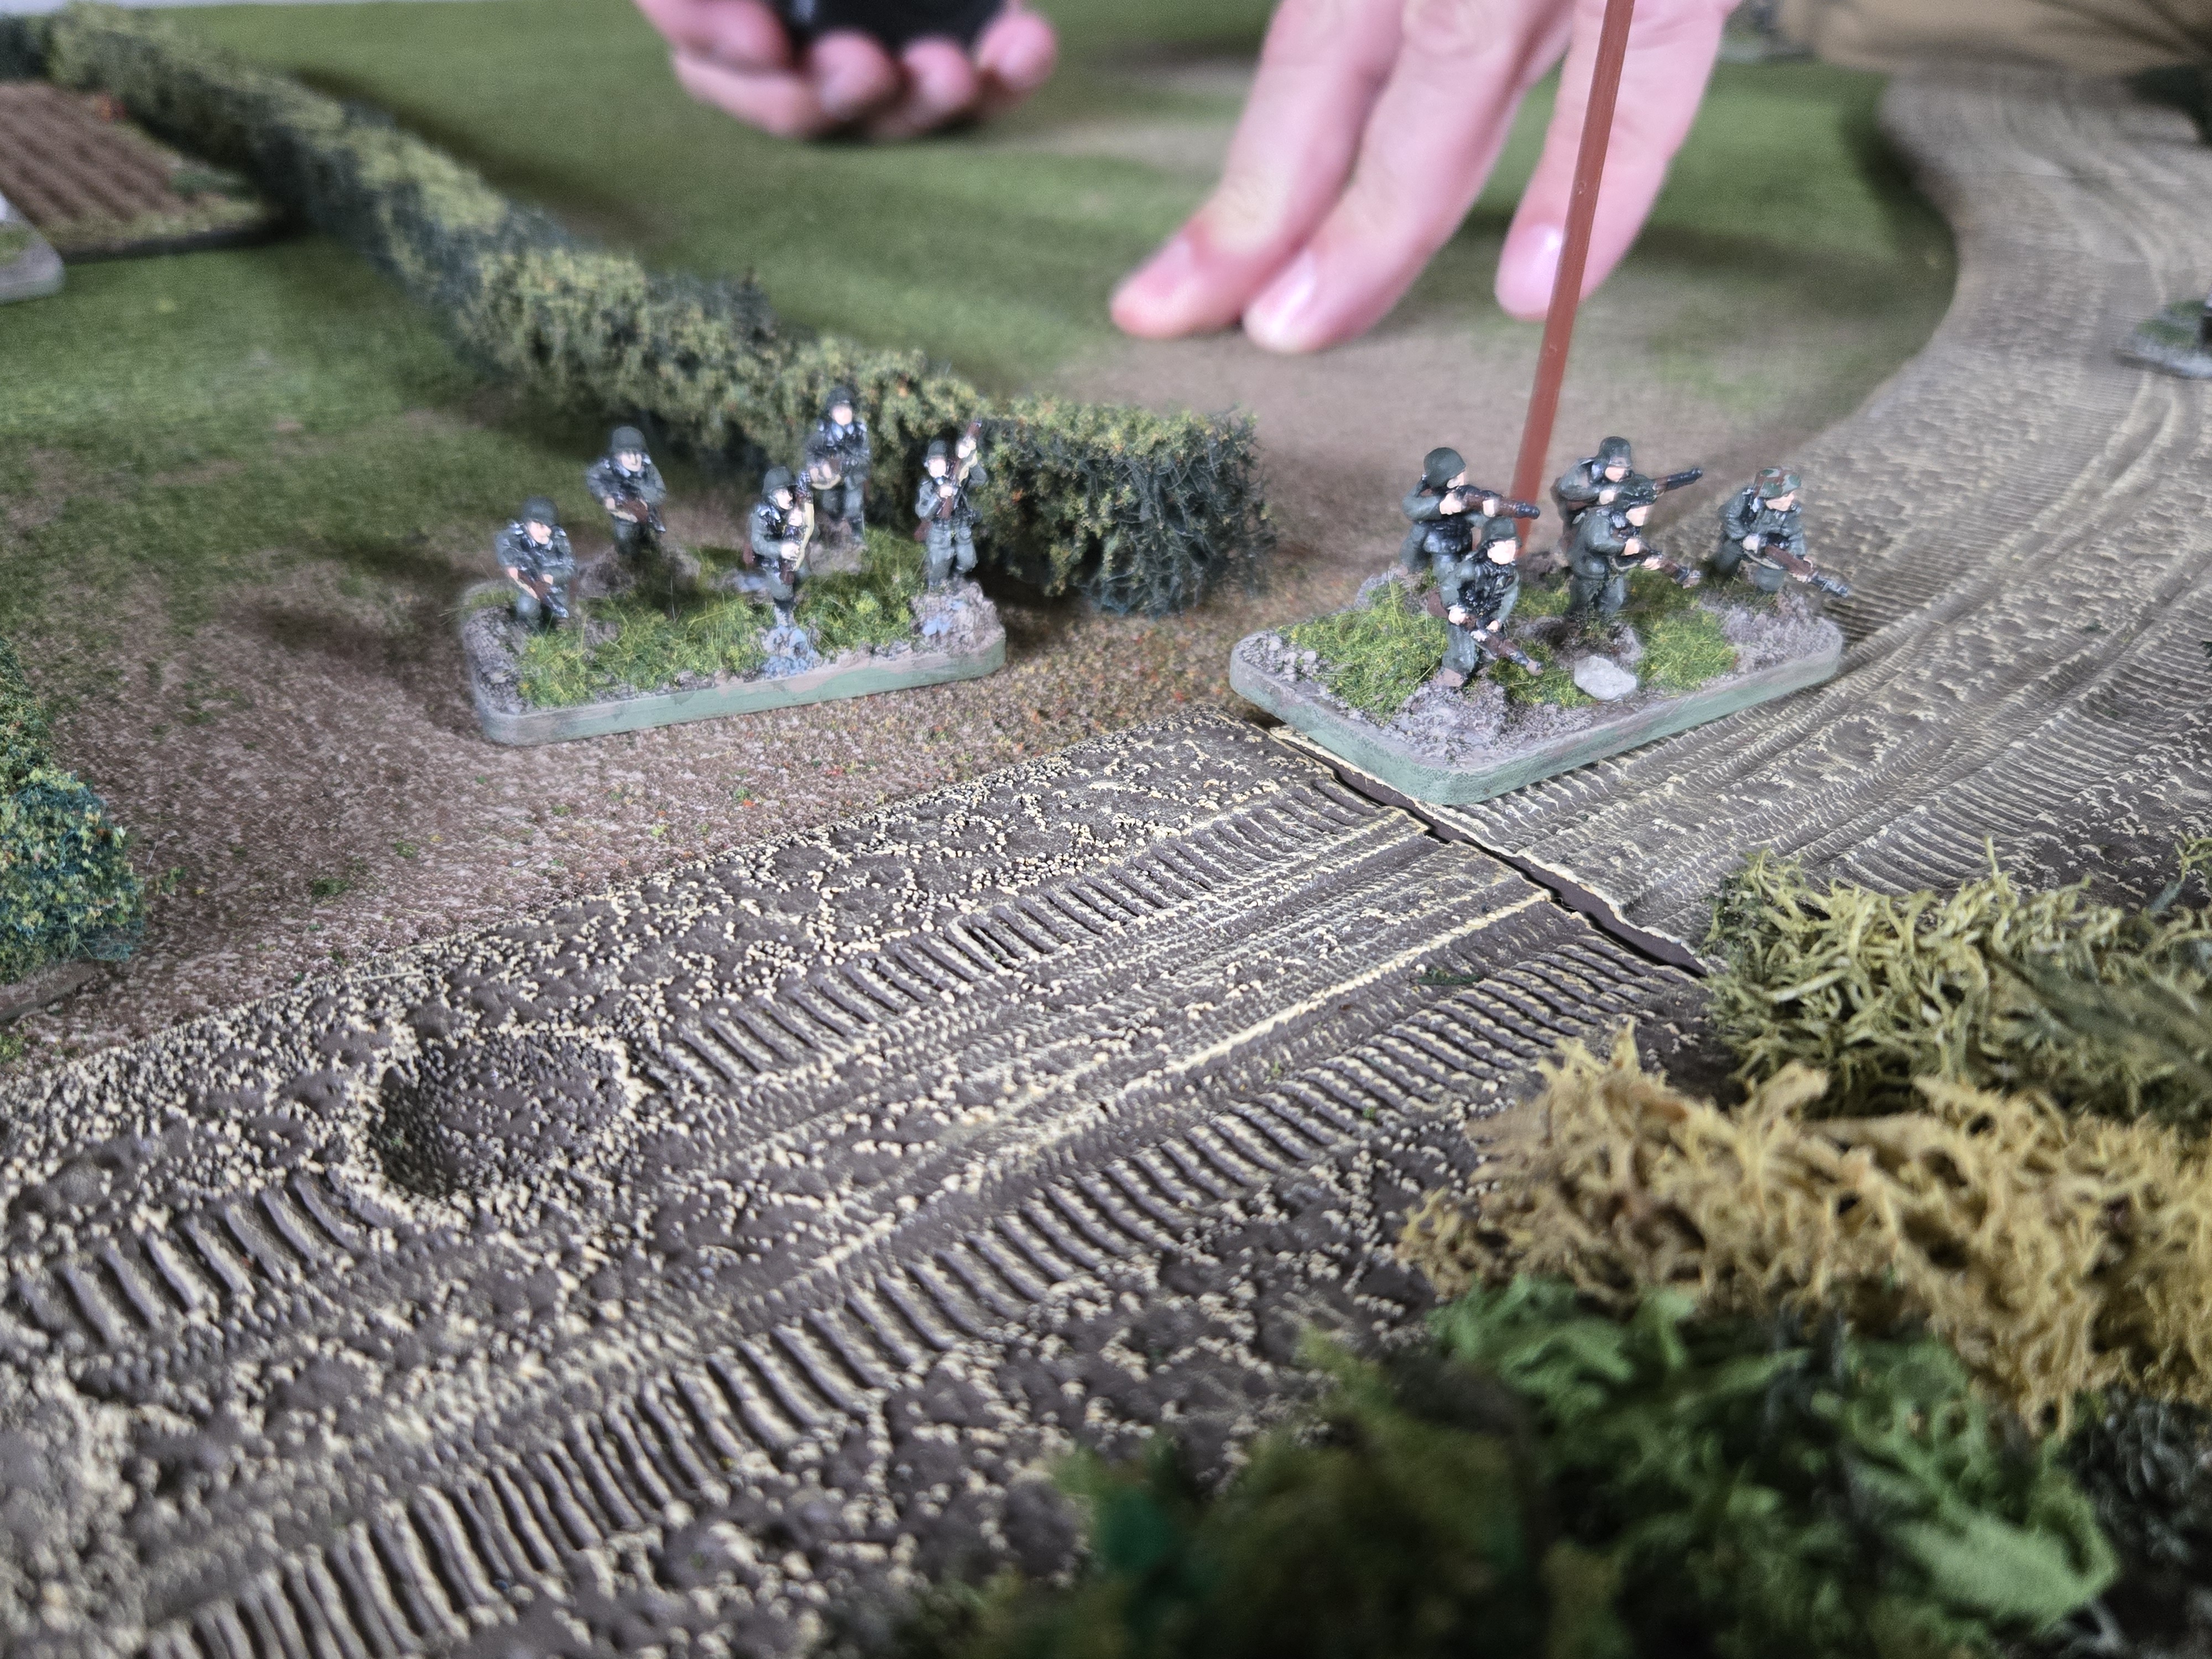
| He spots Germans crossing the hedges in company strength now from the crossroads. It's obvious where they're headed. |
 |
| German 3rd platoon advances past the chateau. "No shortage of targets" as he spits tobacco juice onto the wooden floor. The men in the courtyard are setting up the 60mm mortar as their platoon mates starts to dig in. |
 |
| MORTAR NUMBER ONE! HE QUICK! THREE ROUNDS! DEFLECTION EIGHT ZERO ZERO! ELEVATION ZERO FOUR ZERO! AT MY COMMAND! |
 |
| The mortars are dead-on but since it's a single tube, the rules make me re-roll the hits. I roll 2 sixes for the re-roll and the Germans bolo both of their saving rolls (snake eyes) and the Mortar team destroys an entire squad (2 teams) in a single volley. It's excellent shooting and it pins the German platoon by the road for the time being. LT Turnbull will take any successes he can get at the moment. |
 |
| Nice shooting men! A case of Calvados on me at the next farm that has some. |
The German 2nd platoon is pinned. It's the only shooting the Americans can manage this turn because the Germans are still too far away. It's also worth mentioning here that the American reserve rolls have failed on turns 1 and 2 so far. No big deal now, but the Germans keep closing the distance.
 |
| The Germans keep making their way towards the crossroads as their platoons cross country dash once the clear the first hedge line. The small arms fight is about to heat up. |
 |
| Turn 3 the Germans reach the hedge on the American left. Traversing his field glasses to the hedge on the right, LTC Vandervoort can start to make out the camouflage patterns on their helmets. WHERE THE HECK IS SECOND PLATOON. |
 |
| More Germans in the fields now spreading out to attack. |
 |
| Still no American reinforcements (looking for a 5+) |
 |
| The American reserve platoon and the ATG ambush still not yet committed. |
 |
| Meanwhile the mortar section manages to pin the German first platoon moving up to the hedgeline on their right. |
 |
| Turn 4 and still no reinforcements for the Americans |
 |
| Meanwhile the Germans are maneuvering to flank the junction on the right |
 |
| and they've reached the hedgeline on the left near the first house objective! Their ROF 2 LMG stands rip into hte American squads and pin LT Turnbull's platoon. LT T realizes it's time to spring the ATG ambush. |
 |
| The 57mm ATG ambush is sprung from the woods - not my original plan but there is not choice now. |
 |
| Heavy American shooting elimintes most of German 2nd platoon along the road the remaining single stand fails its "last stand" check and bugs out |
 |
| Meanwhile on Turn 5, a miracle as the reserve platoon finally shows up! The hedge to their front is crawling with MG-42 teams... |
 |
| The Marders have occupied new firing positions along the small road in front of the chateau. They can see the American reinforcements coming in! |
 |
| The platoon leader of the reserve platoon moves his men up at the double quick |
 |
| and is cut down at the double quick! No sooner is the platoon leader taken out - a new platoon command stand is appointed and they are taken out |
 |
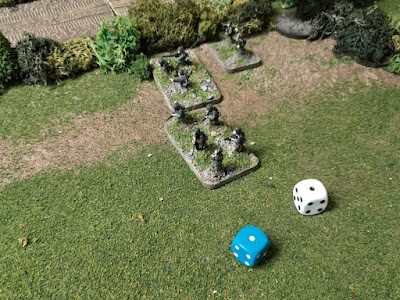
| one roll after another kills off much of the reserve platoon. at the top of turn 6. They pass their "last stand" check and all 6 men hunker down in the field - pinned by vicious MG-42 fire. They bought time for LT Turnbull's men to stay in the fight. |
 |
| All that's left of the reserve platoon... |
The end of the sixth turn requires a check to see if the game is going to continue on. I completely forgot about the time requirment and the space requirement for the Germans to occupy space within 8 inches of the objective. They have to be close - right? I still have another turn to assault one of the buildings - right?
 |
| If the Germans aren't within 8" of the objective, the Americans win. |
So the Germans bug out of Neuville and the Americans win by the skin of their teeth. While the German units are pretty small, they are bristling with firepower especially if stationary. If I could get the 2 remaining German platoons to work together they could have overrun the first house. As long as they're within 8 inches of the second objective (the house is across the street) they could continue the fight.
The lesson learned here is speed. Similar to my 13 (!!) Ulianovo games, you have to get stuck in as quick as you can. You don't have much time to waste softening the objective up. This is where your mortars can be incredibly useful as a pinned platoon fires at its moving rate of fire. I definitely took too long to get the Germans into position and 3rd platoon was in a good position to assault the first house on turn 5 but they didnt.
This was a tough scenario but I'm finding the smaller-point games are much more tense. There is little room for big mistakes whether in setup or in execution. I really enjoyed this scenario and may play it again soon - but for now I think it's going to be a return to Napoleonics on the blog. Here is a quick preview of what I've been up to lately:
 |
| Jacques - are we really back to doing 1/72 again? |