Ken and I played a fairly large game of Team Yankee on Sunday afternoon with 91/92 points (me/him respectively). My force consisted of an Armored Combat Team with an additional Mech Platoon, M901 TOW section, M163 VADS ADA section, the FIST team, M109 SP Howitzer platoon, and a flight of 2 x A-10 Warthogs.
Ken's forces consisted of 2 x T-72 Tank companies of 6 tanks each, a BMP motor rifle company of 8 BMP2s, a howitzer platoon of 3 x 2S1 SP Howitzers, a ZSU-23/4 Shilka ADA section of 2 vehicles, and a flight of 2 x SU-25 "Frogfoots."
Brian joined us for a short time and played the US forces with me. We diced for a random mission and got the "encounter" battle with delayed, scattered reserves. This scenario could be depicting a large Soviet breakthrough with random US forces being thrown in to stop them.
Needless to say, it was a tense nail biter with the outcome always in question.
 |
| The playing area. US forces coming in from the near side. Sov's starting on far side. Reinforcements starting on turn 3 would come in from random portions of respective sides. |
 |
| US Starting Forces |
 |
| US delayed reserves. Mech platoon, Howitzer Platoon, SHORAD. FIST, and Company Commander |
 |
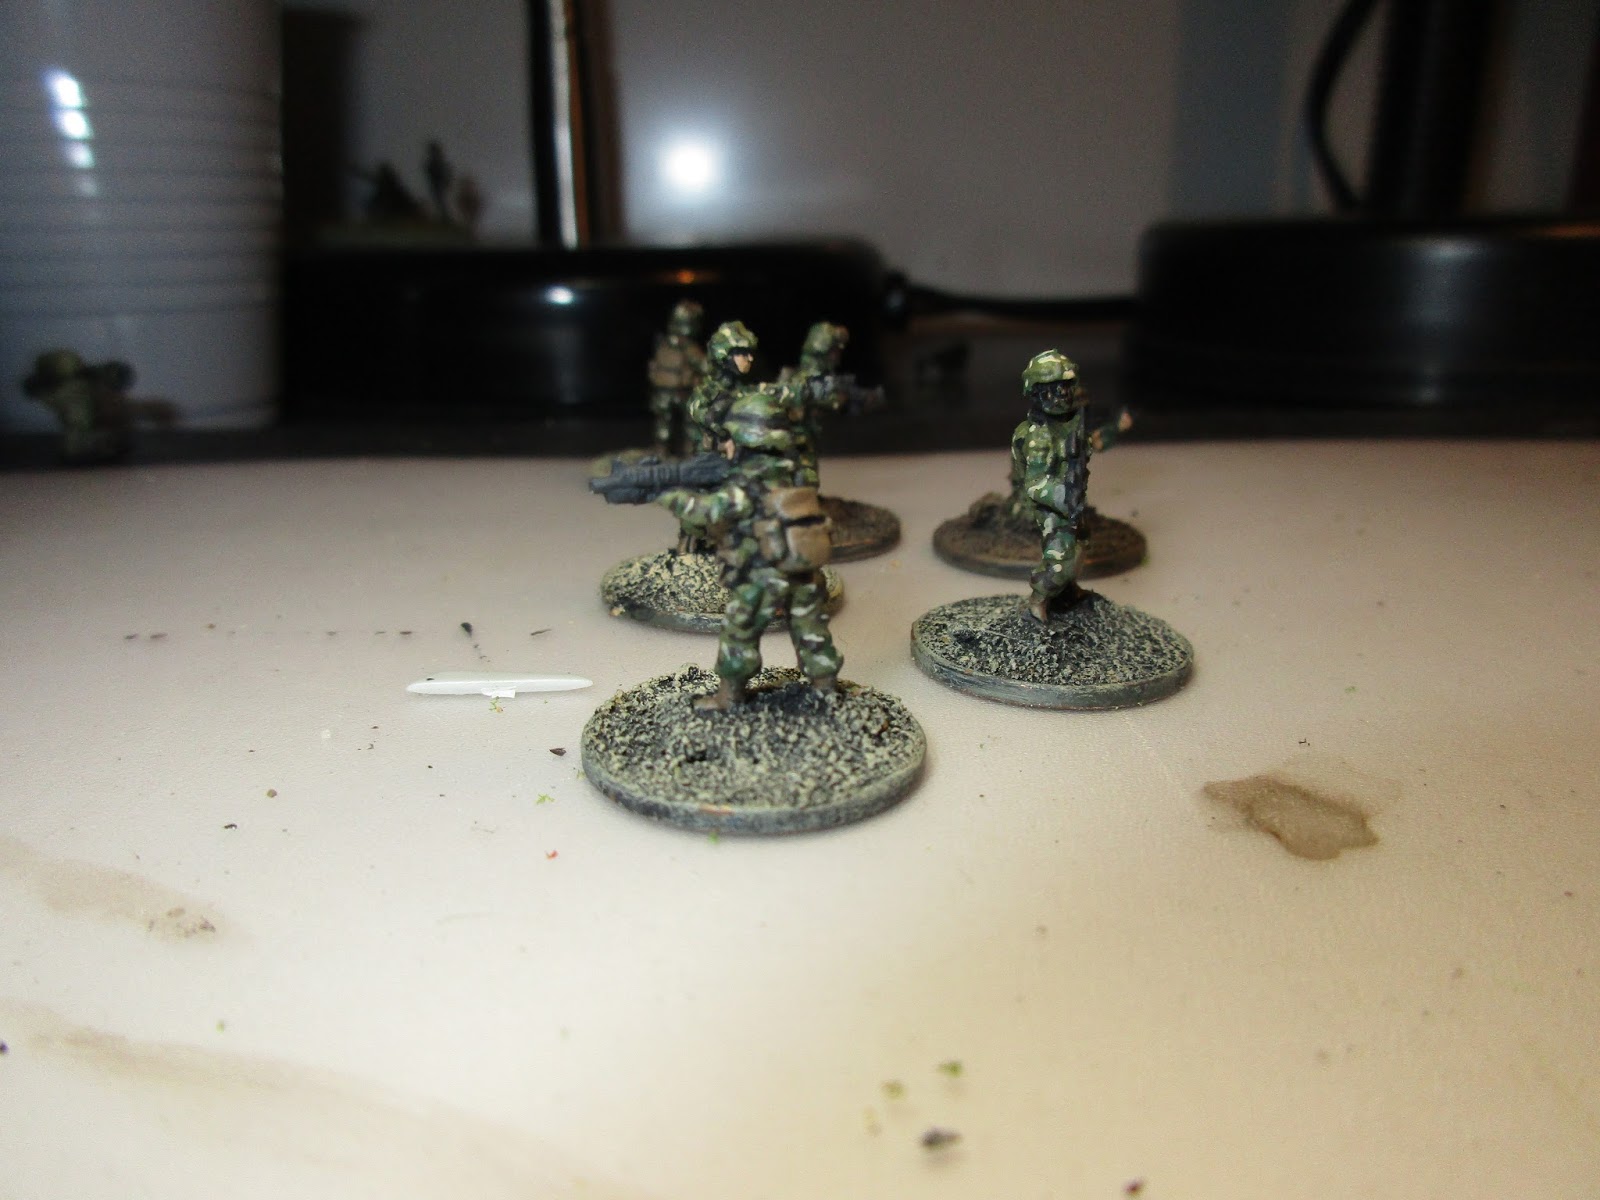
| US Infantry and ITOWs crossing the LD. (nice MERDC!) |
 |
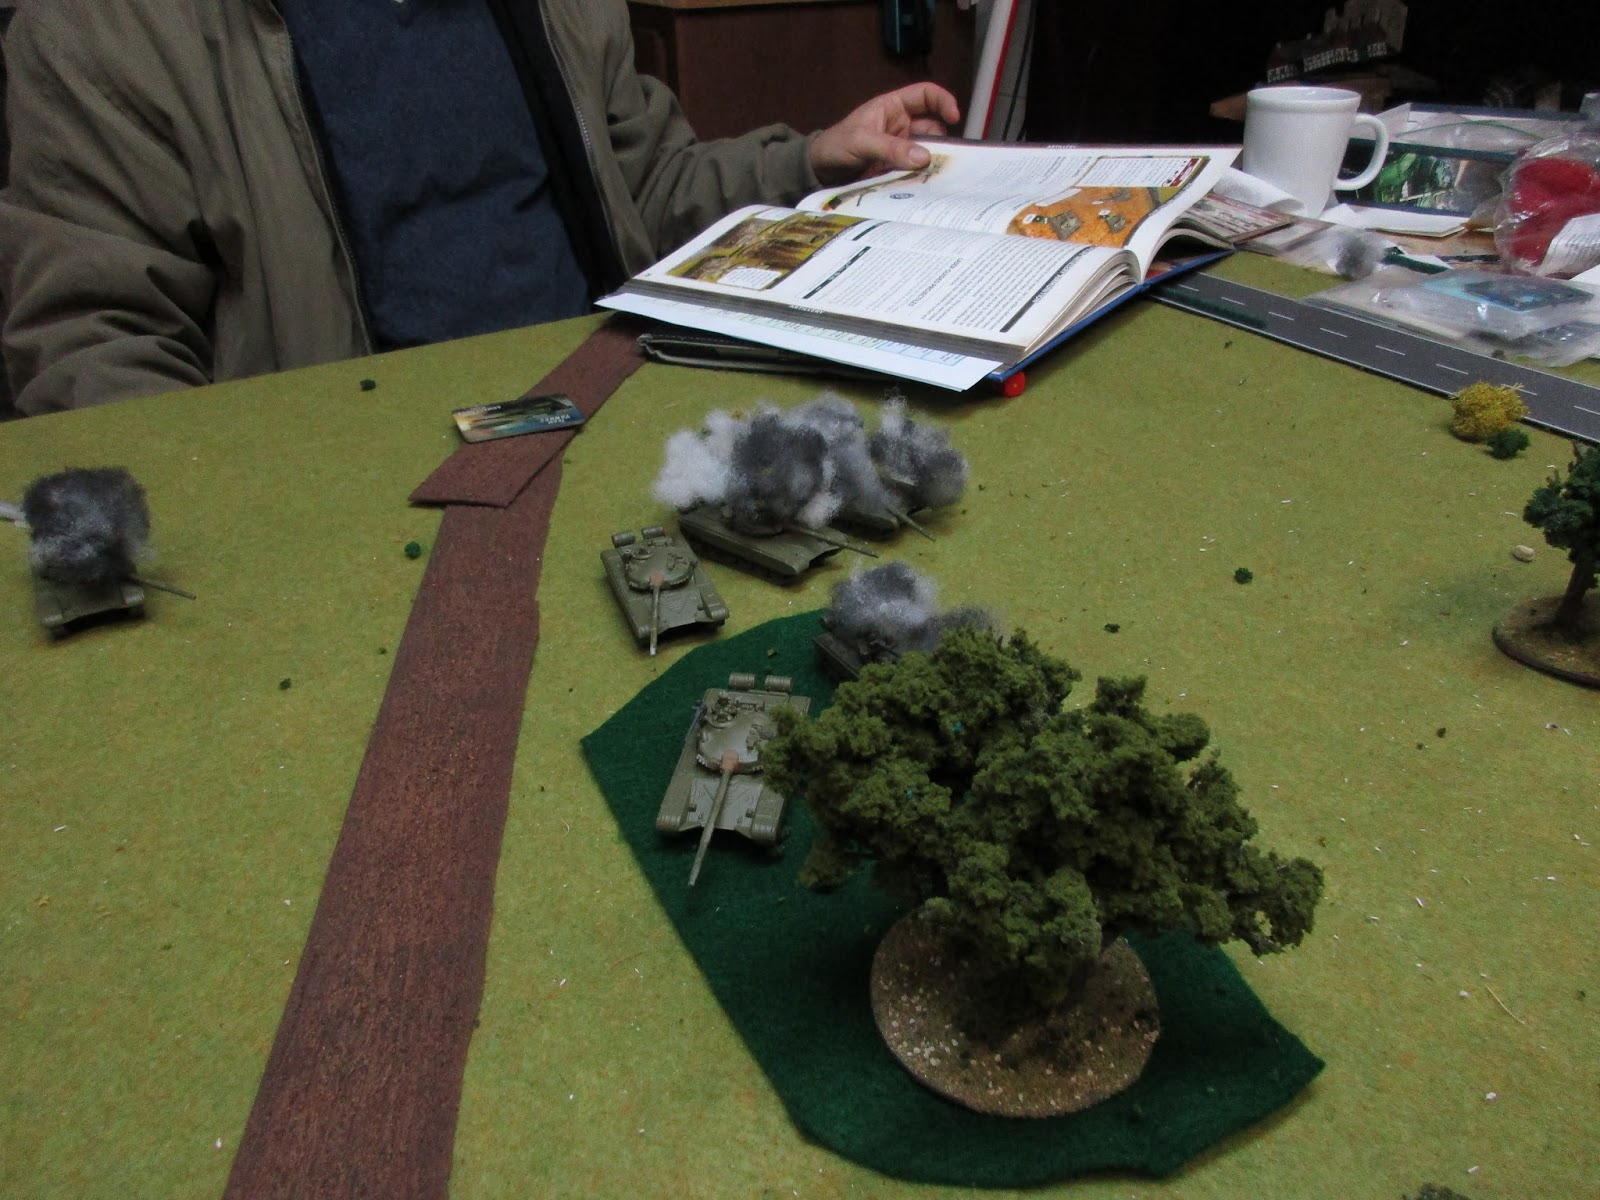
| Ken wisely put his artillery on the table from the start. I should have done that in hindsight. First lesson learned for this AAR! |
 |
| Ken's T-72s moving out! This company would end up getting into a tank knife-fight with my M1s. |
 |
| M1s moving up! |
 |
| M1 platoon of 3 on the far right. M1 platoon of 4 on the left. Trying to control gaps in the forests. |
 |
| No surprise here.... |
 |
| Frogfoots inbound! |
Ken's first Frogfoot strike KO's both of my ITOWs...what's that rule about the time on the board is commensurate with the quality of the paintjob? Anyways this M901 unit got wiped out - figures - the guys with the best paintjob!
Another turn - another FROGFOOT Sortie as Ken's dice don't disappoint! He moves in for the kill with both his Artillery and his SU-25s targeting my M1s in the center!
Meanwhile my smaller M1 platoon is sneaking through the woods on the right hoping to get some good shots off. At first their mission is flank guard. It then turns into full scale main effort attack.
 |
| Ken's tanks moving up! |
 |
| Frogfoots!!! Arrgghhh!! |
 |
| With the following results... |
 |
| The M1s see an opportunity and go for broke. |
 |
| Meanwhile the infantry on the left buzz along at their top speed. I'm hoping to deploy my infantry on that far woodline to threaten that Soviet forward observer as well as his deployed artillery. |
 |
| Comrade Battalion Commander Ken moves his next echelon of tanks up. Reinforcements start appearing now. |
 |
| The sole remaining M1 of the larger 4 vehicle platoon backs off from the line. Note the Vulcans coming up behind him. |
 |
| Soviet tanks take up positions on the hill and trade shots with M1s in cover. |
 |
| A-10s on station! Callsign SNOWMAN |
 |
| The SHORAD moving into the village. Guys - the target is on the OTHER side of the battlefield! |
 |
| Sweet shot here as the M1 takes out the BMP observer FO for the Soviet arty. (actually an MTLB model but oh well). |
 |
| Infantry dismount but I can't use the Dragons this turn. |
 |
| Ken's guns are still pounding the woodline where the infantry are now -resulting in a pin on my troopers! |
At this point I have an M1 platoon threatening an objective! Ken's skillful use of his reserves and his Frogfoots here turn an American victory into a "eh??" as 2 out of 3 M1s are blasted into oblivion and his BMP2s deploy just in time to contest the objective!
 |
| They fail their rally....so these guys aren't going anywhere. Break out the MREs fellas! Snacktime! |
 |
| Along the "hardball" I've got an M1 and the SHORAD moving up to the next objective. They're within 4" but it's technically contested due to Ken's 2S1 howitzers in position! |
 |
| The reserve mech platoon shows up as the battle winds down and the FIST also shows up. Artillery never misses SP time.... |
 |
| More FROGFOOTs coming in but this time they only bail the M1, which remounts. |
Ken uses his Motor Rifle Company to assault the lone M1 and force them off the right objective.
 |
| gratuitous shot of my howitzers. They wouldn't get to fire the entire game.... |
 |
| Ken's infantry assaulting the lone M1 on the objective |
 |
| M1 backing off! |
FINAL THOUGHTS
So this was a big battle and full of nerve-wracking tension the entire time. Think my lone M1 on the US left, next to the 2S1s won the day? Well, not exactly since the BMP's terrain dash was enough to get them into range to contest the objective on the other side as well. So Ken had his dismounted infantry protecting my first objective, and a boatload of BMPs moving to contest the second objective. We had to call the game because we ran out of time. Ken conceded that he might not have been able to reach the US side and his own objective markers, but you never know. This was going to turn into an infantry fight with only 1 US tank left on the board, and Ken's command tank still slated to arrive! It's interesting to note that we both had an equal amount of infantry on the table. So anything was possible!
This was an epic fight and was our second game of TEAM YANKEE. While we had a few more questions this time around, I think we're getting the hang of things. Additional questions make sense considering we also had additional toys on the field. The modern battlefield is a deadly place and there were no shortage of knocked out tanks all over this table! I know this may be considered heresy, but I'd like to play Sabre Squadron or Third Generation Warfare with these exact same vehicles and see how it turns out, but back to Team Yankee...
It's funny how in the game the armor moves towards enemy armor naturally and the infantry take their role in seizing and holding terrain naturally as well and I think that's a great credit to the game itself. Combined arms is easy to talk about, but difficult to game and I believe Team Yankee gets it right here.
I told Ken I'd like to play a scenario from the book next so I'll have to look that up and see what (if anything) I need to paint next. From the looks of things we're doing OK in the vehicle department.