Tuesday, June 30, 2015

CROSSFIRE - EASTERN FRONT!

Wow it's been awhile but Crossfire has the familiarity of an old, well worn pair of hiking or running shoes.  I mean that in the best way possible.

This scenario pitted a full strength German infantry Kompanie against a Soviet Infantry Company in terrain that is somewhat reminiscent of the Kursk battlefields.


Good shooting, Ivan!

The Battlefield.  The Germans have to cross their center line and seize 4 Soviet terrain pieces for at least 4 initiatives.  A tough nut to crack!  The Soviets are on all the hilltops in the foreground.
 The German assault starts out disjointed and unfortunately too spread out to make a big difference.  The fight degenerates into small platoon and squad actions without allowing the overall plan to come together.  Speaking of which, the overall plan was for a German platoon in the center to feint and pin the Soviets down while the companies on the flanks raced around and flanked the Soviet positions, making their stand untenable.

Before I started using my markers.  1 bead is PINNED 2 beads are SUPPRESSED.
 
The defending Soviet squads fought like hell and these Germans would be pinned as soon as they rallied.  
 To be fair, I didn't have nearly as many terrain pieces as I should have.  Probably just enough so LOS didn't extend down the entire table.  This is Kursk, afterall.  Your terrain pieces are standing crops, small copses of trees, a few farm houses, and some hilltop positions.  Since the Soviets are defending and, hey, because it's KURSK, all Soviet units on hills are considered in "protective cover" given the rifle pits they dug over time.

Soviet platoon leader directing the action.  COMRADE CAPTAIN!  REQUEST ARTILLERY SUPPORT!  THE GERMANS ARE MASSING IN FRONT OF ME!  "NEGATIVE...YOU HAVE NO AUTHORIZATION...OR RIGHT... TO REQUEST SUPPORT OF ANY KIND, COMRADE"

What happens when your defensive fire doesn't score a single hit.  Playing this game today I realized what Arty Conliffe is trying to do.  Every decision should be thought out - should I shoot or should't I?  The ramifications of a NO FIRE at an inopportune time can mean an enemy breakthrough that you can't afford.

THe Germans realize that no single Platoon on its own can over-take the Soviet positions.  So they start to shift, trying to use a platoon as a base of fire (Crossfire) to suppress while another platoon maneuvers.  (Did this commander just graduate from Infanterie Schule or what?)
 
DEAR DIARY:  I AM LOOKING FORWARD TO GOING INTO ACTION TODAY AND STOMPING THE FASCIST SNAKE INVADERS WITH MY AnTi Tank GUN.  I WILL PIVOT IT TO TRY AND SHOOT AT THEM.....WHAT DO YOU MEAN PIVOTING IS A SINGLE ACTION?  Private Trotsky.  Killed by super-accurate German MG42 reactive fire.  100% effect on target.
 
Private Trotsky's gun
 Amazingly, German reactive fire to the AT gun pivot knocks the entire crew out and they never got a chance to fire.  The Soviets see the Germans trying to move platoons around and move to reinforce their own lines with plenty of reserves!  It's amazing to think that only about 3 or 4 squads have held back and entire infantry company for the first part of the game!

Soviet PL attempting to cross a linear danger area.  Bad news for him and his runner.

Soviets bring up more troops
 The German 3rd Platoon attempts to maneuver against the hilltop position on the Soviet right and meets a sad fate.  One section after another is wiped out by reactive fire, starting with the MG42 HMG section, then more squads - caught in the open trying to move across a drainage culvert or some other open area.  This game is brutal!

3rd Platoon's Day just got alot worse....


Germans attempting to move a platoon back behind cover


Very strong Soviet position with the HMG and an infantry squad.  They would bring pretty effective fire down on the Germans for most of the game.

And the Soviets still have plenty of troops available.

Action heats up as the Soviets sense an opportunity - and then become suppressed in the open!


Germans making use of that 81mm mortar section finally get serious about moving under fire.

The Soviets have carved out a position in the crops on the upper left of the picture and more squads are en-route to reinforce them!
 By now, if you were a pessimist you would be forgiven for thinking the German assault had stalled out.
Things get messy.  1 German platoon is pushed back and a single remaining squad is fighting for its life in the cornfield.  A platoon on their left comes to their aid, and intends to make Ivan pay for each millimeter he moves forward - but since the Germans keep scoring pins, they are able to keep the Russian's heads down. This is gritty combat at its worst!

Finally we get to the matter at hand.  The Germans are able to close with the Russians and after 2 rounds of ties, they win on a third die roll.


The Soviets are watching the combat carefully.  They are from another platoon moving right in behind their comrades.


An 81mm mortar barrage fails to score any hits.  That's OK because another platoon is lined up for a Crossfire!  This finally clears the crops of any Soviet squads, but the German attack has completely ground to a halt at this point.  Not an auspicious beginning for the Kursk offensive!


Smoke is visible through the trees


Meanwhile the rest of the Soviet platoon gathers to assault the German line!


The Germans would pay dearly for those 2 squads in the open like that.

Soviets commit more troops to their left flank, including the HMG.  


OUCH!  4 hits against this squad moving in the open.  They're done.  The German assault peters out...
Thoughts:

Boy it's been a long time since I've gotten to play Crossfire.  I have to admit, it's alot more fun with an opponent.  It gets a little tedious by yourself but it's still a very fun and very satisfying (and also very realistic) game.  There were a few times I had to look some things up, but the rules come back to you pretty quick, and true to form, I didn't even need the QRS after the first 25 minutes of playing.

I like the abstraction of time down to "bursts" of action that are most likely occurring simultaneously, but in a sequence on the table.  I found that I rather fixated on one side of the line and would then transition over to other parts of the fight and here is where a play clock would ensure that I was making the best possible use of the initiatives I had.  I squandered them away by shooting constantly which brings me to another point:

Making Good Decisions: In Crossfire, you're rewarded for using your troops and resources wisely.  Hey I'm a former Artilleryman and I love blasting targets to hell, but many times you need to cover your advance with smoke so your troops can get there untouched.

Same with shooting or moving - you learn quickly that when you actually have the initiative, you should conduct actions that are more likely to enable you to KEEP the initiative - so move up your reserve if it's in cover.  Because if you start shooting with your HMG, chances are you might not get a chance to bring them up and then you'll be in real trouble.

Something else I like about Crossfire is that games, just like battle, develop a momentum of their own and something can happen that changes the course of the battle - an untimely NO FIRE on your defending squad can mean an enemy breakthrough and all you can do is watch it happen!

  In this case, a well-placed HMG grouped with a platoon commander and a handful of squads can wreak havoc on the enemy - case in point was this game where 1 Russian platoon was able to hold up a German infantry company for quite a long time.  The way around this?  Fire and maneuver.

The Germans should have used their platoons in conjunction with one another.  The Russians were well placed, but they were also vulnerable to being isolated by fire as the terrain was much more open than Crossfire recommends.

Anyways, a very fun game.  Reminded me of why I liked Crossfire so much in the first place.  An excellent set of rules and just what I was looking for- where a stand equals a squad.  I'm tempted to try this same scenario using Squad Leader in Miniature and see how it turns out.

Monday, June 29, 2015

MEIN GOTT we're being rebased again???

If you're standing up, better sit down for a minute.  So I have embarked upon yet another rebasing project.  The latest in a few year's worth of rebasing projects.  Having re-read Arty Conliffe's "Crossfire" rules (among other rules lately) I decided on a scheme of basing that will support - quite literally - any game I'd like to play.  Using wooden, Flames of War styled bases, I'm going with a "fireteam" concept for my World War II troops and that will eventually carry into moderns as well.

This will allow me to use 1 stand as a squad for Crossfire, Blitzkrieg Commander, Rifle Team in Flames of War, etc.  It also looks a little more "respectable" as a platoon-sized stand if I got that route.

And fear not - if you have liked reading my "Battlegroup" posts, these squads are specifically tweaked for Battlegroup games.  I'll explain.


The quality of quantity.  My Soviet horde in all its glory.  So each stand is a "Squad" for Crossfire.  4 squads = 1 platoon.  I have 5 platoons in all.  I have 4 troops based per squad, so 2 x stands are 1 Battlegroup Soviet Squad.  Every other stand has a DP LMG!  Sweet!  These babies will even work with Squad Leader in Miniature!!  Platoon leaders based on the circular stands, as well as support weapons.
 Casualties will just have to be tracked via "the little red dice" or some other appropriately sanguine method.
Soviet team
 Also, I still have my Bolt Action / Disposable Heroes single based platoon but they are not pictured here.
Soviet HMG gunners!

Been cutting up my fingers something fierce but wait until you see these 2 Shako divisions I've rustled up with my new square bases.


German rifle team.  I separately based my LMG stands and as you may or may not know, they have absolutely no place in Crossfire.  So I'll use them for Squad Leader, Battlegroup, etc.  A full line = 10 German Soldiers in a full squad.  1 base of 3, 1 base of 4, and a LMG stand!  (also for Crossfire, each stand = 1 squad).


German FO stand next to the weapons platoon

Full German "Battalion" of squads for Crossfire, etc.  1 line of troops = 1 squad for Battlegroup

Full Soviet "Battalion"  Or a mighty 10 Russian squads for Battlegroup!!!  Platoon leaders are on the right.  Support units to the front!

The leftovers go to the Bolt Action platoon!  (the Shtraf Company!)  Oh and note my 2 experimental "casualty" markers on the right.  They need some work but you get the idea.
 And now for the Napoleonic pictures again!  After reading and re-reading Shako, I want to give it another "go" so here they are in all their glory.  (also, I had nothing against 6 stand figures, but as David F poignantly pointed out, I don't have enough troops painted.  So 4 troopers to a smaller base works better for games like Shako or Age of Eagles when more stands are better.


Shako Napoleonic French Battalion

The division in all its glory!


 Okay so next up - need to rebase my SYW and AWI troops onto the new chunkier stands.  I'll hold off on the ACW guys until I get more squares in the mail.  I also need to order flock to flock all these guys!

  One of the other reasons I'm doing this is the flatter stands catch when I'm using a gaming mat.  So the chunkier bases is more conducive to picking up the lads by their bases as well.  Also, they square inches as opposed to "whatever" with the woodsies I've used for years.

Going to play a game of "Crossfire" soon so watch this space.  I'd like to throw a German Company against a Soviet Company and see what happens!

Monday, June 15, 2015

Muskets & Mayhem CORPS Level Playtest

I played the first game of Muskets & Mayhem Corps Level rules today with a very small force consisting of a unit of 5 French Battalions and 2 Artillery Batteries attacking a ridge held by 3 British Battalions.

This game brought to light some issues with morale, the question of adjudication of morale checks, and some other small issues that should be addressed prior to moving forward:


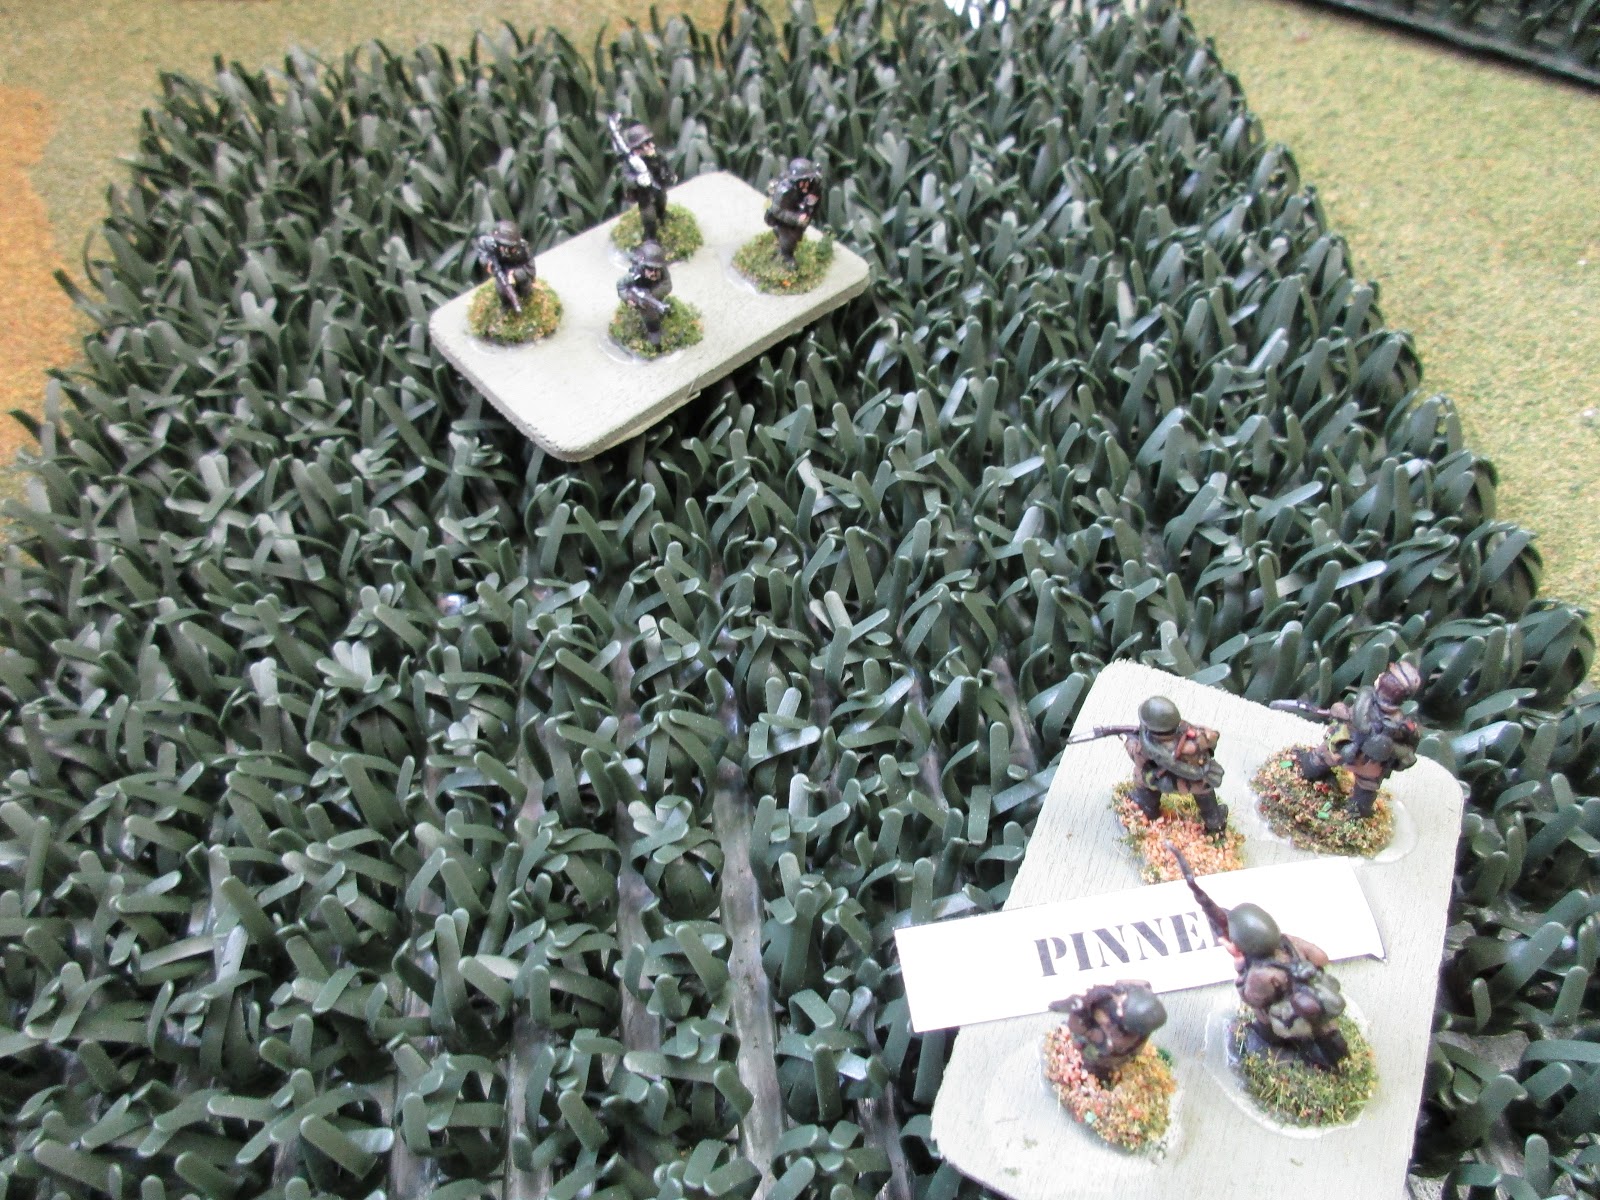
Here they come, lads!!
 First of all, the sequence of play worked perfectly and although the British didn't really need to win initiative (they sat stationary for 85% of the game), once the French closed and the British position became more dangerous, the initiative roll took on a new importance as the one who moved first would be in an advantageous position during firing.
And they came in the same, old way.
 Just like in the original Muskets & Mayhem, stationary troops get an advantage by firing first.

 The French advanced straight in column right up to the British position.  Solid musket volleys and good rolling in melee push all of the French battalions back.

Morale:
The question of morale nagged me the whole time.  When to check?  How to check?  Here's how it played out:

Whenever a unit takes a Strength Point Loss, it makes a Morale Check.  The basic morale is the same number the Battalion makes to shoot and make saving throws.  (all units in the game were regulars, so their basic morale is a 4+ on a 1D6.).

First question - since your troops are ordered to charge - do you make a pre charge morale check?  Or dispense with the pre charge MC?  I didn't do it as I saw it as an unnecessary, redundant penalty.

Then I thought that was too simple and probably unrealistic.  So here's what I came up with this game - if morale was Shaken (yellow beads) or disorganized (black beads) you had to pass a morale check to carry out any movement.  Shaken simply roll your morale and carry out operation.  If you were disorganized, you could attempt to pass MC with a -1 modifier.  If you pass, you move from Disorganized to Shaken.

Rally order simply removes all Shaken markers, and Disorganized becomes Shaken but the unit must remain stationary and cannot do anything else that turn.

I thought these were good compromises.
Reeling after the first assault, French troops all shaken or disorganized.
Melee
Onto the melee.  So melee was handled just like shooting.  Units attack with their SP dice, depending on how many they had.  Therefore 2 beat up French Battalions, each with strength point "2" got 4 dice when attacking a fresh British Battalion that gets 4 dice.  Worked out nicely this way, and I think handles multiple unit combats very neatly.

Loser of the melee retreats and loses 1 level of morale.  If already disorganized, unit disintegrates REGARDLESS of strength points.

Disorganized Units:
Disorganized is a very dangerous state for units to be in.  A disorganized unit who fails a MC after melee is wiped out.  A disorganized unit who fails a MC after shooting, loses 1 additional strength point.  (does not count for rallying units, on rally orders.  Failure just means they sit there as they were before they attempted to rally).
French Division Commander considers his options...
 Artillery
I like the artillery rules alot.  The ranges are solid for the Napoleonic era and my 2 batteries were able to really bring the hurt onto the smaller hilltop, and effectively softened up the British Battalion prior to the ground troops assaulting it.  Once contact was made, the roll of the artillery diminished considerably as the hills were masked by friendly troops.  Long range these guns fired with 1 die.  Effective range 2 dice.  Close range 3 dice.  Had the British had a battery in support, the game may have played out differently.


 Light Battalions and Skirmishers.
At some point I wished the British player would have had skirmishers to fire at the massed French columns cruising right towards their position but didn't think to include skirmishing in this game.  Probably need to rethink that. (option with your Brigades or Regiments to detach a battalion to skirmishing duties, break it up into small stands, and work their way forward from the main body).


Ahhh what the hell.  DIVISION ADVANCE!
 Timing
Another problem revolved around timing of morale checks.  Trying to remember to make a morale check in the morale phase was tough so I ended up taking MC's immediately after casualties were caused.  In this way, I made sure I didn't forget.  With 20 or 30 Battalions on the table, this kind of book-keeping would be tough, especially in the heat of battle!
If you HAD to have the Morale Checks in a separate phase, you could place a marker (casualty or skull & crossed bones etc) marker next to the lads as a reminder.

I marked casualties with red dice but casualty markers or stones would probably look much cooler now that I think about it.
A different strategy this time - the French will advance in line and fire on the British.

New tactic works as another battered British Battalion leaves the field.
 If the British would have had reinforcements behind the hill as was customary, they probably could have held onto the position.
French occupy the small hill.

Thoughts so far:

Well a little choppy but otherwise a very fun and satisfying game, at least as much so as the original.  I am looking forward to playing more of this and incorporating more units, cavalry, grand batteries and the like.

PS orders were given to individual battalions, not brigades as I had originally though.  I have no idea how realistic this is, but it makes the game move faster and is probably more fun as it allows you to maneuver and fire.