The other day I threatened to play Neil Thomas' Napoleonic Wargaming rules and today I made good on that threat. This is part I of the battle, which is pretty inconclusive so far but the reader will note my observations...
The scenario is a French assault of an Anglo-Portuguese held village. There is a crossroads in the center (isnt there always?).
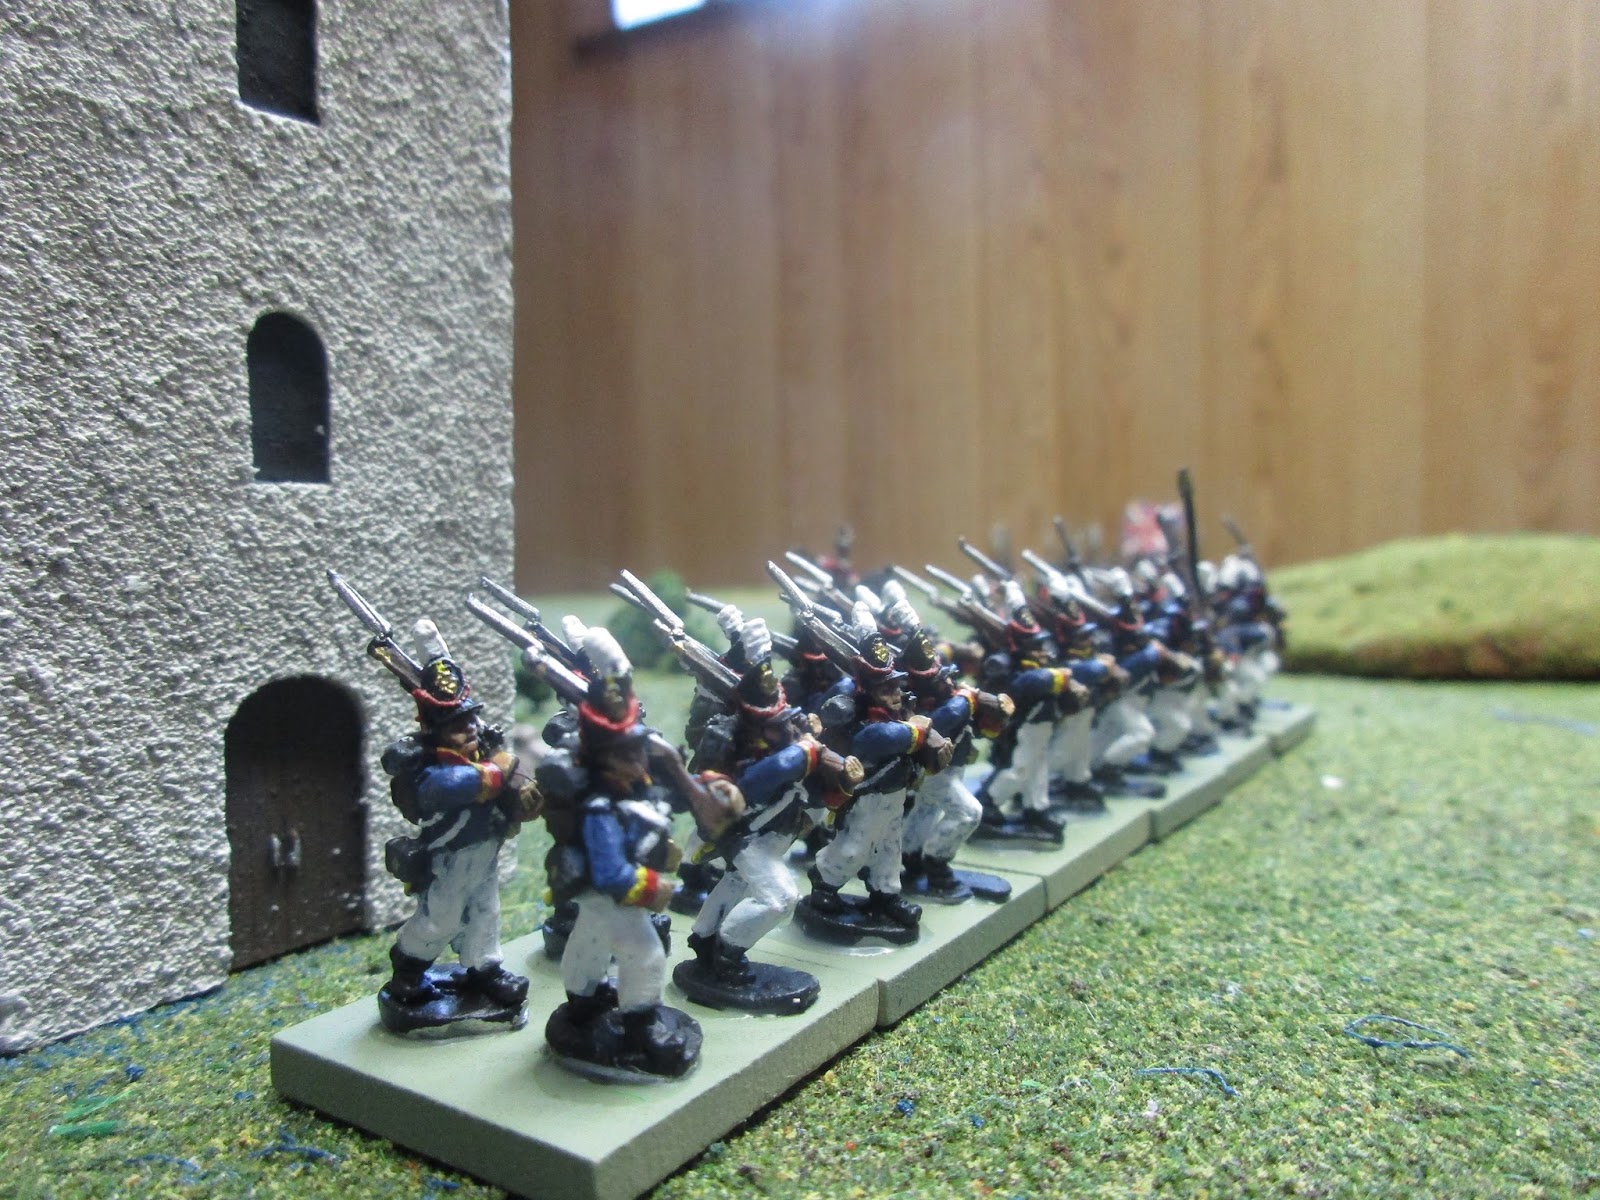
The French force consists of 6 Battalions (1 classed as "elite" and is in a reserve position behind the center) of line infantry, 1 light battalion performing skirmishing duties, a light cavalry squadron, and an artillery battery. One of the battalions on the French side are my Italian volunteers.
The British force consists of 4 Battalions, with 1 Portuguese Battalion, and 2 artillery batteries, 1 British and 1 Portuguese (Bavarians standing in for Portuguese artillery until I can get my crews painted). 1 Battalion is classed as "elite" and also in a reserve status behind the village.
While Neil Thomas' rules call for 4 stand units, I dressed mine up with 6 stands just to make them "look cool." Stand removal and shooting remain the same, I just leave 2 bases for the final stand, instead of 1. This has the added effect of making assault columns look much bigger and more menacing...The British also have 2 light battalions in a skirmish capacity.
Prior to the battle, I was really looking forward to finally using these light troops in their actual capacity. The results did not disappoint!
As the British player you are allowed to place hills down in front of your force. Kind of a neat rule. No one ever thinks to move terrain features around but this is a great feature and kind of emphasizes the well thought out British use of terrain in establishing their positions.
 |
| British lights skirmishing. |
In order to get the "cloud" effect of skirmishers, I base mine individually (actually for use in skirmish games) and instead ensure that each figure is no more than 7cm's from an officer or NCO stand. Shooting is arbitrary and not done from the figure/base like their line counterparts. I just select their target, count the stands, and shoot.
 |
| Portuguese take up position to defend their village. |
 |
| Another hill. British Royal Artillery and a Battalion take cover behind another land mass. Placed, of course, after the French set up! Damned British cheating! |
So the Anglo-Portuguese force is all comfortably positioned to meet the French assault. Lights to the front! The first move, both sides send their light troops into the fray.
In another interesting aside, I wanted to use my French cavalry a little differently this time and kept them on the British flank in order to tie down a unit or 2. The British site their artillery on the squadron and the infantry to their front sit tight! That's good for the French center and right.
 |
| Venerable Italian volunteers |
 |
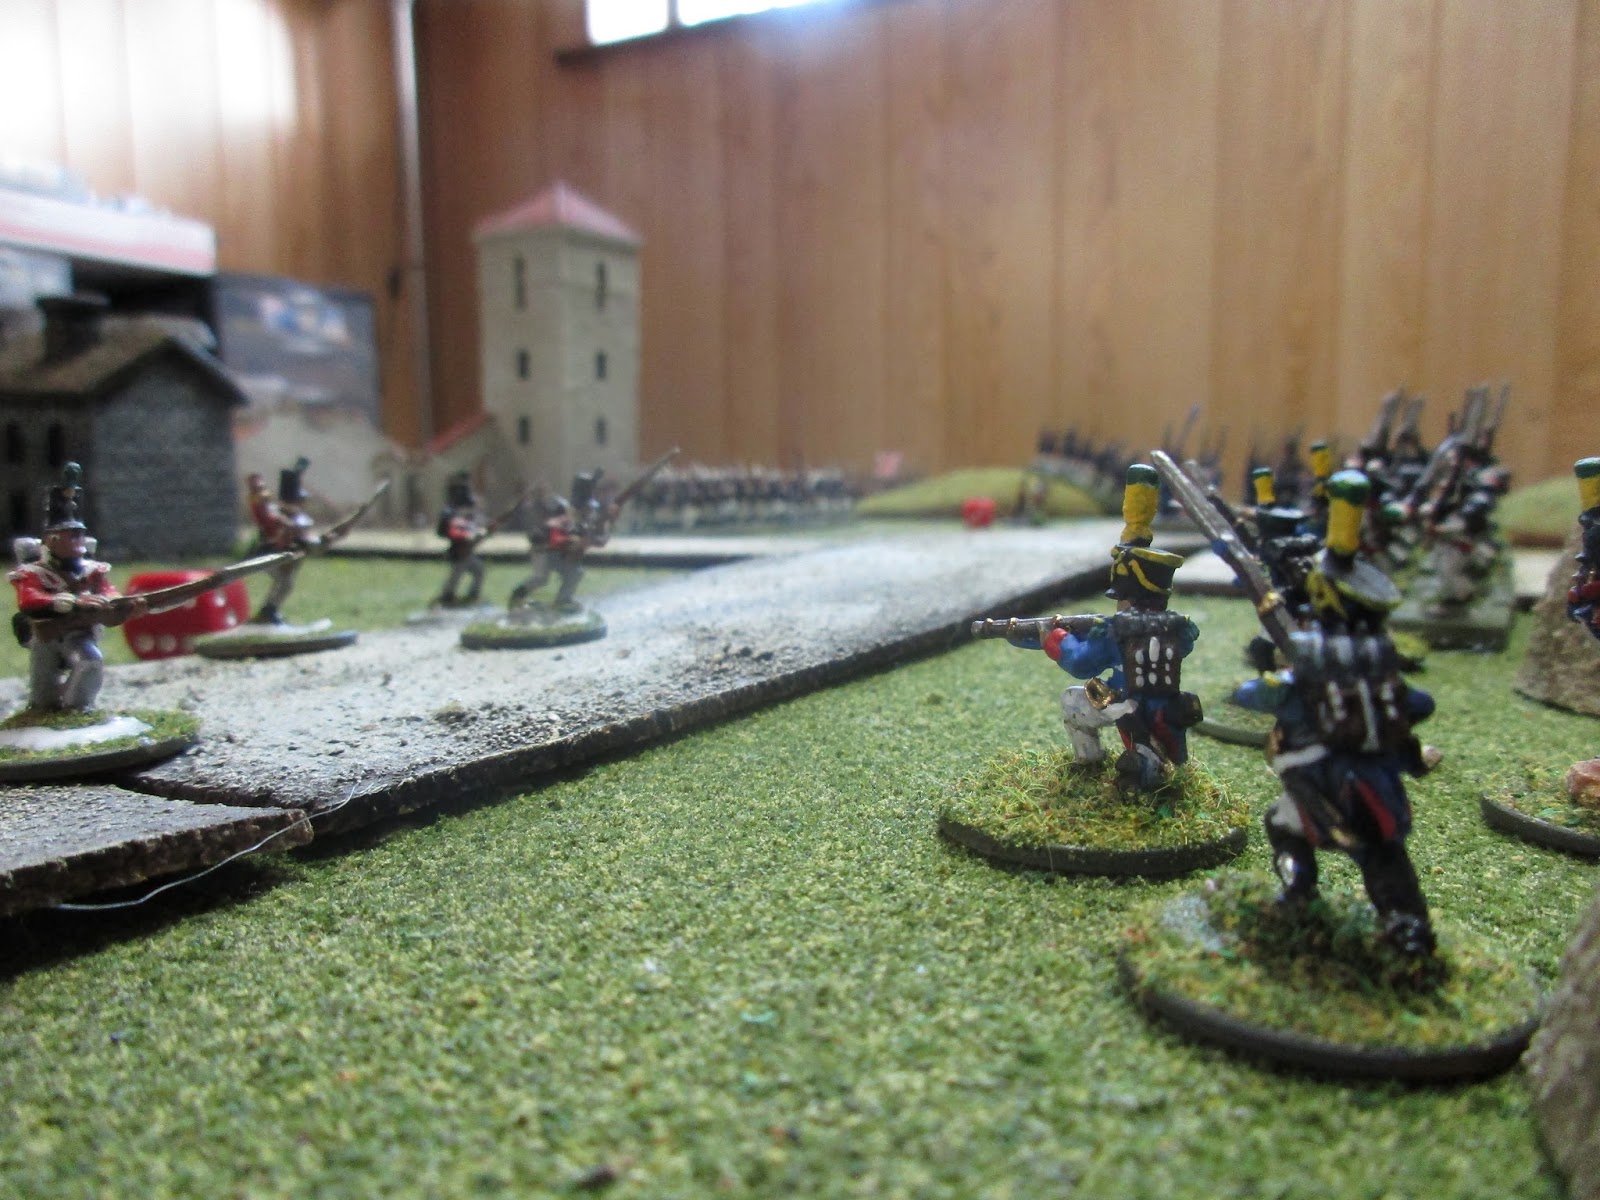
| French lights (My "French Devils!) step off onto the attack. They would protect the line troops from marauding British lights on the French right. |
 |
| Have the men form column if you please, monsieur. |
 |
| Blimey, our glue is still wet! |
 |
| The battle is almost joined but by both accounts, there are no shortages of targets. |
 |
| The Lights move straight up to the base of the hill and wait for the French to emerge. The plan is to fire a volley and withdraw each turn then move to the flanks and harass the main body. |
The French attack starts off very slowly. NT's no interpenetration rule is a pain because some of my Battalions get stacked up advancing and I can't move them as far as I'd like to.
The skirmishers trade a lively fire and the British patrol casualties mount. For now, most of the casualties have been light infantry from both sides although the British sting the French right as they have no skirmisher support. Their assault columns march straight into accurate fire from the British skirmish patrols. Even the Artillery takes some losses as they set up atop the hill.
 |
| Most of the French are in column now. |
 |
| Royal Artillery is set and ready to commence firing! |
 |
| The French beat the Pas De Charge and charge the British light detachment, who scatter and fall back! They get an extra D6 charging down that hill. The British skirmisher patrol starts to give ground. |
The French need to start picking up the pace and assault the Skirmishers on their right, starting to clear the way for an assault. 1 Battalion by-passes the combat and continues onto its objective, alone.
 |
| The battalion on the right by-passes the melee and advances up the hill to their front - their primary objective. There is a British battalion on the other side. |
 |
| British lights stick around and fight! |
NT gives you 2 options when you lose a melee - you may retreat 6 cm's facing the enemy, or 12 cm's with your back to the enemy. Naturally the British lights take the former option, opting to fire at their pursuers every step of the way.
 |
| On the French left, the light infantry fight is heating up. line battalions stack up behind them, waiting to march forward. |
The British let loose a volley into the French on their left hitting on a 3+ ouch! The French have numbers but the British have their platoon volleys. The battle could go either way at this point. The French plan is to assault the Portuguese until in the town and the British Battalion on their right simultaneously, keeping 1 battalion back to reinforce whichever battalion wins this next fight. The Center units will demonstrate against the British left along with the light cavalry, and advance against them if necessary.
This will depend on the combat that is about to take place in the next few turns!
So far the artillery has not claimed any casualties yet - too much long range fire. That will change shortly.
 |
| End of turn 6 the French are advancing on the hill in the upper right, preparing to assault the Battalion on the other side |


A nice looking game in the Peninsula!
ReplyDeleteThank you, Phil! The "French Devils" are at it again in Portugal and Spain! :)
Delete...but in the end, French Devils will come back to France!
DeleteYes they do but I would like to see them win a game or two along the way :)
DeleteLovely looking game!
ReplyDeleteThanks Rodger - it was much fun.
DeleteLooks like fun Steve. Which of Thomas' books are these rules from?
ReplyDeleteKen, they were a great set of rules to knock some troops around the table for a couple hours. These are from his book "Napoleonic Wargaming" and they have some extra, more detailed features.
DeleteTo be honest they are very similar to the set in "Wargaming: An Introduction" with just a few more bells and whistles.
Good stuff Steve. The rules seem to have a good flow to them. Anything stand out as out of place, or confusing?
ReplyDeleteKurtus
Glad you liked the AAR. Nothing too confusing. There are some minor differences between the Napoleonic sets in "Napoleonic Wargaming" and "Wargaming: An Introduction" with the latter being a little simpler.
DeleteAt first I wasn't sure what happened to units that failed their Morale Checks, but it's clearly written that they lose an additional stand, which is perfect. A little severe, but perfect none-the-less.
Part II of the post I talked about the fact that it was very difficult to dislodge those British troops but that could be due to the fact that they hit on a 3+.
I'd like to play it with a different nationality and see how close combat/ assaults go.
Other than that, a real solid rules set that I will definitely play again more than once.
It's not my staple set, but then again I don't really have a staple go-to set!!