Some priceless opportunities here and there to escape to the gaming bunker enabled me to reset the Ulianovo attack a few more times and try out some different tactics. During today's battle, STAVKA wasn't playing around, dedicating a full Soviet Rifle Company and a battery of 122mm guns to take the position. Will the heroes of the Motherland return successful from this mission?
There are a number of tactical problems for the Soviets to solve here. The Germans have less of a dilemma except where to put their copious machine gun teams. Firstly, do you concentrate your force down a single flank? The first game saw the Scouts wildly successful albeit completely on their own.
The second and third games saw some shifting of strategy, with the Soviets concentrating ALL units on the first trenchline, with an aim to then move to the second. So far that has been the winning move, but more on that later.
This game I chose to use the Scout "Spearhead" rule allowing them a move prior to the game. This mobility helps greatly by closing the distance to get to the objective, but traffic management is a huge problem stuffing all those Ivans into a small wood, you're bound to attract fire from the Germans.
 |
| Subtle Soviet Tactics... |
 |
| German platoons back up to 9 stands each because I just cant help myself! |
Anyways the attack moves through the woods but eventually the Soviet company has to align itself to attack and they start to move up heavy weapons. This attracts alot of fire during the German turn. This time, though, they're much harder to pin with the 24 stands!
 |
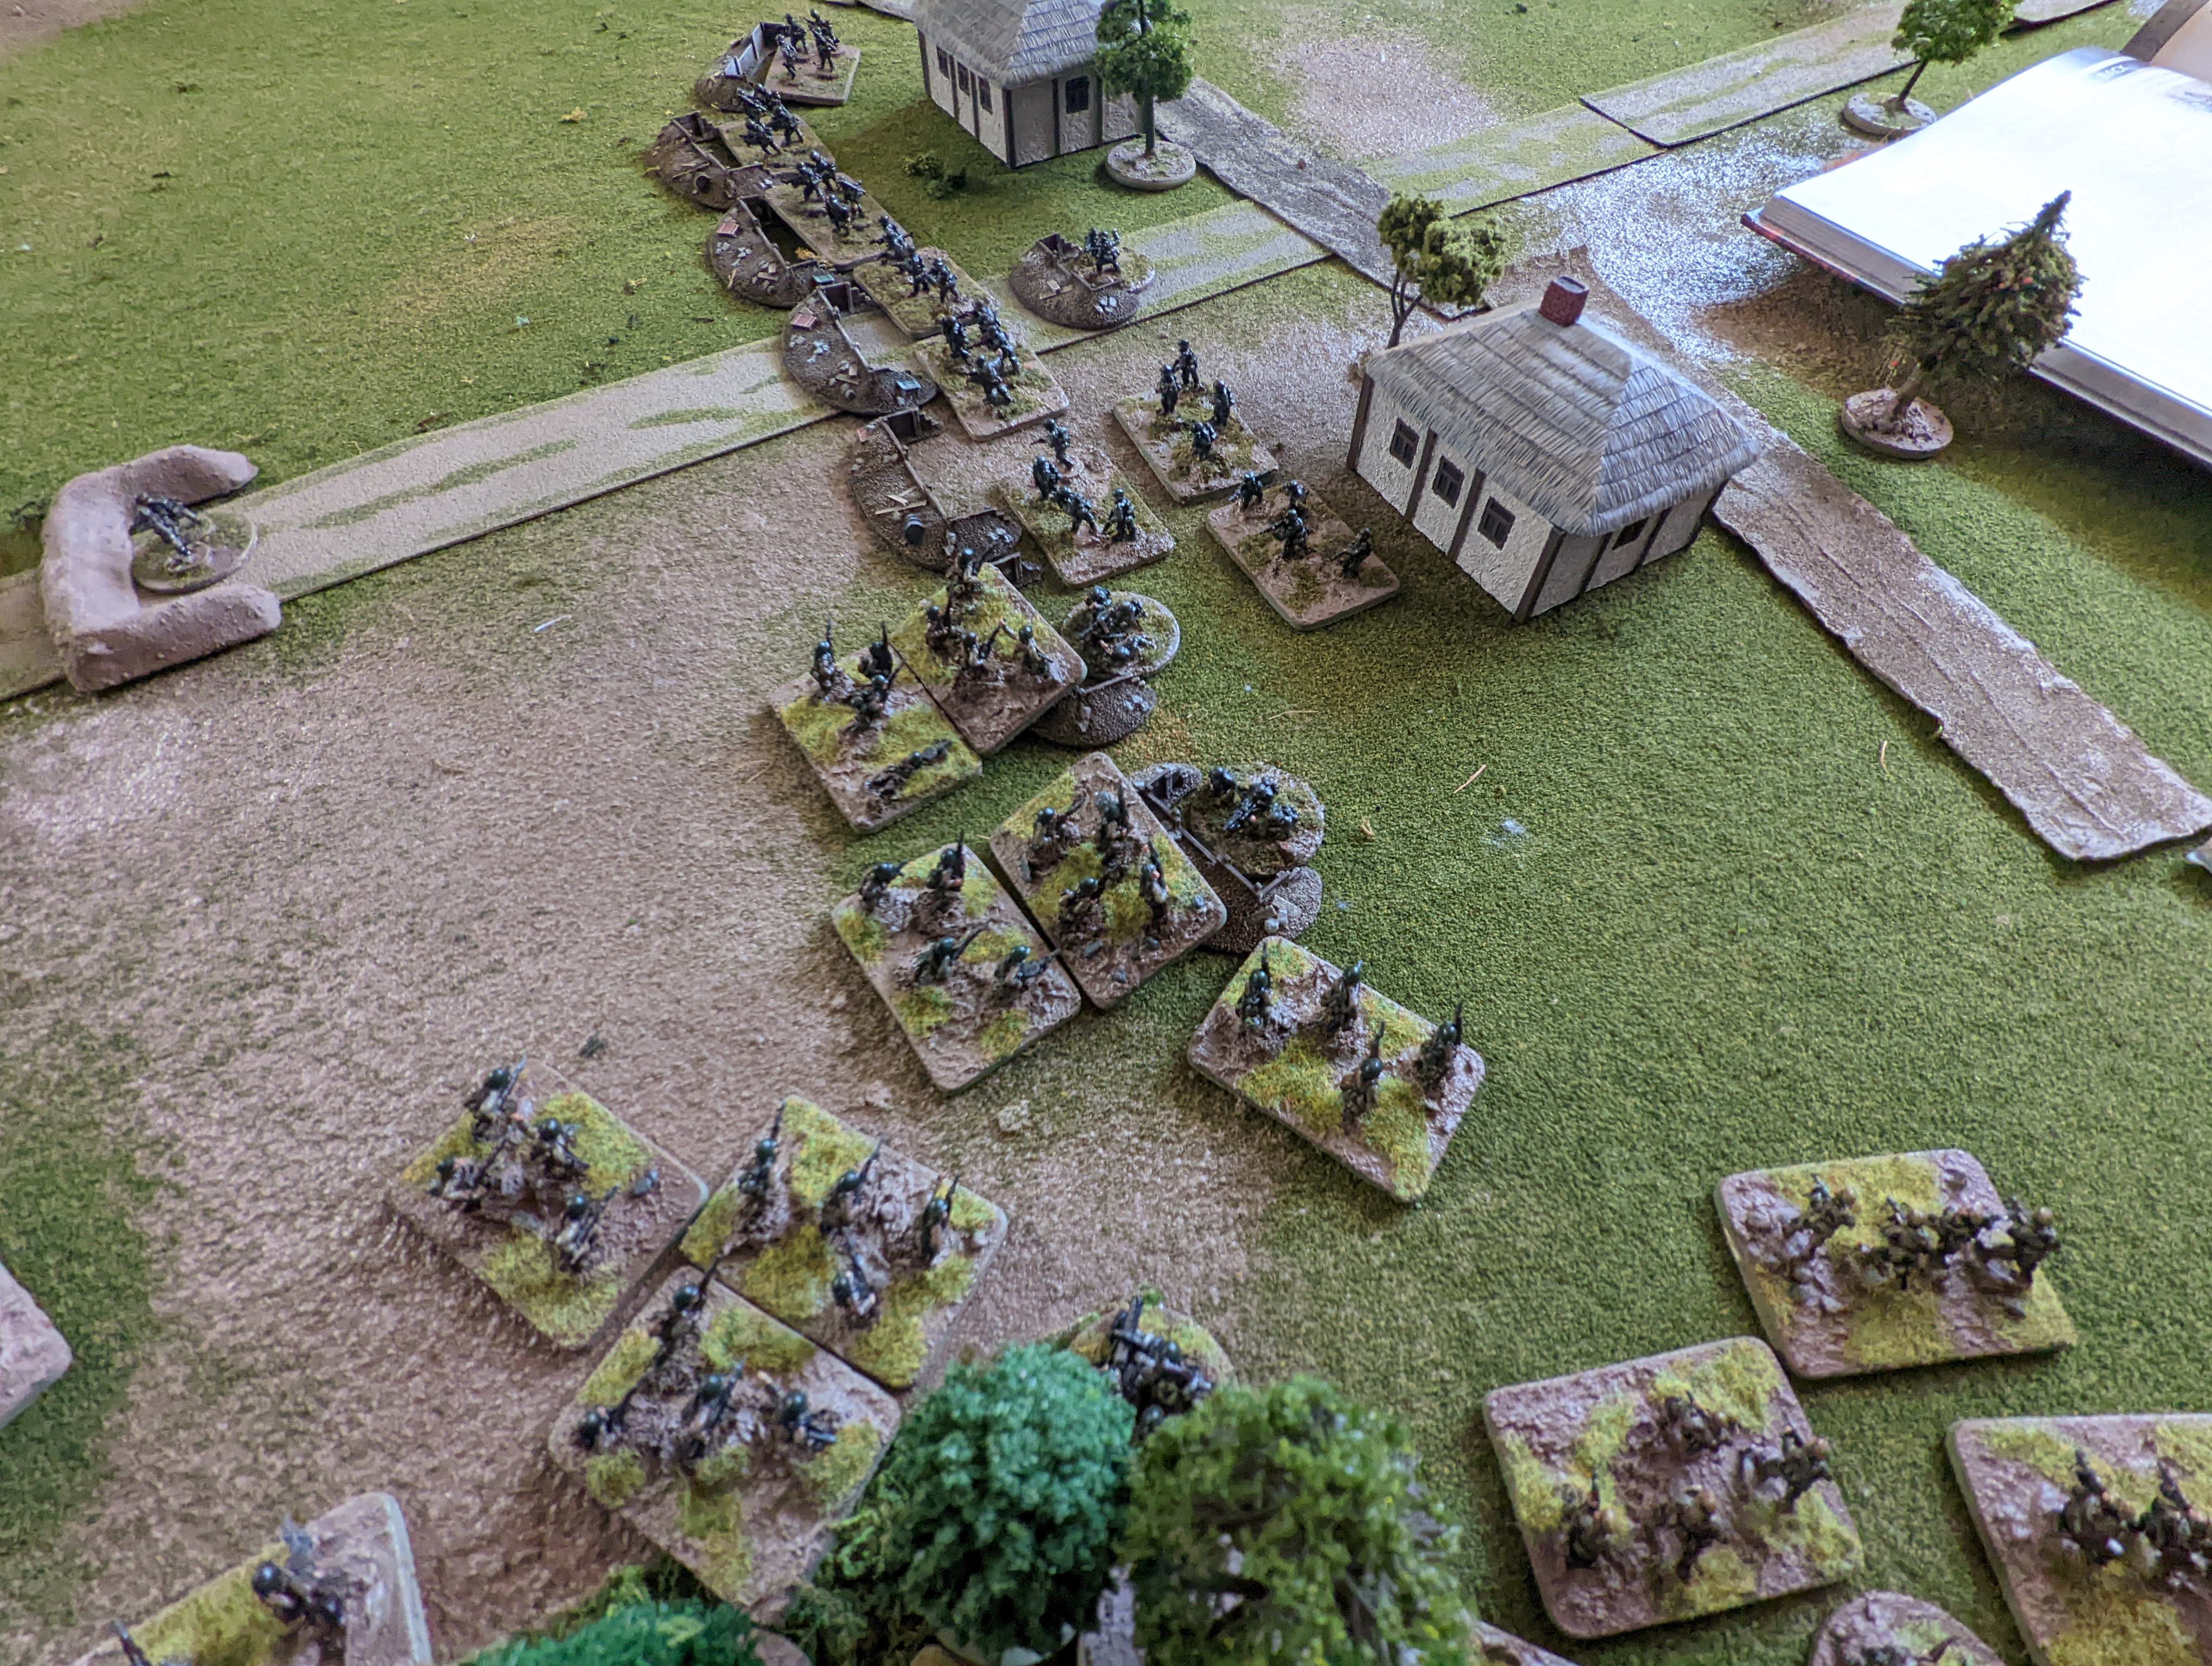
| My outstanding Soviet Scouts leading the way again! Damn they look good! |
The Soviet artillery scores a lucky "6" when ranging in on the first trench line. The 122mm guns make short work of 3 stands (failed their saves). This also pins the first trenchline. We're looking good so far.
The Soviets also move the Battalion Commander up to spot for the guns. He moves close to the treeline (within 2 inches so he can see out). The next disaster occurs during the next round of German shooting as the Battalion command and staff team are wiped out, dying tangled up in their field phone wire.
 |
| "Comrade Battalion Commander perhaps we should not set up so close to the Germans?" "Shut up private! I will make the Command Decisions here!" Last words of Lieutenant Colonel Stepanovich |
The death of the command group is the final straw. The Soviet guns will have to spot for themselves against the second trench line and they'll move a whopping 4 inches per turn, taking 2 more turns to get into position. I throw in the towel.
 |
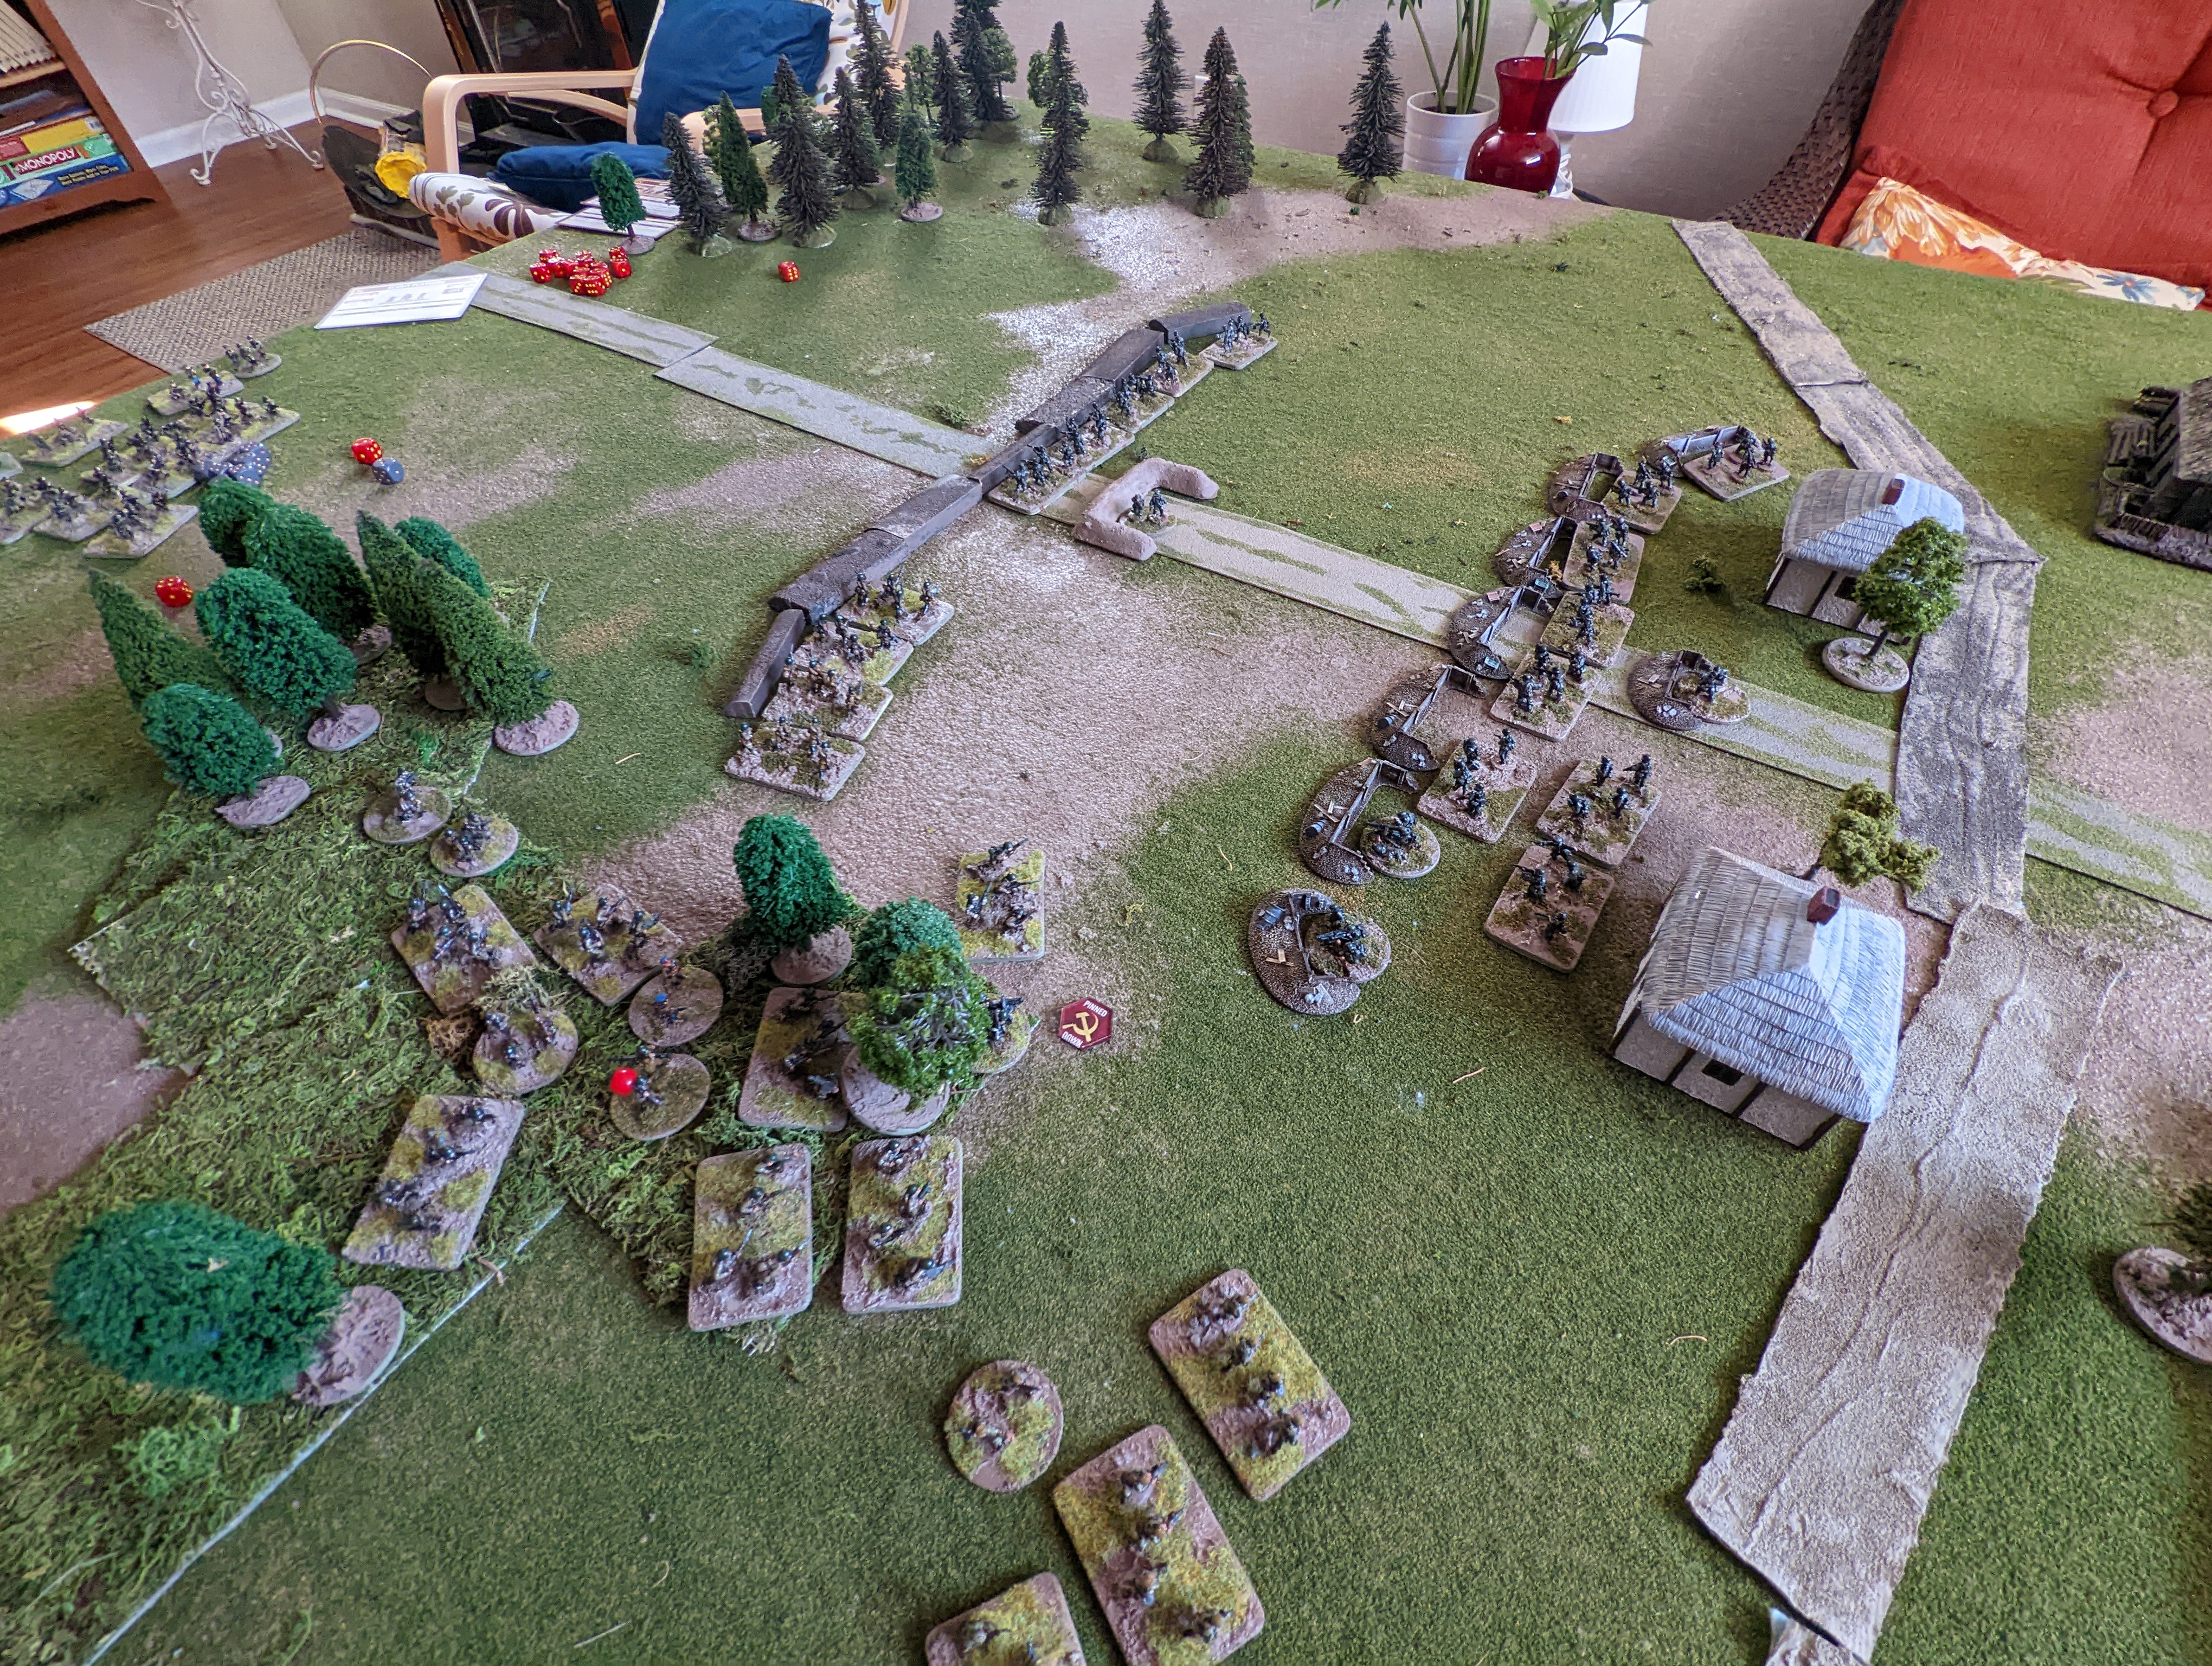
| Final situation. The Soviet company is scattered throughout the bottom-center of the pic |
This has been a hugely fun experiment with Flames of War and historical scenarios but as you can see there is still some work to do to make this a workable, somewhat balanced force. Points-wise, this is still an even game and "technically" anyone can win it. With the addition of trenchlines, though, I'm not so sure that's the case and if anyone knows the answer about a "cost" for fortifications in FoW let me know).
Anyways I tried multiple approaches for this engagement with very interesting degrees of "success".
1. Indirect Approach. Large force is a diversion, assaults down the left of the table and soaks up all the fire and attention while the scouts slip in the woods on the right and assault the command bunker. Literally everything came together for the Scouts (bad German defensive fire, bad counterattack rolls etc) and the Sov's win the engagement through subtlety.
2. Direct Approach. Same forces as #1, except they all follow behind the scouts. The second assault goes VERY badly. The Scouts are mercilessly cut down attempting their wide flanking option and the Hero Company is torn up at the woodline. Germans reduced to 7 stands per platoon in this game instead of the 9 stands, and I honestly think they would have been fine with 5 stands per platoon...
3. Concentrated Attack. Same Soviet Forces. Reduced German forces as in #2. This time the Soviets focused on the first trenchline instead of the victory conditions (the houses and the command post). I know, that's not going to win the game but I wanted to see how it would go. This turn out successfully with the Hero Rifle Company assaulting the trench from one side, and the scouts with the storm group attacking the other flank and the center. They Soviets gained the first trenchline, and might have had the strength to assault the second trench but I got called away (!) Might have to refight this one.
 |
From Game 3, the Soviets gained control of the first trenchline
|
4. Concentrated Attack. New (and more) Soviet Forces. Full Strength German Forces. Literally this blog post. A massive Soviet company with artillery support and scouts. The Germans back with their full complement of HMGs. Traffic management and positioning was an issue in this game as the Soviets could not bring their numbers or assault equipment/firepower to bear. A better option might have been to just continue south and take the buildings from the rear. (hmmmm I might be on to something here....use a unit to soak up all the bullets while the second unit flanks the position and captures the buildings)
Thoughts
Again - a very fun exercise and a nice series of "practice" games for Flames of War. While I'm super tempted to try this with Bolt Action or Crossfire or Battlegroup (Battlegroup would be a fun one to try) I really want to make this work with Flames of War, especially given all of the decisions you will have to make and the high stakes of a low-point game. Neither side can afford to take huge risks, and the Soviets must commit to a single option of attack as there is not much room to alter the plan once it's in motion.
This isn't something you see often with large point FOW games as more units usually means a more forgiving game if you make a mistake. With only a few units in your formation here, the stakes are extremely high.
There are a few more things I'd like to try (the deep flanking maneuver being one of them) and that includes increasing the number of Soviet units a bit (2 x Hero Rifle Companies) which is sort of what I did today, but they were all in the same unit of 20 stands. This would give the Soviets 2 companies of 10 stands.
I was also thinking about the trenches and considered replacing them with foxholes/fighting positions instead, which also give bulletproof cover, but once you move you lose it, as opposed to trenches which enable you to be "gone to ground" and "concealed" even when moving within them! Trenches just might be "a bridge too far" for this scenario.
Probably keep the artillery support but reduce it to either 76mm guns or 82mm mortars as they are more mobile. I'll reduce the Germans again to 7 stand platoons, but sadly, I dont think it will make much difference as those trenches are a tough nut to crack!
Will we see a Round 5 for Ulianovo?


Good stuff! Replaying the same scenario multiple times offers much in both enjoyment and learning what works and doesn’t. Recommended! FOW? Why not Norm’s rules?
ReplyDeleteThanks for the shout, the problem with my rules for this kind of encounter is that if there are large number of bases in a game, the volume of fire becomes too much and the side(s) morale levels too quickly crash to zero due to high casualty rates.
DeleteRight. Been there. Done that!
DeleteThanks Jon - I'm aiming to produce some historical FoW scenarios for use at conventions (outside the tournament scene) and I've been tinkering with how to port them over from the "Skirmish Campaigns" book and have been loving the challenge. I want to have a small compendium of historical FOW scenarios to play.
DeleteRE Norms rules, I think there would be too many stands at-scale (FoW stands are fireteams so it would be this table divided by 2 for Norms WW2 rules formerly known as Tigers at Minsk :)
@Norm I was thinking of scaling this back a bit. For the actual "skirmish campaigns" book, each scenario is maybe 3 to 6 squads. They'd be outstanding for your rules.
Deleteyes, a couple of platoons and an HMG and some other bits and bobs would do fine.
DeleteInteresting Steve, to have 4 cracks at it (5th on the way) is a great way to properly explore scenario potential and to get a good grounding in the rules - I don’t think we do that sort of thing often enough.
ReplyDeleteI thought the big block of infantry would just be crushingly overwhelming - I’m not sure what other rules would manage such a big block with the comparative ease that FoW does. I know that ends up with a lot of dice, what I am not sure of is my maths and the laws of average ….. if you throw a lot of dice, does that have the effect of smoothing out results, compared to say just rolling 2 or 3 dice and getting either a really bad roll or a really good one? - I don’t know.
For gun support - would a pre-game ‘stonk’ against the trenches be of any use? As a random way of potentially thinning / opening up the first line, rather than in game on-call or direct fire.
Norm I'm going to give it a few more shots before I give up with different OOBs. I'm kind of liking the challenge :)
DeleteThe thing about FOW - it's a very clever, self contained system. The shooting and save dynamics are slick and I believe that the designer is an ORSA guy who I'm hoping figured that stuff out already.
So the big block of infantry teams only fire 1 x modified d6 to shoot, cannot shoot through other teams, and the Germans are entrenched meaning it's a +2 to hit them so while I have the numbers, the Germans have the rate of fire to stop them. The trick is to pin them first which halves their ROF (the primary reason I added artillery).
Anyways I know it's not everyone's cup of tea, but I enjoy playing them because they're simple and straightforward and let me get many of my toys on the table :)
Also I dig the pre game stonk of artillery fire. Give the soviets a "free"barrage might help them pin the Germans and whittle them down a bit.
DeleteIn the few "proper" games of FoW I have played (I have used their figures plenty times, but usually for Cross Fire) we found it virtually impossible to kill entrenched infantry - perhaps that is the problem for the Soviets in these scenarios??
ReplyDeleteYes sir I believe that is the case. Fighting against entrenchments in FoW seems to be tough. The Germans require a 6 or even a 7 to be hit in certain circumstances. I re-ran this again with 2 small rifle companies and while one company did encircle the houses, the Germans were able to counter attack and blunt them.
DeleteI re-racked the game (again!) And arranged the forces for Battlegroup:Kursk. I'll see how that goes. Full Soviet rifle company against 2 full German platoons with heavy weapons.
Now Crossfire is an excellent game. I love it. It would require some finesse with the table setup but I wonder how the game would go with Crossfire. I've never played Crossfire with entrenchments.
I don't recall how big a difference trenches etc make in Cross Fire but as they are such a simple rule set, my gut feeling would be, maybe one or two harder to hit, but it would still be possible to whittle them down if you had sufficient attacking troops - time consuming, perhaps, but still doable! With no max weapon ranges, the Soviets could remain in the shelter of the tree line and blaze away .....
DeleteI just read the rules for entrenchments in Crossfire - they give protection to 1 side and it's a standard minus 1d6 just like firing against targets in terrain features. Pretty simple. Squads lose any protection if they move or pivot like foxholes in FoW. Bunkers look like a very tough nut to crack, though. (As they should be).
Delete