With the intense NATO air campaign ongoing and Soviet control of the skies in constant question, the Soviets are running out of steam and all along the lines NATO forces seem to be gaining the upper hand. The Soviets, in particular the Second Guards Tank Army, know a breakthrough in the north is critical and have focused much of their attention against the Dutch forces with 3 Shock Army keeping the British bottled up. The local Soviet commanders sense the Dutch are ready to break soon.
The 1st (NE) Corps has re-established a main line of resistance along the A-7 Autobahn with powerful armor and infantry formations. Even though last week's fight was a disaster, the Dutch still bought previous time for the rest of their fellow units to dig in.
The Corps has chosen the line of Seevetal to Toppenstedt to Egesdorf to hold. The Soviets know this after intense probing activity and have selected the Toppenstedt - Hanstedt - Asendorf axis to assault along, with both Hanstedt and Asendorf serving as critical road junctions the Soviets know they need to capture.
The breakthrough must come at Toppenstedt with Asendorf as the final objective. There are follow on elements that can exploit and even after constant air assault and re-routing of convoys and trains, the Soviets have sufficient category II and III units to reinforce a breakthrough...
Soviet Deliberate Attack
The Soviets planned a strong attack with a consolidated armored brigade formation and an infantry battalion supporting. The assault called for the Soviets to bypass Toppenstedt to the north and seize a hill overlooking both Toppenstedt and Hanstedt. If they can capture the hill, Hill 121, the Dutch defense will be untenable. They've allocated massive amounts of artillery in support to cover the attack.
 |
| planning based on the terrain. The stars are objectives. |
The Soviet plan is brutally simple. The 2TA Intelligence Officer feels confident with the area just west of Toppenstedt being sufficiently wooded and covered as to provide Dutch forces with excellent defensive positions. The Soviets will send dismounted infantry into Toppenstedt with a tank company in support to the north. This supporting attack will pin Dutch forces. The main effort, roughly 2 tank battalions worth of T-80s will assault around Toppenstedt and move fast towards Hill 121. If they can grab Hill 121, the Dutch will be forced to abandon the A-7 line.
 |
| With Soviet recon elements already in Toppenstedt, the infantry quickly follow. So far the Dutch have not opened fire or revealed their positions. |
The Dutch have a mechanized infantry company dug into an orchard and farm complex to the east of Hanstedt, with priority of 155mm fires in support. To their south, Hill 121 is being defended by a Leopard II company of the 41st Armored Brigade. To their north, a large wooded recreation area is being defended by another Leopard II company also of 41st Armored.
The Dutch open fire on the recce BMPs at the edge of Toppenstedt, knocking out 1 platoon. The battle has started! Soviet infantry rush to take up positions in Toppenstedt, per the plan. Their BTRs remain in the town safe and sound. For now...
 |
| Soviet T-80 company moving in support of the infantry in Toppenstedt. Note the Leo IIs to their front. |
 |
| The Soviet main effort, 2 Battalions of armor move against Hill 121. |
The Leo's in the park see T-80s pouring through the defile south of Toppenstedt and immediately engage. Their shooting leaves a little to be desired in the first volley, and a T-80 platoon becomes disorganized.
 |
| Long range shots being traded by Leo's on Hill 121 and the T-80s advancing past Toppenstedt. Both side's artillery fire starts to fall. |
The Soviets are using a full Battalion's worth of the Army's artillery, the big guns, against the tanks atop Hill 121, but these would eventually shift to the orchard. The Dutch have a difficult time getting their artillery to fall, but when it does, it's targeting dismounted Soviet infantry in Toppenstedt.
The Soviet infantry set up their base of fire against the orchard as well. The supporting attack is really meant to pin the Dutch infantry from reinforcing Hill 121. It's working so far and the Dutch have nailed themselves to their foxholes as they're blanketed with HE shells and infantry fires from Toppenstedt.
 |
| Green dice are casualties. Infantry platoons bug out after 4 hits. Small arms and heavy weapons fire is variable. Full strength platoons shoot 1D3 shots (1d6 divided by 2). Platoons with 2 hits shoot 1D2 shots. |
 |
| Carnage in Toppenstedt as Soviet infantry fight around burning BMP2s. The Dutch fire all seems to be coming from a tidy orchard at max range in front of them. |
 |
| The Battalions shake out. |
 |
| Meanwhile the Leo II gunners find their targets from the park. |
 |
| The tank battle for Hill 121 is starting in earnest now. |
 |
| Dutch infantry returns fire and the Soviet left company in Toppenstedt is pinned. |
 |
| All eyes are on Second Tank Army today. |
While the Leopard IIs cant seem to hit much, the MILANS from their dismounts and supporting HOT missiles are finding targets. 3 T-80s platoons are sent packing from a massive volley of missiles coming from the orchard. Even before they hit their targets, the Soviet fire support officer is lifting and shifting fires from Hill 121 to the orchard.
 |
| KO's T-80 platoons. |
Ivan looks like he's going to reach Hill 121 in strength. While the situation looks dire, the Dutch Brigade commander orders the Leo II company in the park to move and reinforce Hanstedt and counterattack against Hill 121 if necessary. The Leopard II atop Hill 121 is in big trouble and has way too many T-80s to count in front of them.
 |
| Leopard II company rushing to reinforce Hill 121 |
 |
| Remnants of a company atop Hill 121 burn while Ivan inches closer. The infantry in Toppenstedt get ready to mount up in their BTRs to overrun the orchard and the park in front of them. The Soviet commander feels victory close at hand! |
 |
| JAVELIN THIS IS ANVIL WE HAVE REACHED HILL 121 AND ARE CONSOLIDATING OUR POSITION SEND ALL AVAILABLE REINFORCEMENTS IMMEDIATELY |
The Soviet commander decides to throw all his weight towards Hanstedt and Hill 121 now. The infantry mount up in their carriers and move towards the park and orchard. Meanwhile the Soviet tanks atop Hill 121 orient themselves towards Hanstedt, preparing for a counterattack. The war may only be 2 days old, but these tankers learned those lessons the hard way. This doesn't look good for the Dutch. The infantry company commander requests permission to withdraw. Unbelievably, the Dutch brigade commander calls the Division commander, who calls the Corps Commander.
Permission to withdraw was not forthcoming.
Meanwhile the Dutch infantry in the orchard and hanging on by their fingernails. MILAN ammunition is running low, as is small arms and mortar ammo but the platoons are still holding.
 |
| Ivan's tanks have over run Hill 121 and the infantry is preparing to move out from Toppenstedt. |
 |
| The Dutch have a few tricks up their sleeve however as a Leopard II company moves quickly to counterattack Hill 121. |
 |
| Infantry race out of Toppenstedt. The Dutch company commander's request to withdraw from Hanstedt was denied by Corps. They have no choice but to fight in place! That said, Corps did straighten out the artillery situation for them. |
 |
| The Soviets were flush with victory. Speeding towards Hanstedt while their tanks consolidate on Hill 121. This was their big break! |
The Dutch FSO, pleading on the radio for artillery fire, has his wish granted. The DS battalion finally gets straightened out and opens fire. I roll a "6" and that's 10D6 to roll. The 2 platoons on the left of the infantry assault get nailed in the open with their occupants killed. Then the marders open fire. It's a killing field, and this turn proves decisive, with the Soviet infantry assault stopped dead in its tracks, broken up by accurate 155mm artillery and gunnery from the orchard. Meanwhile the Leopard II's take up position to fire on Hill 121. There are plenty of targets up there.
 |
| Artillery impacting around the Soviet infantry in their carriers. |
 |
| formerly BTR80s. |
 |
| Meanwhile the Dutch infantry are hanging on, against all odds. |
 |
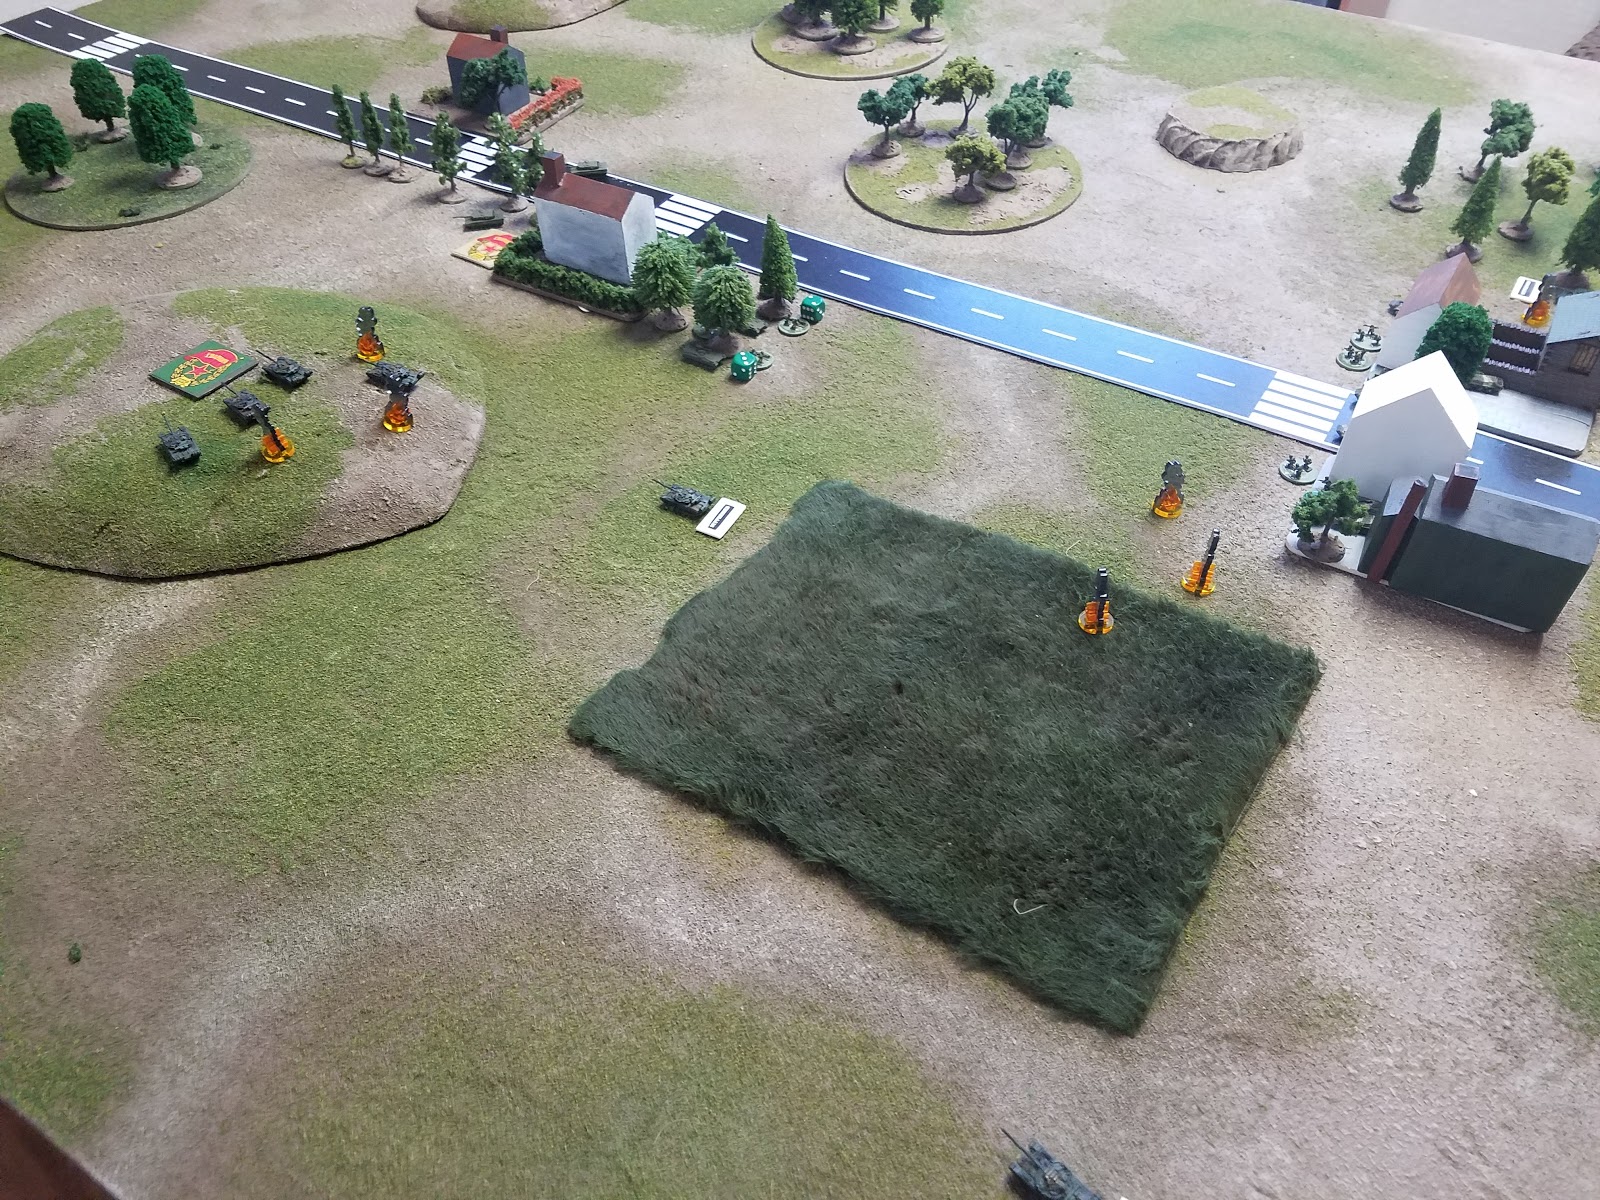
| The Soviets on Hill 121 get into a shootout with the Leopard IIs, with the Dutch eventually getting the upper hand. |
 |
| The Soviet attack peters out. |
THOUGHTS
What a nail biter! I received more than a few requests to play a larger game in support of the World War III project. So while I probably prefer a company sized game, there is something fun about translating the map movements to the miniatures on the table.
The Soviets started out really strong, but most turns their artillery didn't arrive or their targets passed their save throws due to being armored or being dug in. The Soviets probably needed to be a little more cagey with the armor, instead of challenging the Leo IIs right on top of the hill.
Additionally, the Soviets didn't use smoke and instead opted to keep the enemy's head down with HE fire. In terms of the Soviet plan, I thought the dismounted supporting attack into Toppenstedt was a good idea. They ranged the orchard and a shootout began, which was exactly what the Soviet commander wanted, keeping those troops pinned down in place. The assignment of an armor company to the infantry was a good call, too. I had no idea there would be Leopards in the park area.
In speaking with Mike, the action will move further south into the CENTAG AO soon. So stay tuned! We're just getting started!

 The Leo's in the park see T-80s pouring through the defile south of Toppenstedt and immediately engage. Their shooting leaves a little to be desired in the first volley, and a T-80 platoon becomes disorganized.


Cracking stuff - thanks for posting.
ReplyDeleteCheers,
Pete.
Glad you enjoyed the report, Pete. Stay tuned!
DeleteWow! Talk about March Madness. The Dutch bent but didn't break. That counter attack by the Leo 2 company really worked!
ReplyDeleteHey Mike yeah the Dutch pulled out a quick win with that counter attack. I couldnt believe it even as it was happening. Same with that artillery strike on the BTRs in the open.
DeleteThe engagements are only going to get bigger and better from here on out.
Which rules did you use for this one?
ReplyDeleteThe important question is what rules WILL i/we be using! And those rules are "Cold War Commander."
DeleteI like cwc
Delete