Had an opportunity to play Alex's outstanding latest variant of Mr Neil Thomas' One Hour Wargames (1HW) World War II rules at the FLGS "
The Stomping Grounds" in Warminster on the night before Thanksgiving and Alex has kindly given SOUND OFFICERS CALL permission to repost!
The battle was taken straight out of the 1HW scenario pack (#8, Melee). Taking place in North Africa, the Axis forces, starting with an AT Gun Platoon and an infantry platoon are holding a key ridge, awaiting both a British attack and eventual Axis reinforcements in the form of a mortar platoon and 2 x Afrika Korps armor platoons (Panzer IIIs).
The dastardly Axis were commanded by yours truly and Dave commanded the stalwart Brits. Alex served as rules coach and tactical adviser, walking Dave and I through the latest version of his rules.
 |
| Alex (standing) talking us through the rules. |
 |
| Me playing with the tanks |
 |
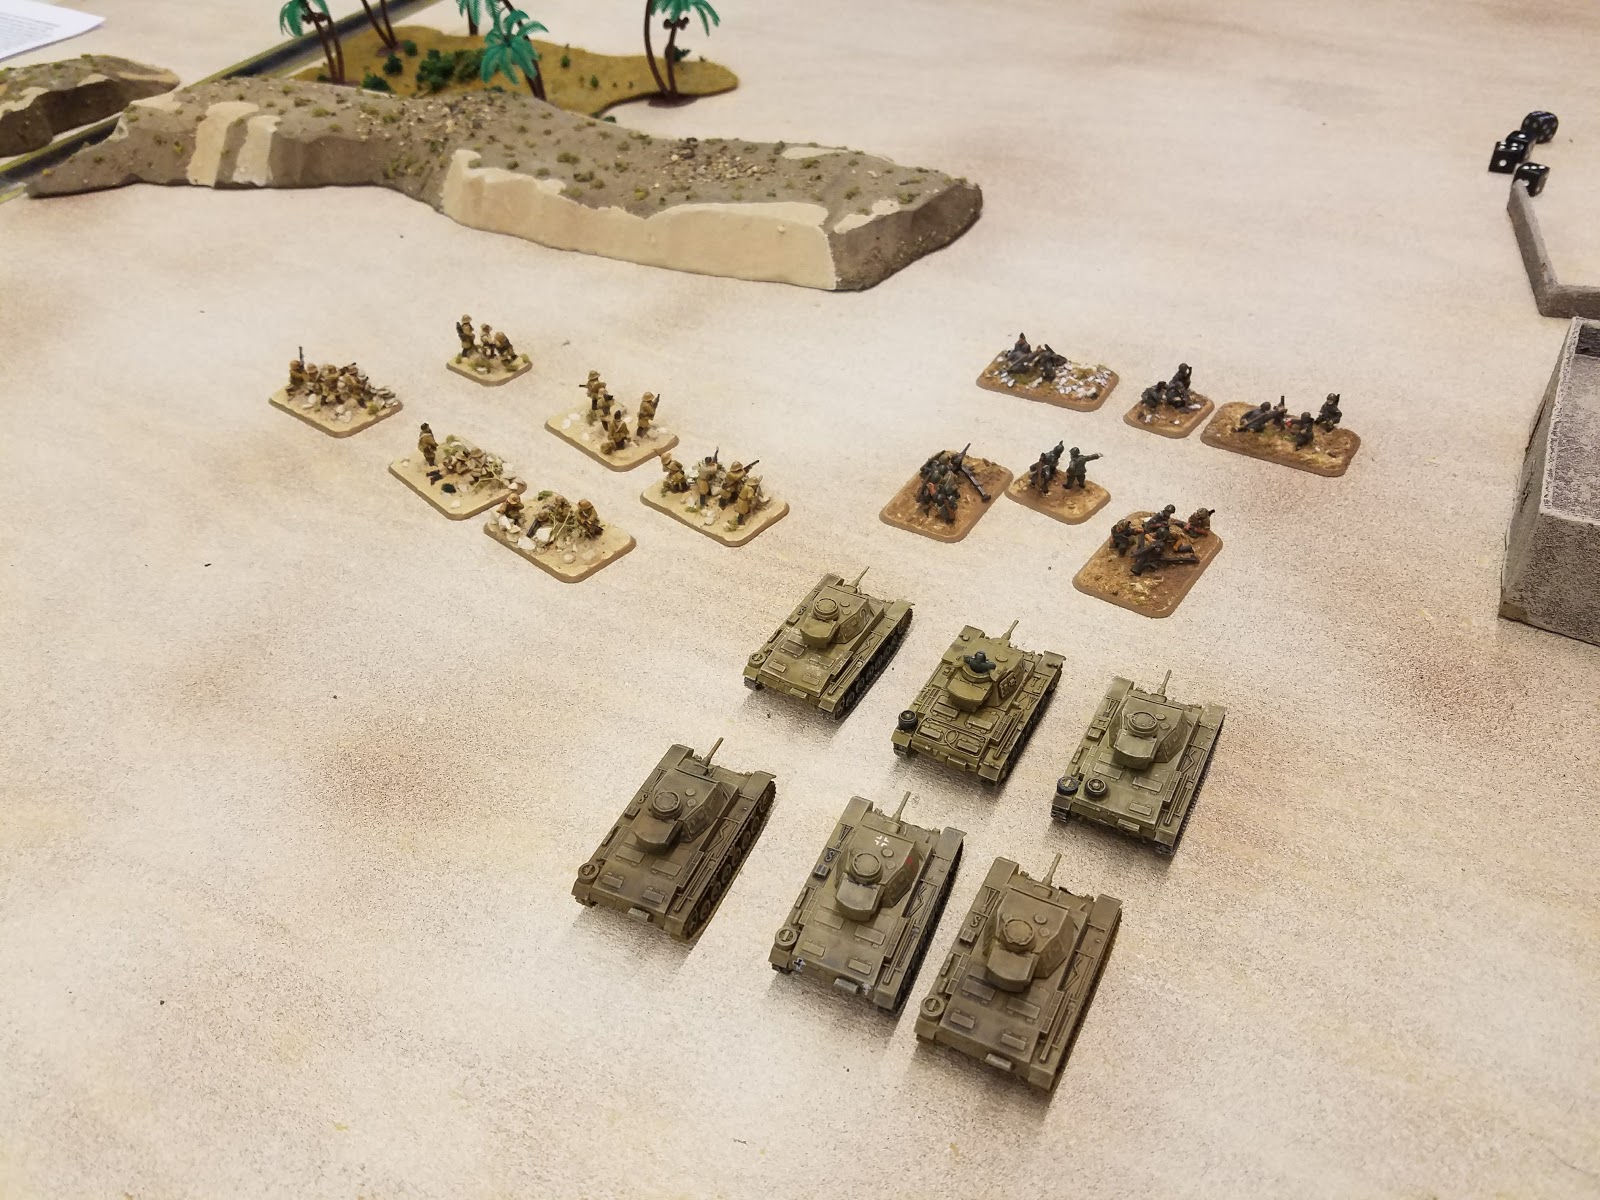
| The Axis forces. 6 platoons total. 2 x infantry, 1 x AT, 1 x mortars, and 2 x tanks |
 |
| Alex's outstanding Italian infantry atop the ridgeline waiting for the Tommies. |
 |
| I place my AT guns to hold down the right flank. in hindsight, I should have placed them along the road. That would have ruined the Brits' day. Alex's rules are all about making key decisions and courses of action |
Dave's Armor flies down the road to open the battle. He moves into the rear area to head off my reinforcements, who will now have to fight their way up to the hill! A bold plan.
 |
| Dave starts with 3 platoons of Crusaders on the table. |
 |
| I make my guns "ready" allowing them to shoot during Dave's turn. |
I have a key decision to make here. Do I advance the infantry into the woods and defend below the crestline? Or do I remain in position, and allow the Brits to get into the good cover of the treeline? I decide to move down to the lower ground and dig in!
 |
| Italians push off the ridgeline and down into the wooded area awaiting the Brits. They're concealed per the visibility rules so Dave will have to come into the woods to weed them out. Better than allowing him to advance on the hill with better cover. |
 |
| Massive armored thrust to hit the Axis rear area and Dave's poking around the right flank. My AT guns open up because I just cant help myself! |
The timing
seems to work out in my favor as I have 2 reinforcing platoons coming down the road. Naturally I pick the armor and I lick my chops in anticipation thinking Dave's turkey is cooked (day before Thanksgiving an all). I'll have 2 armored units able to engage the British armor coming out of the pass. At least that's the plan.
 |
| 2 platoons at close range how can we miss? |
 |
| Your turkey is cooked, Tommy. |
 |
| Meanwhile, oblivious to my plans, Dave advances his armor up to the ridgeline and goes hull down with my armor |
 |
| Note the green die on the left British tank platoon. Those are hits from my AT guns. |
 |
| Seniore! Please remove this green hit die! Grazie! The AT platoon commander directs the fire of his guns on the right. |
 |
| Dave's armor (armour) charges through the pass |
All this anticipation is killing me! We need to finish off this British platoon. Let's shoot at those brits now. Just need to roll a 4 or better on 3 dice. Steve, can you do that?
 |
| Apparently not. Zero hits! |
Meanwhile Dave gets his infantry into position to assault the ridgeline. Now it's my schnitzel that's going to be cooked! He masses 2 infantry platoons at the base of the woods and starts to advance in. The Italians fight for all their worth and end up knocking out one of the British platoons in a very exciting back and forth infantry firefight.
Digging in the infantry was a solid move as they lasted way longer. Dave eventually starts targeting the dug in infantry with mortars after the Axis armor threat is eliminated. (Dave's platoon that's hull down on the left side of the ridge is killing my units!)
 |
| Sharp fighting in the woods! |
 |
| That yellow dice means a "permanent" hit that only occurs if your opponent scores 3 hits with 3 dice. It means a permanent loss of 1 die that you cannot recover from. This goes beyond just communications breakdowns and throwing a track. This represents serious losses in the platoon. My tanks have almost had it here! |
 |
| My mortars finally show up and start pumping round after round into the advancing brits in the woods! |
 |
| The tanks are able to rally off a hit giving them a turn or 2 longer. |
I have to literally target everything I have that's in range and visible to kill off those crusaders in my rear area but the threat's been eliminated. Dave eventually kills my Panzer III platoon with his Crusaders and the infantry fight really heats up. Lesson learned? Get as many casualties as you can onto dug in infantry before assaulting them in close range shooting.
 |
| A reinforcing infantry platoon shows up. |
Dave targets my AT gun platoon with mortar fire now and it's a smart thing, too because it will allow him to completely encircle the ridge.
 |
| Heavy action in the woods. My Italians are fighting stubbornly. |
 |
| Dave's armour getting into position |
 |
| The battle so far. I've been able to reinforce the ridge with another infantry platoon and have mortars firing in support. Dave's infantry bleed themselves white trying to overrun the hill. His tanks and mortars will have to win the day now. |
Dave is able to whittle away my infantry until they eventually flee after taking sustained fire from his mortars. Dave moves up some armor onto the ridge. I move up my mortars to touch the ridge as the scenario calls for a player to be the sole person on the ridge at the end of turn 15. I moved my mortars up, but in retrospect they did fire that turn so I'm thinking they would have not have been able to move which would mean a British victory.
 |
| trying to rally off hits. |
 |
| Infantry dig in on the ridge and await the British assault. They're peppered with mortar fire and tank and MG rounds until they break and run for it! Dave stays at standoff range outside of the infantry's grips and all I can do is target with my mortars. |
 |
| British seizing the ridge! |
THOUGHTS
An outstanding and very timely game considering my rules rants the past few days. Alex's latest modification to the One Hour Wargames rules are excellent and really add a whole new dimension to the 1HW rules. Units have many more capabilities and choices to make and the rules firmly put you in the boots of the company commander or even the battalion commander. I appreciate that as well. I am looking forward to playing many more games of Alex's 1 Hour Wargames WWII variant.
I especially like the "To Hit" roll versus a straight attrition-based die roll (Alex has assured me that the math(s) remains the same and this History major will gladly take his word for it!).
Also there is something satisfying about rolling 3D6 or 2D6 instead of just one die. Also the way the game handles attrition and the permanent hits is outstanding. You dont have to remember too much.
These rules are infinitely "hackable" as Darren would say and there are great opportunities to add in chrome to enhance the theater backdrop.
Speaking of remembering too much, the modifiers are just right. Not too many which is great. I am really looking forward to Alex's "Mega" game playing in Operation Crusader in December and I think this is the perfect contender for playing (finally) my Ponyri Station Mega Game sometime in the new year. Too ambitious???