Sunday, August 13, 2017

WAGRAM - GROSS ENZERSDORF - THE BATTLE

Brian and Dave were over today for our refight of the Battle of Wagram using Command & Colors: Napoleonics (5 July, Gross Enzersdorf) and what a battle it was!  Dave played the French and I played the Austrians.  Brian acted as umpire and adviser to both sides as we fought using this great system!
A dapper Brian showing Dave some of the stats.  Next time I'm wearing a sportcoat!
 Brian also generously lent us the use of his "Generals, Marshals, Tacticians" rules supplement along with his additional card deck which added an entire new element to the game (that the French devils used to great effect!).

The French received 5 cards and the Austrians received 4.  The French and Austrians also received extra tactics cards which we both used to good effect.
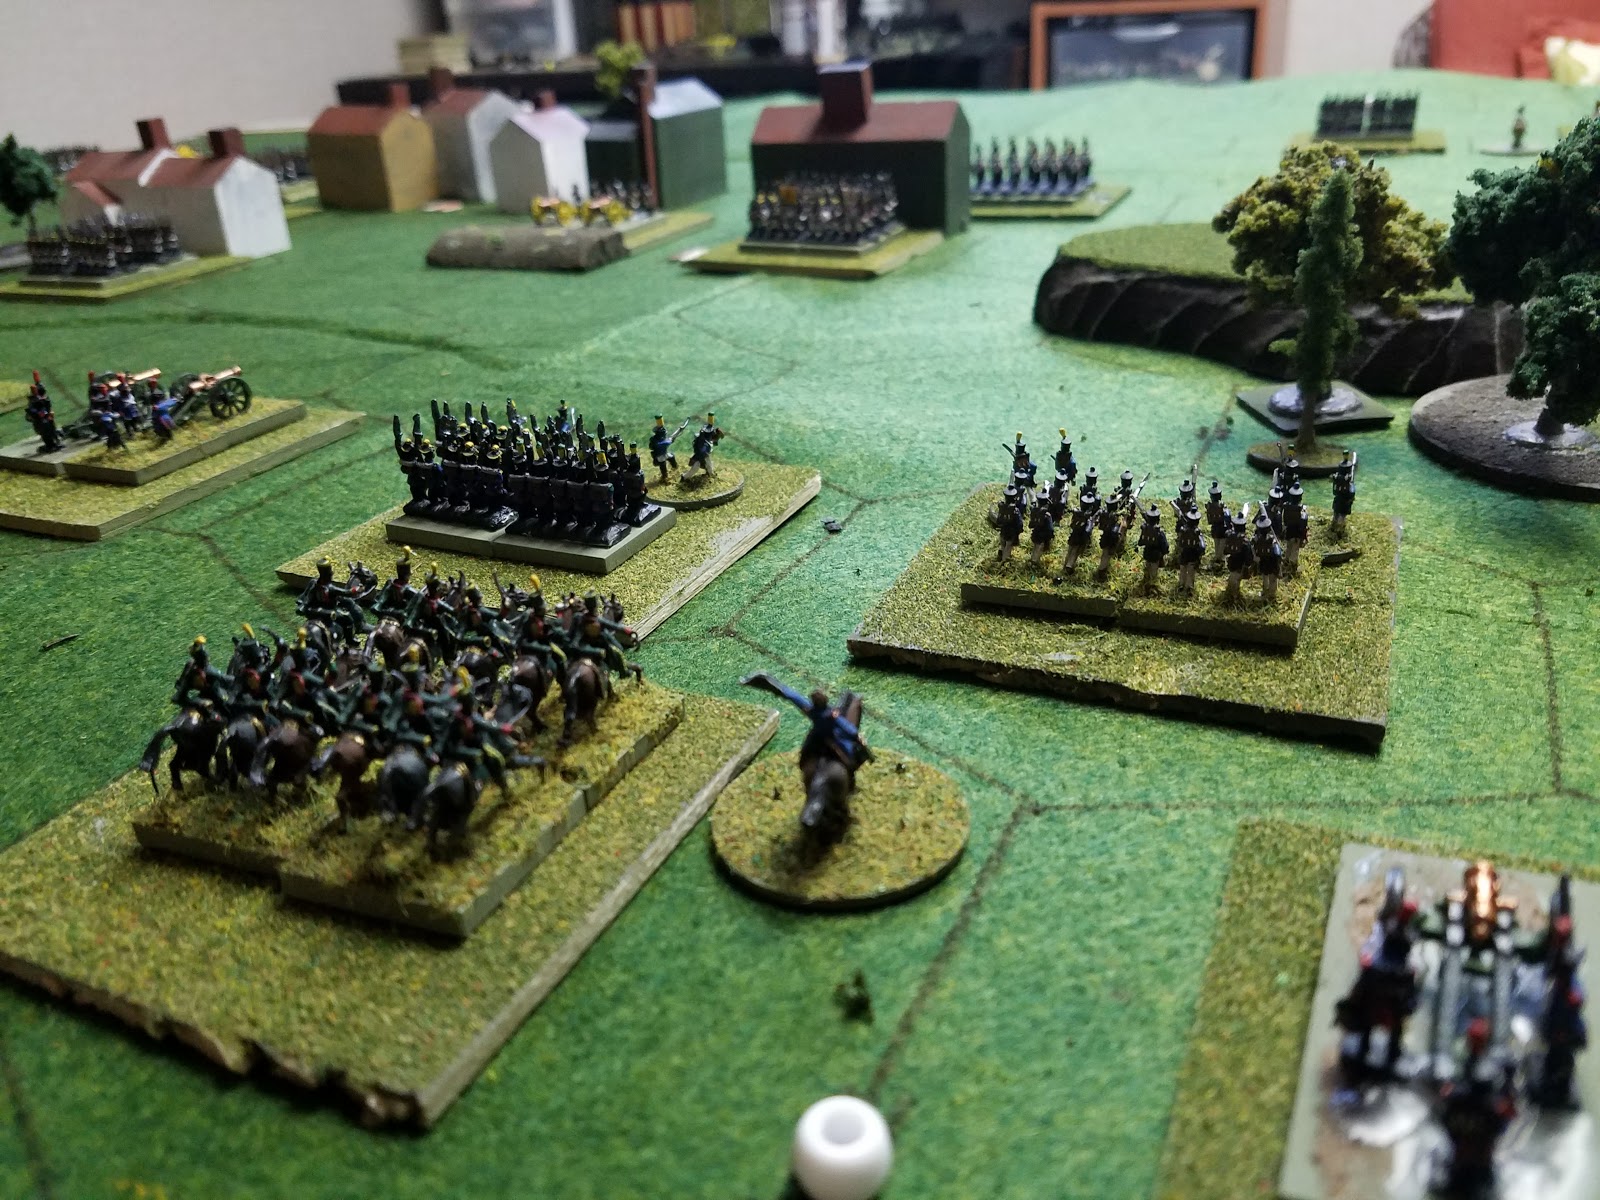
The battle opens!  You're looking at the Austrian right-most Division here - the Hungarians.
 The French open the battle with some impressive shooting, scoring multiple hits against an Austrian unit dug into the southern most village making up Enzersdorf.


The French kick out their right flank moving closer to my Hungarian units.  The Austrian division on my right flank were the most active in the game's beginning, moving forward to occupy higher ground along the Danube against what I thought would be the French main effort....

Austrians seize the high ground along the river while the Artillery fires away.  Most of my cards were right-flank cards allowing me to use 2 or less units...


In the center, Dave's shooting starts to take a toll on my forward unit.  As much as I want to reinforce them, I'm just not getting the cards (opportunities) to do so, and so they sit there, powerless against the French!  Pity, too, because they shoot with 5 dice!

French flag is a victory banner.  Note the "hits" on the Austrian unit in the far right of the picture (flocked pennies).
 Curious movements and advances open up against the Austrian left (the Hungarians).  Is this a demonstration?
Dave starts moving his cavalry formations forward!  But I've got so much infantry there, I'm sure there's nothing to worry about.  It's just a demonstration and the "real" assault will fall against the Austrian right!?!?
 Dave moves in for the kill with LaSalle leading the French Cavalry Division falling like an axe on the Austrian left (the Hungarians).  Sure enough, in what was to be an ominous sign of how this game would turn out, Dave rolls double Crossed-Sabers, effectively killing the Division Commander! The Austrian General Maver is killed!


LaSalle and the Hussars in the background assault these Hungarians along with General Maver!  Note they are in square (mass formation) as well.  The reader will also note the flocked penny I use for hit markers.  Insanely useful in other games as well where you need a subtle marker.

LaSalle covers himself in glory.  This calls for a much better paint job - AND he survived the battle!
Putting half of an entire Division in Square really sapped my ability to do anything here as it stole away 2 of my command cards (out of 4).  To add insult to injury, Dave took (unbeknownst to him) 2 of my best cards away when I formed the squares!

Hussar breakthrough!  Dave used his Cavalry to great effect this time, threatening my forces and ensuring I remained in square, effectively bottling up half of my command cards.

Some lucky rolling and my artillery staves off complete Austrian disaster (for now) on the left by forcing some of Dave's units back.

Some painted RISK pieces used as militia until I can paint up some proper militia.

LaSalle falls back along with his famous Hussars.  Note the French Light units.  This is a smaller block of infantry with skirmisher detachments modeled.
 More shooting in the center and stirring on the French left as Dave prepares an all-out assault on Gross Enzersdorf.  Dave has 5 out of 6 victory banners and needs one more to complete a French masterpiece!  As it turns out, he would literally march into Gross Enzersdorf without firing a shot as I have no "Center" cards to use.  Dave's infantry marches right in seizing 2 victory banners and rendering the entire Austrian position untenable.  The Austrians withdraw in good order and the battle is over in 2 hours!  Dave having scored 6 victory banners and me only scoring 2.


THOUGHTS

What a terrific game!  The action played out exactly as you'd expect with the cumbersome Austrians moving too slow to strike at the French, and the French having wonderful flexibility to carry out their plan as they wished.  As the Austrian commander, my right most Division seemed to be the most active and garnered the most decisions and combats by me.

The Austrian left was quickly overwhelmed by French Cavalry in a brilliant move by Dave and suddenly what I thought was a "demonstration" looked as if it would become the main effort!  I am not sure even Dave thought he'd be so successful against my left but my fear grew into him turning my flank (never a good thing) and owning the left section of the battlefield.  If that became the case, the Austrians would have had to deal with both the assault from the South against Enzersdorf and also from the North where Dave's cavalry enjoyed such tremendous success.

My front line unit holding the gateway to Gross Enzersdorf evaporated and I lacked the cards to reinforce the rest of the village.  So I had to watch (from my position of relative safety commanding the army) while Dave's French infantry marched right through the Front door, seizing his victory banners and winning the day!

Lots of fun and I'm hooked on CCN for delivering a truly grand-tactical experience where I'm making decisions that affect the outcome of the entire Army and the battle.  Also, CCN brings the advantages and disadvantages of these very different and diverse Armies to light and models them in a very elegant and simple way.  I really love this game if anything for its simplicity and for the narrative it produces.

Mission Accomplished!  (enjoy the encore pic - a very Grant-esque Brian giving some tactical advice to David


Friday, August 11, 2017

WAGRAM - GROSS ENZERSDORF SETUP

No gaming tonight so instead I set up for Sunday's Command & Colors Napoleonics Wagram game!  I thought I would give everyone a teaser (trailer?) for what to expect from this Sunday's big infantry fight.

Historical Background
Napoleon’s second crossing of the Danube was meticulously planned. He sent Legrand’s division to decoy Charles into thinking that the French intended to cross in the same area as before from the north end of Lobau Island. Charles took the bait and massed his army close to the Danube around Aspern and Essling.


Napoleon then bridged from the south end of Lobau Island and started crossing at 2A.M. under cover of a massive bombardment that inflicted significant casualties on the massed Austrians. When Charles realized he had been outflanked, he rapidly retreated to the Wagram position, leaving the VI Corps and Advance Guard to fight a delaying action. Taking up a defensive position around Gross-Enzersdorf, Nordmann’s Advance Guard began fortifying the village.


As Napoleon’s army deployed on the Marchfeld, Massena’s IV Corps was ordered to push forward and capture Gross-Enzersdorf to allow the advance to continue. Spearheaded by the French light infantry, the French entered the village, where fierce hand-to-hand fighting finally drove out the Austrians.

The stage is set. The battle lines are drawn and you are in command. Can you change history?


This battle will refight the French IV Corps' punch through the Austrian Advanced Guard under Nordmann at Wagram on 5 July.
The Austrians get 4 command cards, the French get 5.  Additionally, the victory is 6 x banners and the French, with the burden of attack, move first.

Gross Enzersdorf in the center hexes.  French starting positions are on the right and the Austrian starting positions are on the left.  The white beads mark the sections of the battlefield.

From the Austrian side.  The French have a slight advantage in cavalry and in light infantry.  The Austrians are 5 block large units.
Hungarian Line units (flocking them tomorrow)

A dug-in Artillery battery

A view from behind Gross Enzersdorf where a light cavalry brigade awaits the French advance.
St Cyr leading the infantry!  My answer for French Light Battalions was to use less infantry block stands and use skirmisher markers as light detachments "kicked out" in front of the formation.  This way everyone knows it's a light unit.

LaSalle attached to this Hussar unit.  Is Wagram the battle he died at?
French Infantry marching along the Danube
Really looking forward to this fight!  I hope everyone has a great weekend.  Tune in Sunday for some 10mm Napoleonic Wargaming goodness!


Tuesday, August 8, 2017

Brigade Fire & Fury 2nd Edition: McPherson's Ridge!

Last week I sent Ken the article written by Colonel Bill of Age of Eagles fame about the second edition of Brigade Fire & Fury American Civil War rules.  When I told him that the original Fire & Fury was one of my all-time favorite games and I was very interested in the new edition, the stage was set!

So the usual suspects came over on Sunday and we took the new "Brigade Fire & Fury" over for a test spin.
THe usual suspects, Dave and Ken finishing the setup.  You can see the new Brigade Fire & Fury rules under Ken's left arm.
We decided to go with the "smaller" McPherson's Ridge scenario but minus Howard's Corps.  I had enough miniatures to get the feel of the battle and had some of the most important and famous units on the table.
Iron Brigade starts to move into position as Buford's Brigade withdraws.  Cutler's Brigade can be seen straddling the "railroad cut" in the upper part of the pic.
 The changes to Fire & Fury are subtle and while they have a big impact in terms of combat, it still feels very much like Fire & Fury.  Players of the original Brigade game should not fear and will be very happy with this edition.  As the game opens, Dave is able to use Archer and Davis' Brigade to make some great initial headway up onto McPherson's Ridge.  He even pushes Cutler's Brigade back PAST the railroad cut.  Cutler's Troops are good though, and Cutler himself is "exceptional" so it's not proving to be the pushover Dave though it would be!

Rebs almost reach the McPherson Barn and are headed into McPherson's woods.

Archer's Brigade gets into position to deliver some enfilading fire onto Cutler's Brigade!
 Meanwhile Davis' Brigade advances against a covering artillery battery.  The cannister reaps a deadly harvest, however and they go "disordered."


Ken's wearing Dave's reading glasses.

Add caption
 Cutler's boys are pushed off the ridgeline and more and more Union Brigades start to stream in.
Lots of reinforcements for the Yankees!
 By this time I put the Iron Brigade into position right at the bottom edge of McPherson's Woods and they deliver a nasty surprise to the Rebs who are cruising through the woodline.  I would keep them there probably longer than I should have but they bought valuable time for the rest of the Army to deploy!  And thank heavens for that as the Rebs would get a ton of reinforcements soon enough.

Pettigrew's 13 stand brigade!  Crikey!


The Iron Brigade - a Crack Unit - "those damn black hatted fellows."

THe Iron Brigade taking on two confederate brigades!
 Union reinforcements move into position while the Iron Brigade takes volley after volley.  It's a nail biting defense full of tension as I try to form a defensive line on the back of McPherson's ridge and a reserve line on Seminary Ridge.  I can tell you that literally everything I did was historically plausible and felt right.  Fire & Fury has excellent period feel to it and this game, while long, really reminded me of how much I loved these rules.

The full battlefield as the Iron Brigade starts to conduct a retrograde under fire!
 There was plenty of Gettysburg trivia flying around this game, mostly annoying, and all of it by me.  Speaking of which, what is your favorite blunder/blooper from the movie "Gettysburg?"

Anyways I'm debating whether or not to let the Iron Brigade die in place since this is a wargame but looking at the mass of Dave's reinforcements (regenerated from the casualty pile - tell me that's not a kick in the pants!) I feel as though I'm going to need them for when the Rebs hit my main line of resistance.

Another thing I'll mention is that I attached Reynolds right to the Iron Brigade and he never died.


The Union line is starting to take shape around the hills near the McPherson woods and it's turning into "Fortress Seminary Ridge"as I've already lost the other side of the Chambersburg Pike.  Devin's Cavalry Brigade makes a sacrificial last stand for me but it's enough to keep the Rebs on that side occupied.
Dave's line shaking out with more reinforcements!  

The Iron Brigade starting to take casualties now as well.


The Union line starts to form and "Fortress Seminary Ridge" position is being assembled.


Devin's Brigade is having the Devil's own day 

more rebel reinforcements coming in now and it's starting to look grim for the Yanks.
 In order to put the reinforcing units on the table, Dave was collecting troop stands from the casualty pile and placing them into the line.  It was disheartening for me, but a great idea since I only had about 55 total Confederate stands!


The Iron Brigade has about had it after repeated Rebel assaults 


2 x 9 stand Veteran Confederate Brigades!  Trouble for me!  Good shooting would keep them at bay long enough but when Dave eventually would close, it would have been curtains for the Union.  My only hope was to keep these Brigades "disorganized" long enough to buy more time.


I lost complete track of time becoming totally invested into the defense and the ever growing Rebel ranks to my front!  We called the game at 7:00pm and I was exhausted.  I will say that Fire and Fury as a leisurely game is best played if you have the entire day or even the entire weekend to play.  As casual Sunday game where you only have 3 or 4 hours it's probably not the best game if you want a decision in a short period of time.  We probably played a good 4 hours and had not reached a decision yet.  One could argue that the time scale was pretty realistic but I want something a little faster.

With that said, I did have a blast and I believe Dave and Ken did as well (Ken was more of our rules aficionado and umpire) and as I stated before, this game reminded me of all the reasons I love Fire and Fury.  Historically plausible outcomes, realistic maneuvers, tactics, and operations, and a great narrative are all features of this great game and if you want a truly grand-tactical American Civil War game that retains the flavor and feel of Horse and Musket fighting while putting you in the Corps Commander's saddle, then these rules are worth looking into.  As for me?  Well it's safe to say unless I'm going to play them at a Convention, I have retired Fire and Fury in favor of games that play a little quicker (Neil Thomas ACW from Wargaming An Introduction, Black Powder, Rank & File being 3 examples) but they'll always have a special place in this gamer's heart.