Ken and Dave were over today for a playtest game of Richard C's
modern Battlegroup variant (don't dare call it NORTHAG -
because it's not!) convention game featuring a Soviet breakthrough at Ziegenhain in the Federal Republic of Germany during World War III circa 1984.
The game units were roughly the same as the last game
[click] except with expanded reconnaissance forces. We were originally going to try and run this at Historicon this year, however with my vacillation and hectic work schedule, not to mention lessons learned from these last x 2 games, we felt more playtesting is crucial and are putting it off until Fall In.
 |
| Ziegenhain approach from the Soviet breakthrough at Schwarzenborn |
Dave and I were originally going to feature 2 separate companies, although that game would have taken up close to 8 hours to finish and we were looking for feedback on the concept anyways, so we kept the same forces as the last game, and added enhanced recce elements. More on that later.
We played the Recce Screen scenario from the Overlord book. It worked well enough for our purposes today but we may design our own scenario for a Cold War hasty attack/hasty defense situation like this would be.
 |
| Dave commanded the Bundeswehr forces. |
Both sides had a BR of 35. Ken commanded the Soviets who fielded a company of T-62 tanks, a platoon of mechanized infantry in BMP-1s, and a recon platoon of 3 x BRDM-2s, and a BMP-1 with dismounts. Dave had a company-team of 2 x Leopard I platoons, a mechanized infantry platoon in Marders, and a recce platoon consisting of a Fuchs with dismounted patrol, a Jaguar, and 2 x Spahpanzer Luchs armored recon vehicles. There is off-board artillery in the form of 3 x Self Propelled howitzers for both sides. M109 and 2S1s.
Ken has the first move. There will only be 1 x turn for the recon fight. Then reinforcements will start to march onto the table. Ken has the initiative and immediately gains the upper hand with high rolls.
 |
| Dave's Luchs pinned pinned by 14.5mm fire from a nearby BRDM-2 |
Ken fans out his recce to screen the tank company on its approach march. He also places his FO BRDM in a convenient location to spot on an enemy high speed avenue of approach. In this game, the artillery was used to good effect by the Soviets, slamming down onto the West Germans each turn.
It's very important to note that all trees, West Germans, buildings, and the minor road were made by Dave. He did an outstanding job!
 |
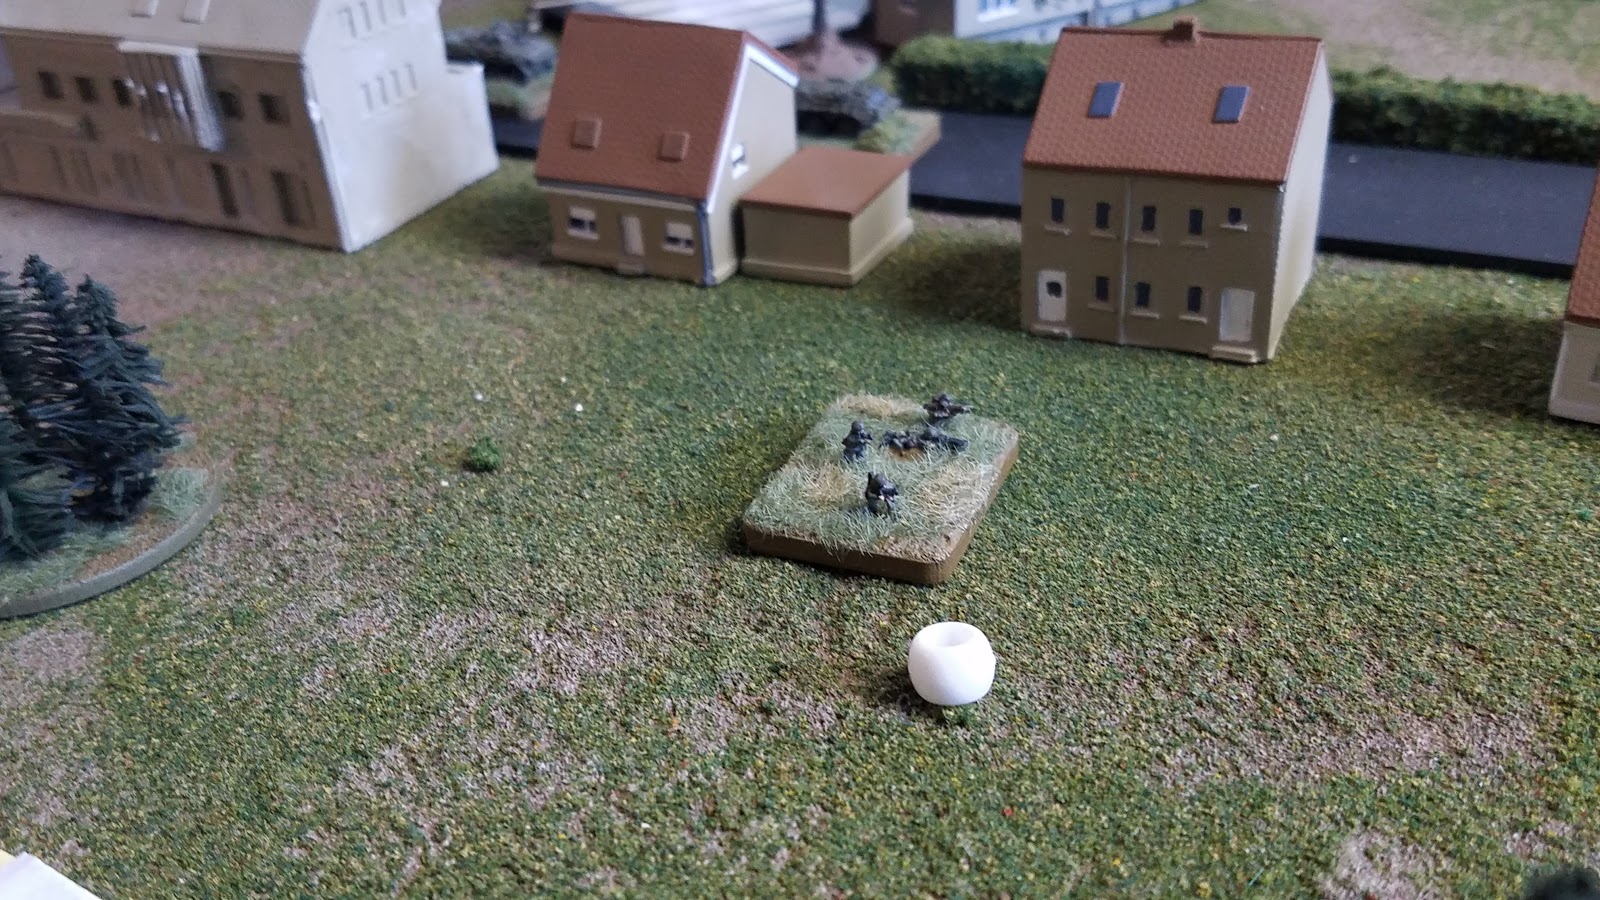
| Dave's excellent West German infantry. I love his basing style. |
Dave's infantry dismounts seize an objective (white bead) closest to his baseline at the outskirts of Ziegenhain and Ken draws a chit.
 |
| Recce elements moving up to contact! |
Dave's rolling is uncharacteristically bad and 1's and 2's are his best friends today. He does, however get a bunch of tanks right when he needs them as Ken's T-62s are pouring onto the battlefield.
 |
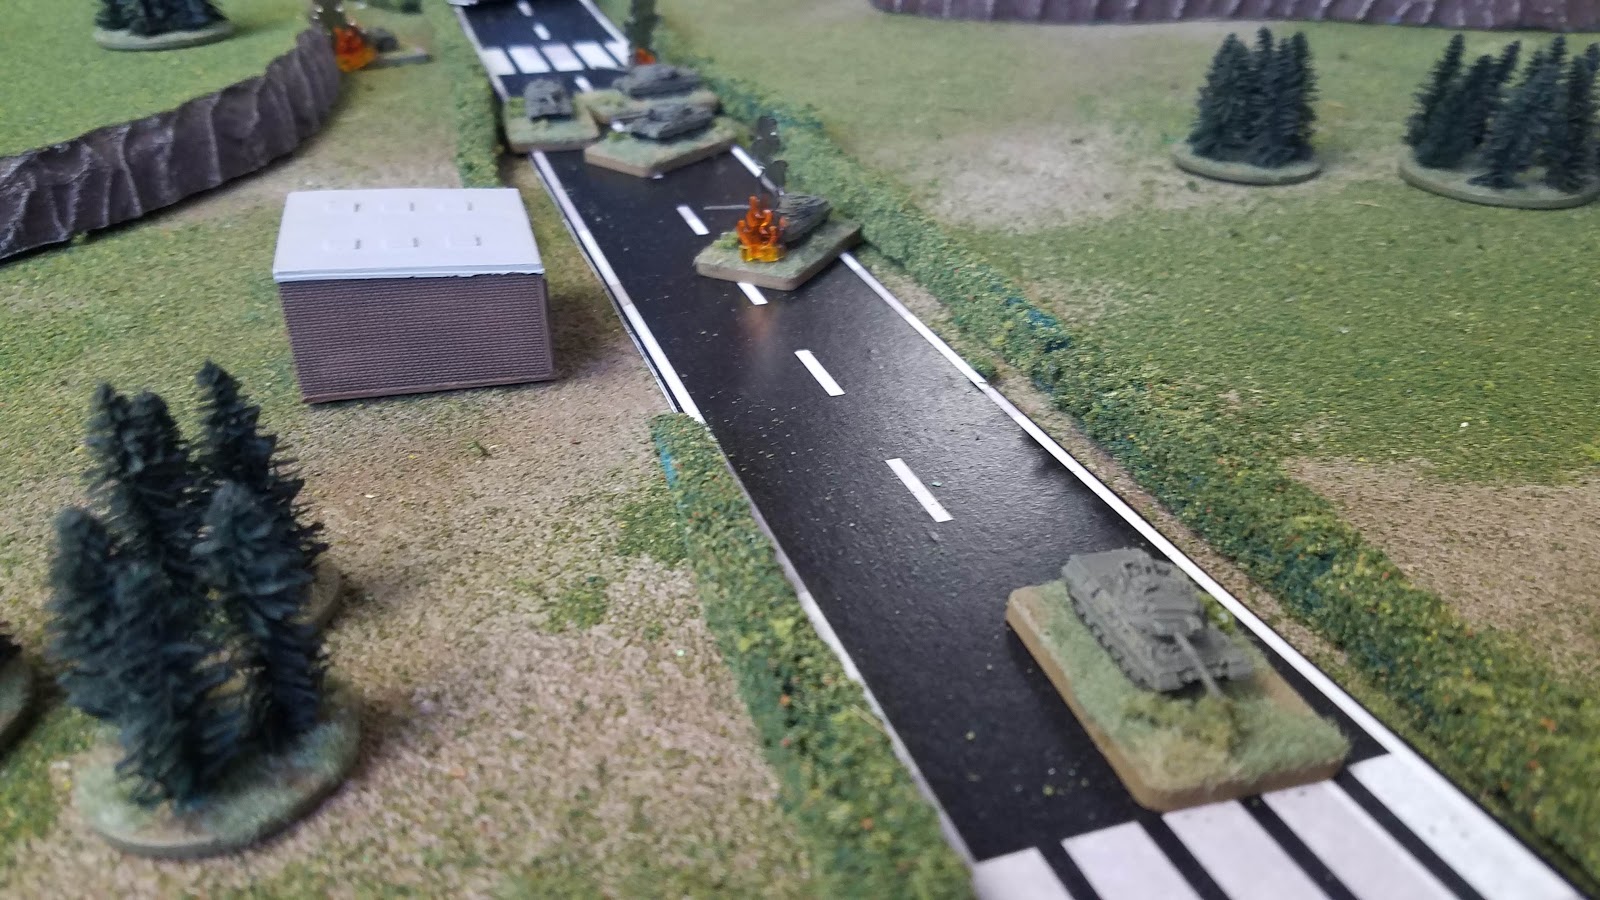
| Leo Is take up firing positions on the Autobahn and fire at T-62s in the distance. We played in inches this time. |
 |
| T-62s churning their way towards the Rhine. |
Ken claims the central objective for the Soviets and the objective on the autobahn closest to his baseline. The majority of his forces go down the autobahn approach towards Ziegenhain, not the more narrow, constricted approach that I chose last game. Dave moves up his reinforcements as soon as they get on the table, but Ken's rolling (and Dave's horrible rolling) start knocking out Leo's each turn. Adding insult to injury, Ken starts lobbing 73mm shells at the Luchs from his BMP-1!
 |
| Recon team seizing the central objective |
 |
| Ken nicknamed the central corridor "the valley of tears" to which Dave correct him - "the entire table is the valley of tears!" |
 |
| Ken's T-62s take up firing positions and screen for their comrades who are still rolling up to the fight |
 |
| This Luchs is still pinned on the local road. He would eventually score a kill against the BRDM in the treeline. They had been trading shots the entire game. |
 |
| Ken dismounts his infantry in the central woods on the objective. Dave will have to winkle him out if he wants to seize the position. |
 |
| All of the Soviets were painted by me. |
 |
| Staring down the autobahn from Ziegenhain. I LOVE these buildings! Dave did a great job on them. |
The tank fight on the Autobahn is brutal as Ken's armor starts entering, Dave has Leopards in position to fire on them but he's not getting any hits! Ken with the inferior T-62s is getting more hits.
 |
| Revenge! Dave KO's the BRDM in the treeline that pinned his Luchs. |
 |
| Recon elements move forward in an attempt to nip at Ken's flank. |
 |
| Panzers los! T-62s in the distance. |
 |
| Dave's mech platoon shows up. His best option is to fall back and garrison Ziegenhain. He is losing the tank-knife fight on the autobahn right now and has only 2 x Leo's that are fully mission capable at this point! |
 |
| tracking ATGM ammo - 2 shots which failed to hit anything. |
The last turn of the game, both Ken and Dave pull aircraft chits but it's all over anyways. Dave pulled a "3" which put him over the edge and his forces pull out of Ziegenhain.
 |
| German attack helicopter! Looks amazing! |
 |
| Burning Leo I's clog the road to Ziegenhain. The Soviets are going to walk right through the front door. |
 |
| A lone T-62 burns on one of the objectives. |
 |
| Cold War goodness! |
 |
| Soviet infantry in the central woods hustling back to their carrier to move into Ziegenhain! |
Latest Observations and things on the To-Do List
Played in inches this time. In my opinion it sped the game up because the table became smaller and the Soviets and Germans closed much more quickly than last game. This is a "sustain" for the next time.
Observation and line of sight rules need to be tightened up if we're to run at a convention. We discussed making the edge of the woods the limit for firing and being fired at/observed within the woods.
Discussed a scenario that is more of a hasty attack/defense scenario with more forces already on the table. This would speed things up.
Discussed going back to "platoon scale" game (rolling 2D6 for orders) since rolling 3D6 essentially enabled us to do whatever we wanted with all of our forces. I think Ken only had to choose which forces not to give orders to on 2 occasions.
Need to become more familiar with the helicopter / aircraft / SAM rules.
Dave liked the idea of West German units starting pinned due to the pre assault bombardment. There are existing rules for this in the Battlegroup Kursk rulebook.
We also discussed structuring the reinforcement arrivals to ensure infantry get into the fight quicker. Ken observed that the majority of Battlegroup games are decided before the infantry get up to the fight. We discussed possible mandating in a convention which units would arrive next. In this manner we will be able to help move the infantry into contact more quickly.
All in all, a very fun game and perfect for a Saturday afternoon. I am really looking forward to playtesting again.


