Ken and Dave were over yesterday for some epic WWII gaming. On the table? A large Stalingrad battle using my 15mm kit and Flames of War with the "Enemy at the Gates" and "Iron Cross" infantry force compositions. Total of 90 points on the table playing the "No Retreat" scenario (what else for Stalingrad!). Readers may recall our EPIC "Rapid Fire" Stalingrad mega game from the 4th of July Weekend a few years back.
 |
| View east from train station #1 - the German jumping off point. |
It is OCtober, 1942, and Operation Hubertus has begun! The Germans are pushing into the factory district to secure a toe hold on the Volga. Dave played the Soviets with a full Hero Rifle Battalion and Ken played the Germans with a full Grenadier company and an elite, flamethrower-equipped Assault Engineer platoon.
 |
| View towards the workers flats and the department store, a Soviet strongpoint. |
The Soviets have a convoy of KV-1s and anti air units headed their way, while the Germans will start with all supports on the table, including a battery of 105mm guns, and a mortar platoon. The Soviets, never lacking for artillery, have a battery of 76mm guns and 122mm guns on the table! Also - the vaunted Luftwaffe will make many appearances over the factory district today!
Ken steps off onto the assault on a broad frontage, attacking multiple hard-points simultaneously. The pre-registered target points help whittle the Soviets down. Dave meanwhile, issues Chuikov's orders to the frontline units - not one step back!
 |
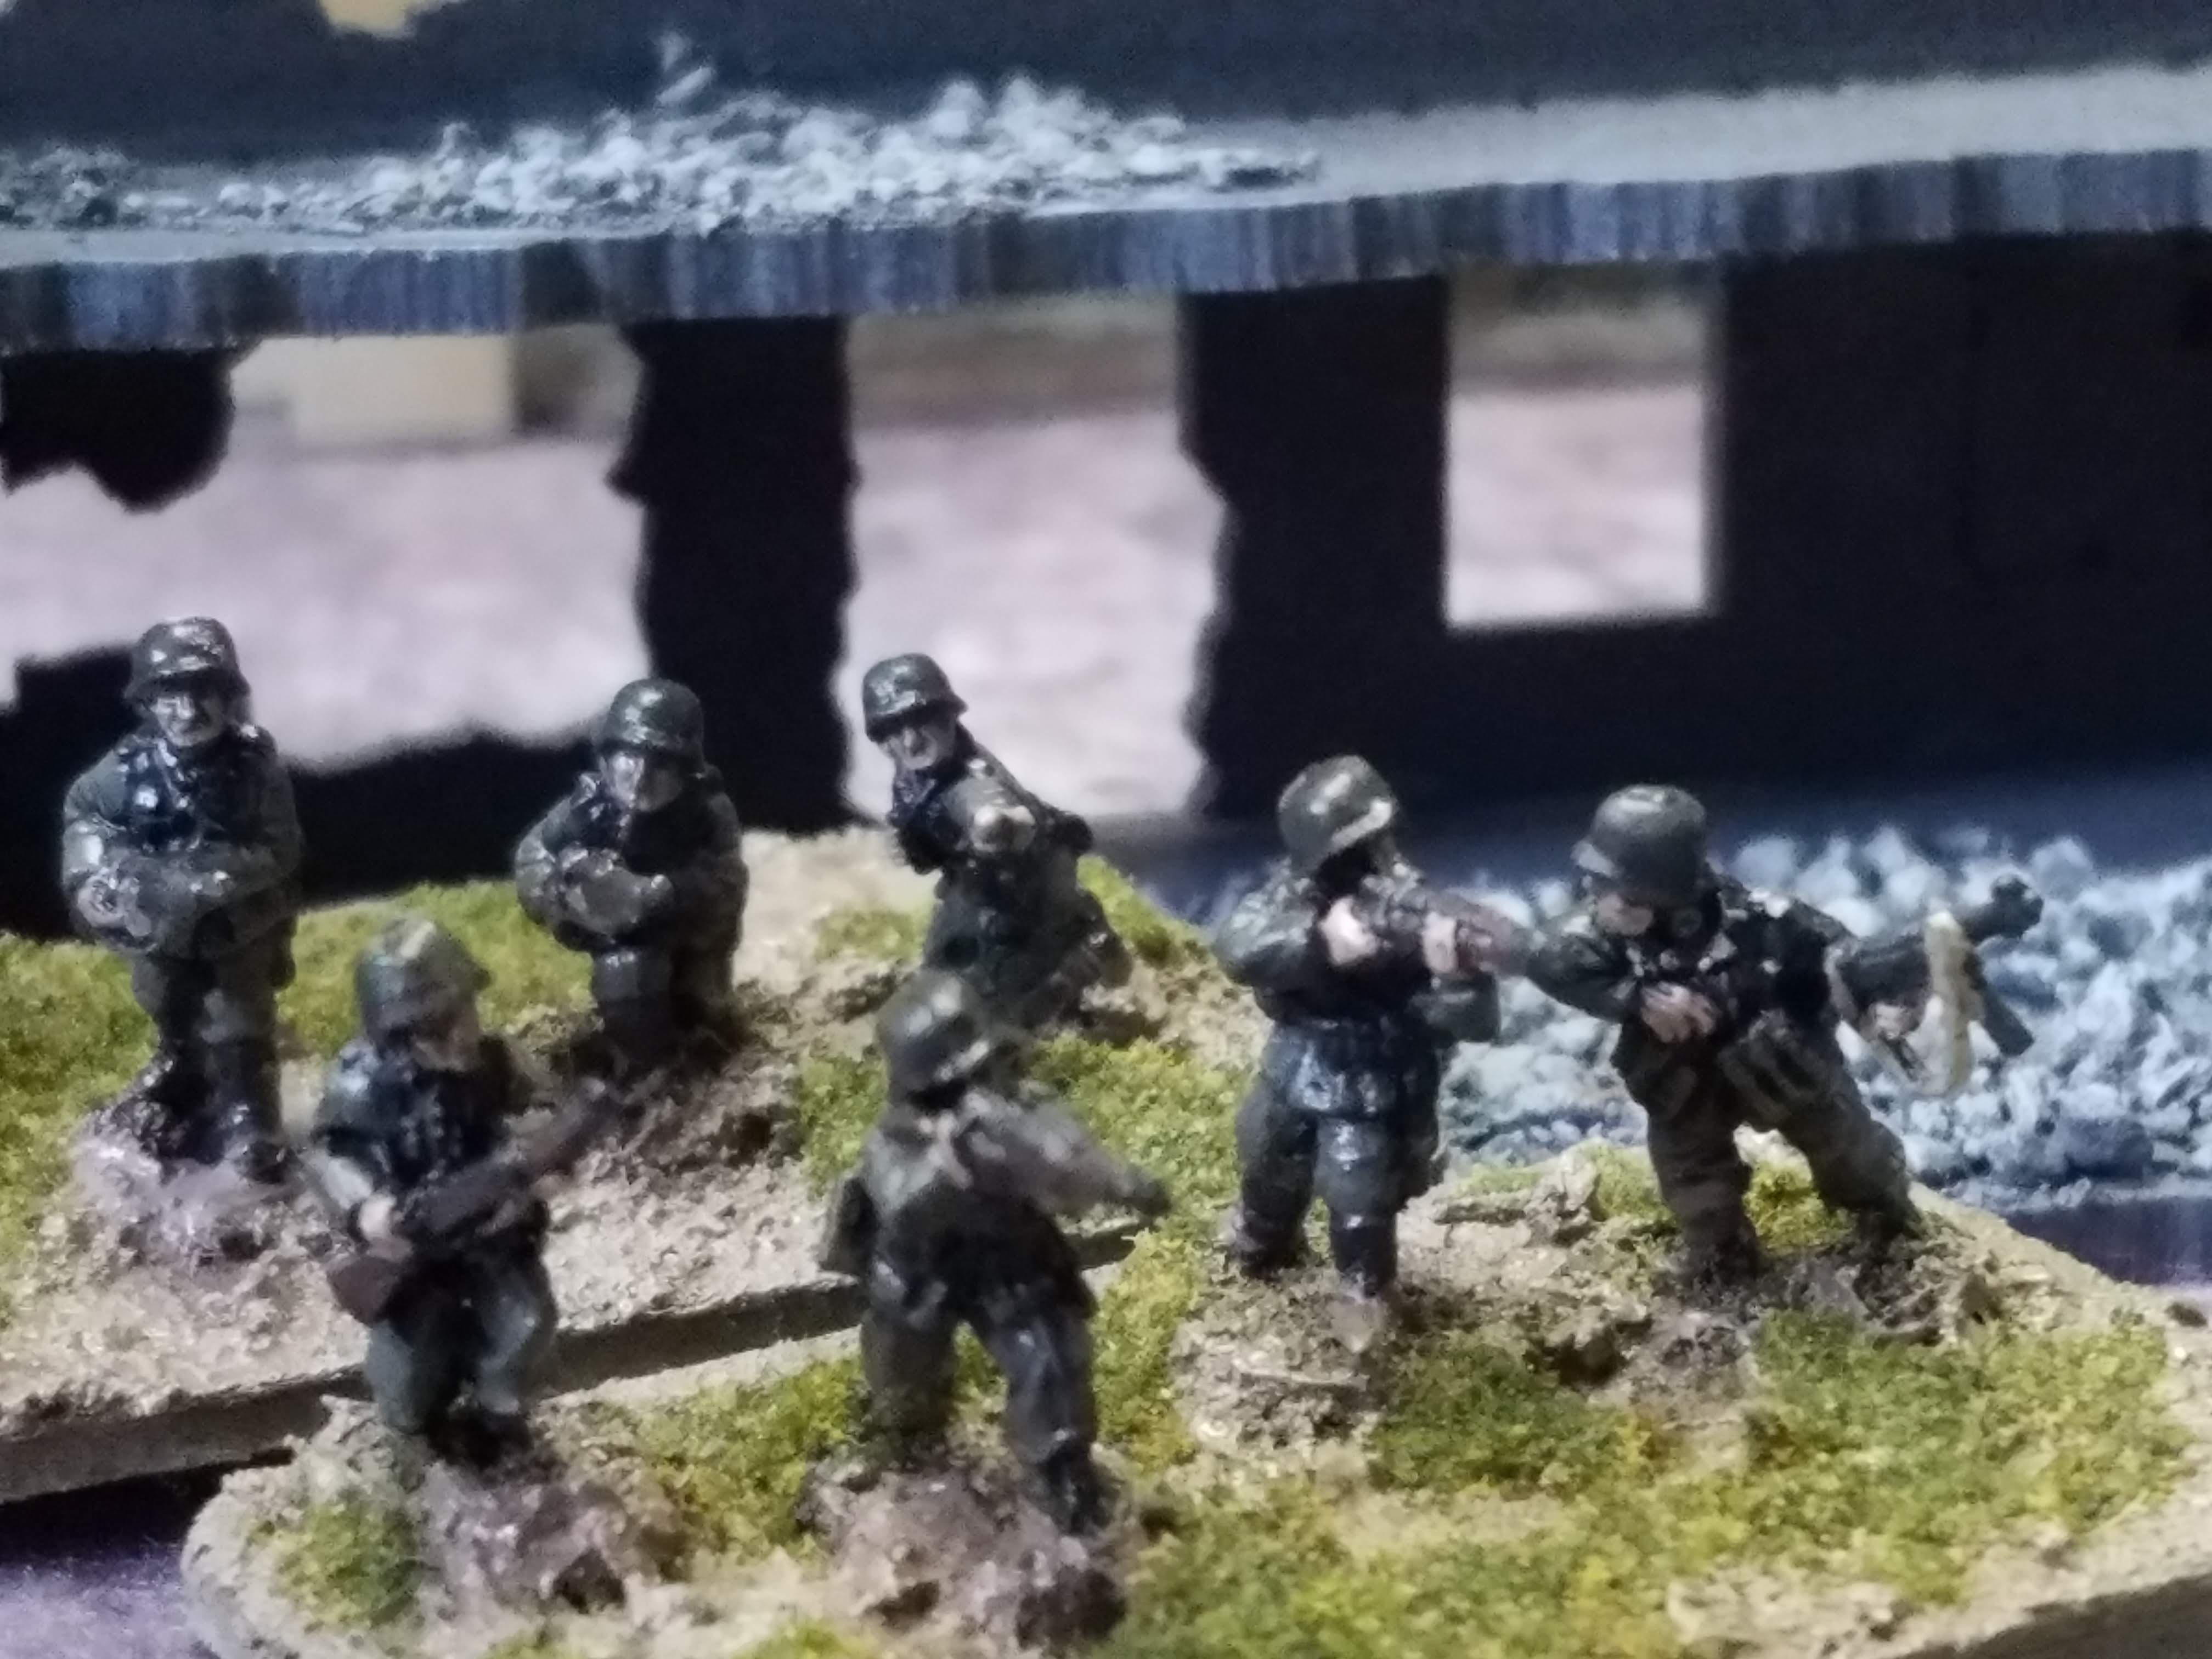
| Ken's Landsers double-time up to the start point! |
The assault begins with the Germans immediately moving to assault the workers flats and the department store, both key terrain in the fight for the office building immediately behind - a key German objective which Ken sets. Dave holds his elite assault group behind in ambush, looking to unleash them when the main German thrust presents itself.
 |
| Ken's panzers drive up to the roadblock in front of the department store and start pumping MG rounds into it to suppress the defenders. The Landers scurry into position! |
 |
| A Soviet rifleman peers out of his fighting position! |
 |
| Soviet gunners lob round after 122mm round at the Germans across from the workers' flats. |
 |
| Face to face gaming! Not that we ever really stopped :) Ken moves his Grenadiers up to assault. |
 |
| Note in the street behind the white building, German assault Pioniere move to assault the department store. |
 |
| THe department store (where Dave's hand is) becomes the scene of intense and brutal street fighting while Ken's engineers are repulsed with heavy, almost too heavy, losses. Dave's company in the building will be whittled down to 4 stands, 2 x infantry, the commissar, and an HMG. They'd go on to hold for the entire battle! Heroes all! |
 |
| Note Ken's engineers in the street in front of the Department store while Landsers on the right prepare to assault the workers flats. The objective is immediately behind that, upper right in the picture! |
 |
| Engineers in the street fighting for their lives! |
 |
| Brutal close combat before the engineer stands are wiped out from defensive fire |
 |
| Soviets fighting from cellars! The fight in the department store gobbles up men and equipment with terrifying speed! |
 |
| Dave has kept a rifle company behind the factory and begins to move them forward. The remaining unengaged German rifle platoon moves forward. |
 |
| Meanwhile, Ken captures the workers flats next to the department store, a key jumping off point to assault the office building objective! |
 |
| Panzer IIIs rumble up in support. |
 |
| Ken's men in the rubble in top-center, while Dave prepares to counterattack with another fresh rifle company. Meanwhile, Ken seizes a jumping off point to assault the office building at top left. |
 |
| Soviet storm group, with their distinctive camouflage uniforms, moves up to the front. |
 |
| Bad saves against mostly pinned Soviets, Ken loses the bulk of the engineers in the streets in front of the department store. |
 |
| The Luftwaffe moves in attacking the Soviet 122mm battery! |
 |
| Dave's hard-pressed defenders in the department store! THey'd be pinned for almost the entire game. |
 |
| The Germans making progress, but you can't call this "blitzkrieg!" More like "war of the rats" |
 |
| Meanwhile at the railyard, German batteries are firing in support of their advancing infantry. |
 |
| What's left of the assault engineers still firing |
 |
| Ken's first platoon pinned down in the rubble in front of the red house. They can see the objective! Dave has a rifle company behind the red house, waiting to counter attack! |
 |
| Panzers advance! VOrwarts! |
Ken's force is getting whittled down, but he's dangerously close to the office building objective. Dave, with iron nerves, still hasn't committed his storm group yet. Ken attempts to suppressed and keep pinned the Soviets on the main objective.
 |
| With the department store to their left and workers flats (in German control) to their right, the Panzers march forward. The office building is directly to their front! |
 |
| A target of opportunity, the Luftwaffe goes after the KV-1s coming up from reserve. 1 is knocked out and 1 is bailed. note the 122mm "battery" with a single gun left! |
 |
| Ken masses a fresh grenadier platoon in the circular rubble, while Dave seizes the moment and fills in the red house with a fresh Soviet company to block them. House by house! Building by building! |
 |
Germans pinned in the rubble in front of the red house - a bitter close-range firefight with the Soviets!
|
Hard decisions and tough choices by both sides. For Ken, when to assault? Is the enemy sufficiently whittled down to support going in with grenades and bayonets? For Dave, when to commit the assault group and where? MOst of Dave's rifle companies, if not all of them, are pinned and they can only defend in place. Ken's rifle platoons are decisively engaged and he's feeling the loss of the assault engineers now, having to do the work with rate of fire "1" when moving infantry stands.
 |
| Ken shifts fire to the office building now as his forces close in on the objective. Ken tries a different approach and attempts to assault his way through the department store to get over and reinforce the 1st Grenadier platoon. Dave's whopping 12-15 dice defensive fire shuts them down. The 1st Platoon along with the panzers will have to do the majority of the work! |
 |
| Platoon leader from 2nd platoon is all that's left - the rest have been knocked out, wounded, or ran to the rear. |
Dave, sensing the time is right, commits the storm group on turn 5 next to the objective. Dave has the rifle company from the red house also closing in the from the north. Ken also knows it's "do or die" time and prepares to move onto the objective and assault the office complex.
 |
| Ken's Germans spilling out of the workers flats to assault the office building! |
Ken's assault is pushed back by Dave's counterattack. Even with no commissar left, Dave rolls a 6 and the Soviets counter attack pushing the Landers back out. A quick counter attack by Ken with his Company Command team and the platoon commander from 1st Grenadier Platoon gets them a toe hold back in the building. THey're within 8 inches of the objective for now! Desperate fighting by Dave's rifle companies sees wave after wave go against Ken's command group but they're repulsed. A final attack eliminates the company command team and Ken concedes. His final supports, the panzer III platoon ran into problems of their own and were surrounded in the streets.
 |
| Pictures from the final assault |
 |
| Storm Group in the street, note at a greater distance Dave's rifle company also moving in. |
 |
| SMG gunner firing in the streets of Stalingrad! |
 |
| Dave close assaults Ken's Panzers. We did this incorrectly and had to redo the assault. |
 |
| Result #1 which was a really cool photo so I kept it - we did the defensive fire incorrectly |
 |
| The final showdown - Panzer III platoon in the streets with no infantry support! |
A great game! We were originally going to play a Cold War Battle but I ended up deciding on a WWII battle thinking we'd have some new folks over to play. It ended up just being Dave, Ken, and I and WOW what a battle. Definitely some fun highlights to review:
The Soviet defense of the department store will earn this unit a place in my Unit Citation section of the Blog! Dave's 4 stand "company." whittled down to a single squad (2 x team stands), an MG section, and Commissar Team, held out until the very end, and the department store, assaulted no less than 4 times, held out!
Ken's EPIC over-the-top style assault, and desperate defense with the company command elements and the 1st Grenadier platoon against relentless Soviet human wave assaults on turn 6 was legendary. Iron Crosses all around.
First time we used AAA in a WWII game, and while it hit a Stuka, it was not able to bring it down. The Luftwaffe destroyed a KV-1, and a battery of 122mm artillery in the rear area.
Just like our previous Stalingrad game a few years ago, the frontline-trace moved about 8 inches over the course of the game, with all but 1 German thrust being defeated at the line of departure. Pretty historically accurate I'd say.
So while I did not end up using "every" toy in the arsenal, there were a ton of Soviets and Germans on the table and this is exactly why I maintain the huge forces that I do - for big games like this.
All in all, a great day of gaming and hanging out with friends. Just what I needed for this long, Independence Day weekend. Working on the Eylau project now and spying the Gaming Calendar for what comes next!


