
Yesterday I posted about an "unconventional" assault plan to capture the Fleches at Borodino using Scenario #15 from One Hour Wargames (OHW). Martin Rapier posted a comment about attempting to take the second redoubt first (!). I admit I was intrigued by this and wondered if it was feasible. I will be using the prototype "Eagles & Hexes" rules, themselves inspired from Peter's Square Eagles which are inspired from a set of OHW-styled Grand Tactical Napoleonic rules we used to use many moons ago which I helped in the development of. (there will be a post coming up on "Eagles & Hexes" if interested)
Today's battle would see Davout's I Corps more closely following the traditional attack route he used during the real battle with infantry flooding the woods and popping out near redoubt 2. Could I pull it off? Scenario 15 is a tall order and the Russians are "dug in like ticks". Then again, you have the confidence of a "Second Wave" (Ney's reinforcing attack) so let's see what happens... I took notes this time around so you can see more of how the action unfolds. I'll try to focus on important or noteworthy actions that occurred during the battle.
Turn 1
French 1 Order / Russians 4 Orders - French have Initiative
The French open the battle advancing up to the woodline with their lights and line infantry. They next order a bombardment from their guns but fail to cause any damage. The Russian Jagers in the woods fire and score 3 hits (ouch) which would normally force the infantry back (from casualties and disorganization) but Davout is with them and so they remain in place. Davout is not harmed from the skirmishing (leader attached to a unit you roll 2D6. if a "2" comes up - the leader is a casualty - this costs 1D3 taken from your morale clock).
 |
| Fighting in the woods on turn 1 |
 |
| Russian units starting to pull back towards Redoubts 2 as French units look to enter the woods. |
 |
| Skirmishing with Jagers in the woods - Davout's infantry stand their ground after taking 3 hits. |
Turn 2
French 1 Order / Russians 1 Order - (Doubles and so we roll on the events table - It's a "Red Ammo Shortage D3 units" - the Russians have 1 unit low on ammo and randomly select the unit and it's actually the Jagers! So the Jagers in the woods are low on ammo from their shooting last turn. I re-roll the orders. French 3 ORders / Russians 5 orders and the Russians steal the initiative from the French.
The Russians begin moving units back towards redoubt 2 seeing that the fight is going to be there. The French advance is slowly gaining steam.
 |
| French forming their attack line while Russians re-position themselves closer to redoubt 2 (middle-center) |

Turn 3
French 4 Orders / Russians 1 Order. Russians have initiative.
Russian Artillery bombards. The French infantry assault the Jagers in the woods and destroy them. Russians get "2" on their morale clock (total 14).
 |
| Russian bombardment scores 2 hits (note the Guards orienting themselves towards the oncoming french in the hex next to the redoubt) |
 |
| The Brigade Davout is co-located with pushes up into the woods! They lose 1 dice for assaulting into cover but the Jagers are in worse shape with only 1 hit remaining. The French win the assault and I Corps has a lodgement to begin the offensive towards Redoubt 2. |
Turn 4
French 1 Order / Russians 3 Orders Russians still have Initiative.
Both sides maneuver now to reorganize their forces near redoubt 2. The French have a slow slog through the woods (line infantry move half) while I leave the lights behind due to lack of orders. The Russians meanwhile move their Cuirassiers closer to redoubt 2 to counter attack. There is general skirmishing up and down the line as units close to within skirmish range of each other.
 |
| French Cavalry is getting anxious to charge and so is the Russian Cavalry! Note the French lights still back to the south. |
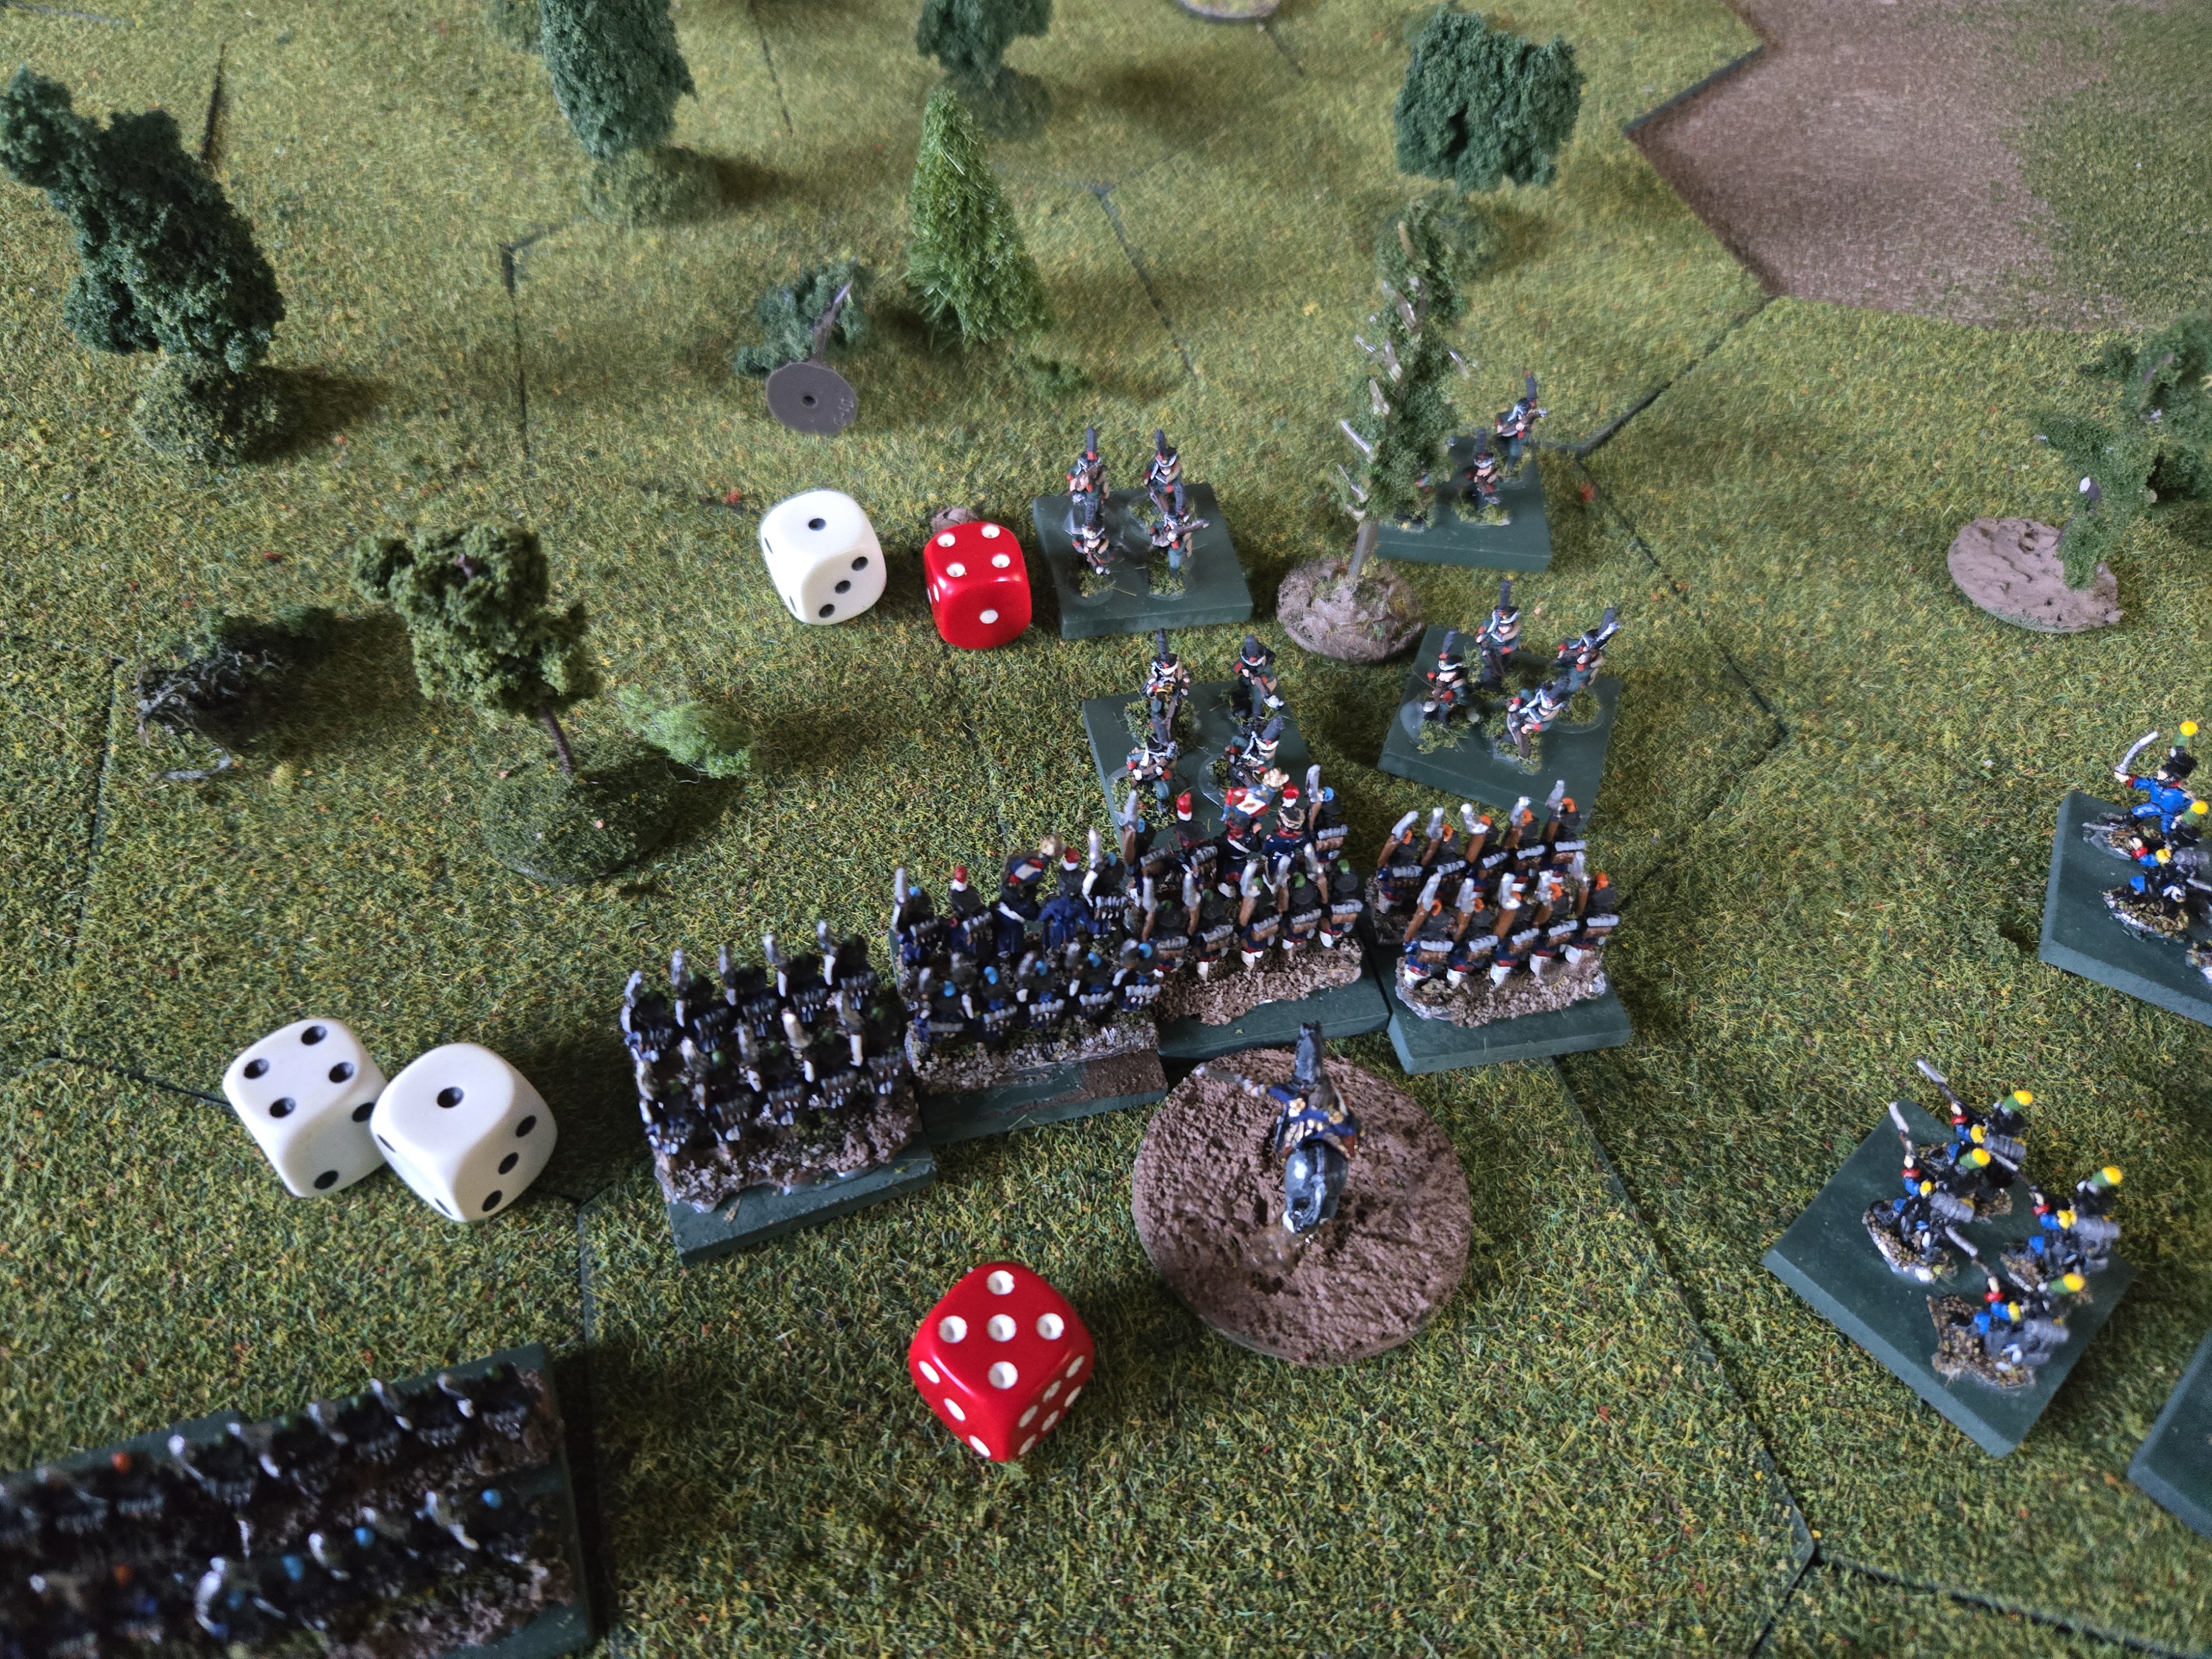
Turn 5
French 6 Orders / Russians 1 Order. Russians have the Initiative.
The Russians bombard the French Cuirassiers in the center and cause more hits on them but it's the French this turn who desperately needed to orders to move and rally/reorganize their forces. The French light cavalry over-runs the Russian battery (minus another unit and 2 more off the Russian morale clock). The French Cuirassiers rally a hit off and Davout rallies another hit off the infantry in the woods.
 |
| French light cavalry over-run the Russian guns. They were no longer ordered (bombarding instead during their operations phase) and so they were helpless to absorb the charge by the Hussars. |
 |
| Russian morale clock is up to 4 now |
Turn 6
Doubles - Random event rolled for. Both sides rally D3 hits from 1 unit. The French rally the unit Davout is co-located with and remove all but 1 hit. The Russians have no units with hits as all are either full strength or destroyed.
Re-rolling for orders - and Initiative - the Russians steal initiative away from the French! They launch their Cuirassiers against the flank of a French line infantry brigade who is approaching redoubt 2 - but they enter multiple ZOCs and so must halt. Damn! Insert Russian curse here!
Meanwhile the Russian Cuirassiers are not the only ones making bad decisions here. The French Cuirassiers charge the Grenadier Guards next to redoubt 1. It's worth noting they had some serious hits already and compared to the immense combat power of the Grenadier Guards, it was a foolhardy decision. The Cuirassiers evaporate in the Guards pre-morale volley (the Russian guards had an unused order and so have the option to fire a volley (3D6) or melee with yet ANOTHER D6 - they volleyed). Worth noting that the Cuirassiers did their job and are still able to put some hits onto the guards.
Seeing the destruction of their comrades, the French lights charge the Grenadier Guards in the rear and the Guards Brigade ABSORBS the hits and counterattacks resulting in the destruction of the light cavalry as well! The Grenadier Guards are seriously hurt, but not destroyed.
The French end Turn 6 with 4 more applied to their Morale Clock.
 |
| Russian Cuirassier charge is halted by the ZOCs... THey did not have the movement to enter the French unit with 3 hits' hex. Too bad, too, because Cuirassiers receive +1D6 for charing, and would have received another +1D6 for charging a flank. Hitting on 3+ in their powerful charge, a heavy cavalry charge can be brutal. With only 5 strength points, though, they cant stay in sustained combat and are probably only good for 2 or 3 charges themselves. |
 |
| French Cuirassiers charge the Grenadier Guards only to be eliminated in their charge. |
Turn 7
French 1 Order RUssians 2 Orders. Russians have the initiative.
to the North of the woods near redoubt 2 - the Russian Cuirassiers see a more attractive target and charge the lights who have emerged from teh woods headed towards the redoubt! They steamroll over them but from a result of all of the shooting last turn (they were within skirmish or volley range of multiple line units) they are themselves destroyed while over-running the French lights. So the French lose 2 more off their morale clock. Since the Russians won the melee, (even with their unit destroyed) they do not.
Incredibly, the Russian Guards assault a French line unit who has 5 hits already but are beaten back! (this is exactly why I love these rules) Perhaps the Russian Guards are getting too greedy? The glory is short lived as shooting knocks out the French unit and once again, Napoleon is starting to get nervous. He looks over at Ney's aide on horseback, who sees him then immediately and averts eye contact. The aide stares at the ground and fiddles with a button on his cuff...
Meanwhile, another of Davout's Brigades retreats from intense small arms and artillery fire coming from the redoubt. Retreating really represents heavy casualties and disorganization leading to a flagging of unit morale. The situation is so bad (receiving 3 hits in one single volley) 2that the unit withdraws to reorganize itself (1 hex). This costs a point on the morale clock when it happens.
 |
| Russian Cuirassiers charging the French lights |
 |
| The lights put up a serious fight and inflict 2 x hits on the cavalrymen who are also wiped out. |
 |
| Meanwhile, the arrogant Russian Guardsmen charge a French line brigade with 3 hits. |
 |
| And are repulsed! The French tie them and the attacker must retreat from an failed assault! |
 |
| Glory is short-lived though - the French Brigade is combat ineffective after devastating volleys during the shooting phase and evaporates. |
Turn 8 French 2 Orders / Russians 4 Orders. The French steal the Initiative.
DECISION TIME. Napoleon decides to allow Davout's attack to continue one more turn...
Things are NOT looking good here for the French. The Russians are still comfortably dug into both redoubts with few hits. Davout knows maximum effort is required now. The attack from his Corps is almost spent but the Infantry still have the hits for one more assault. Ney's Corps will go in on Turn 9 but the first wave needs to set conditions for Ney's attack to succeed.
With only 2 orders (along wiht Davout's automatic order), Davout launches every unit against the redoubt during his turn. Unbelievably, the assault succeeds! With the Russian Guards watching from their hex, a French Infantry Brigade is sent against redoubt 2 and captures it, routing the defenders!
 |
| Davout personally oversees an assault by one of his infantry Brigades against Redoubt 2 |
 |
| And it is overwhelmingly successful! The Russian defending brigade is destroyed along with their position battery. |
 |
| The Russian clock should be "8" in this picture. |
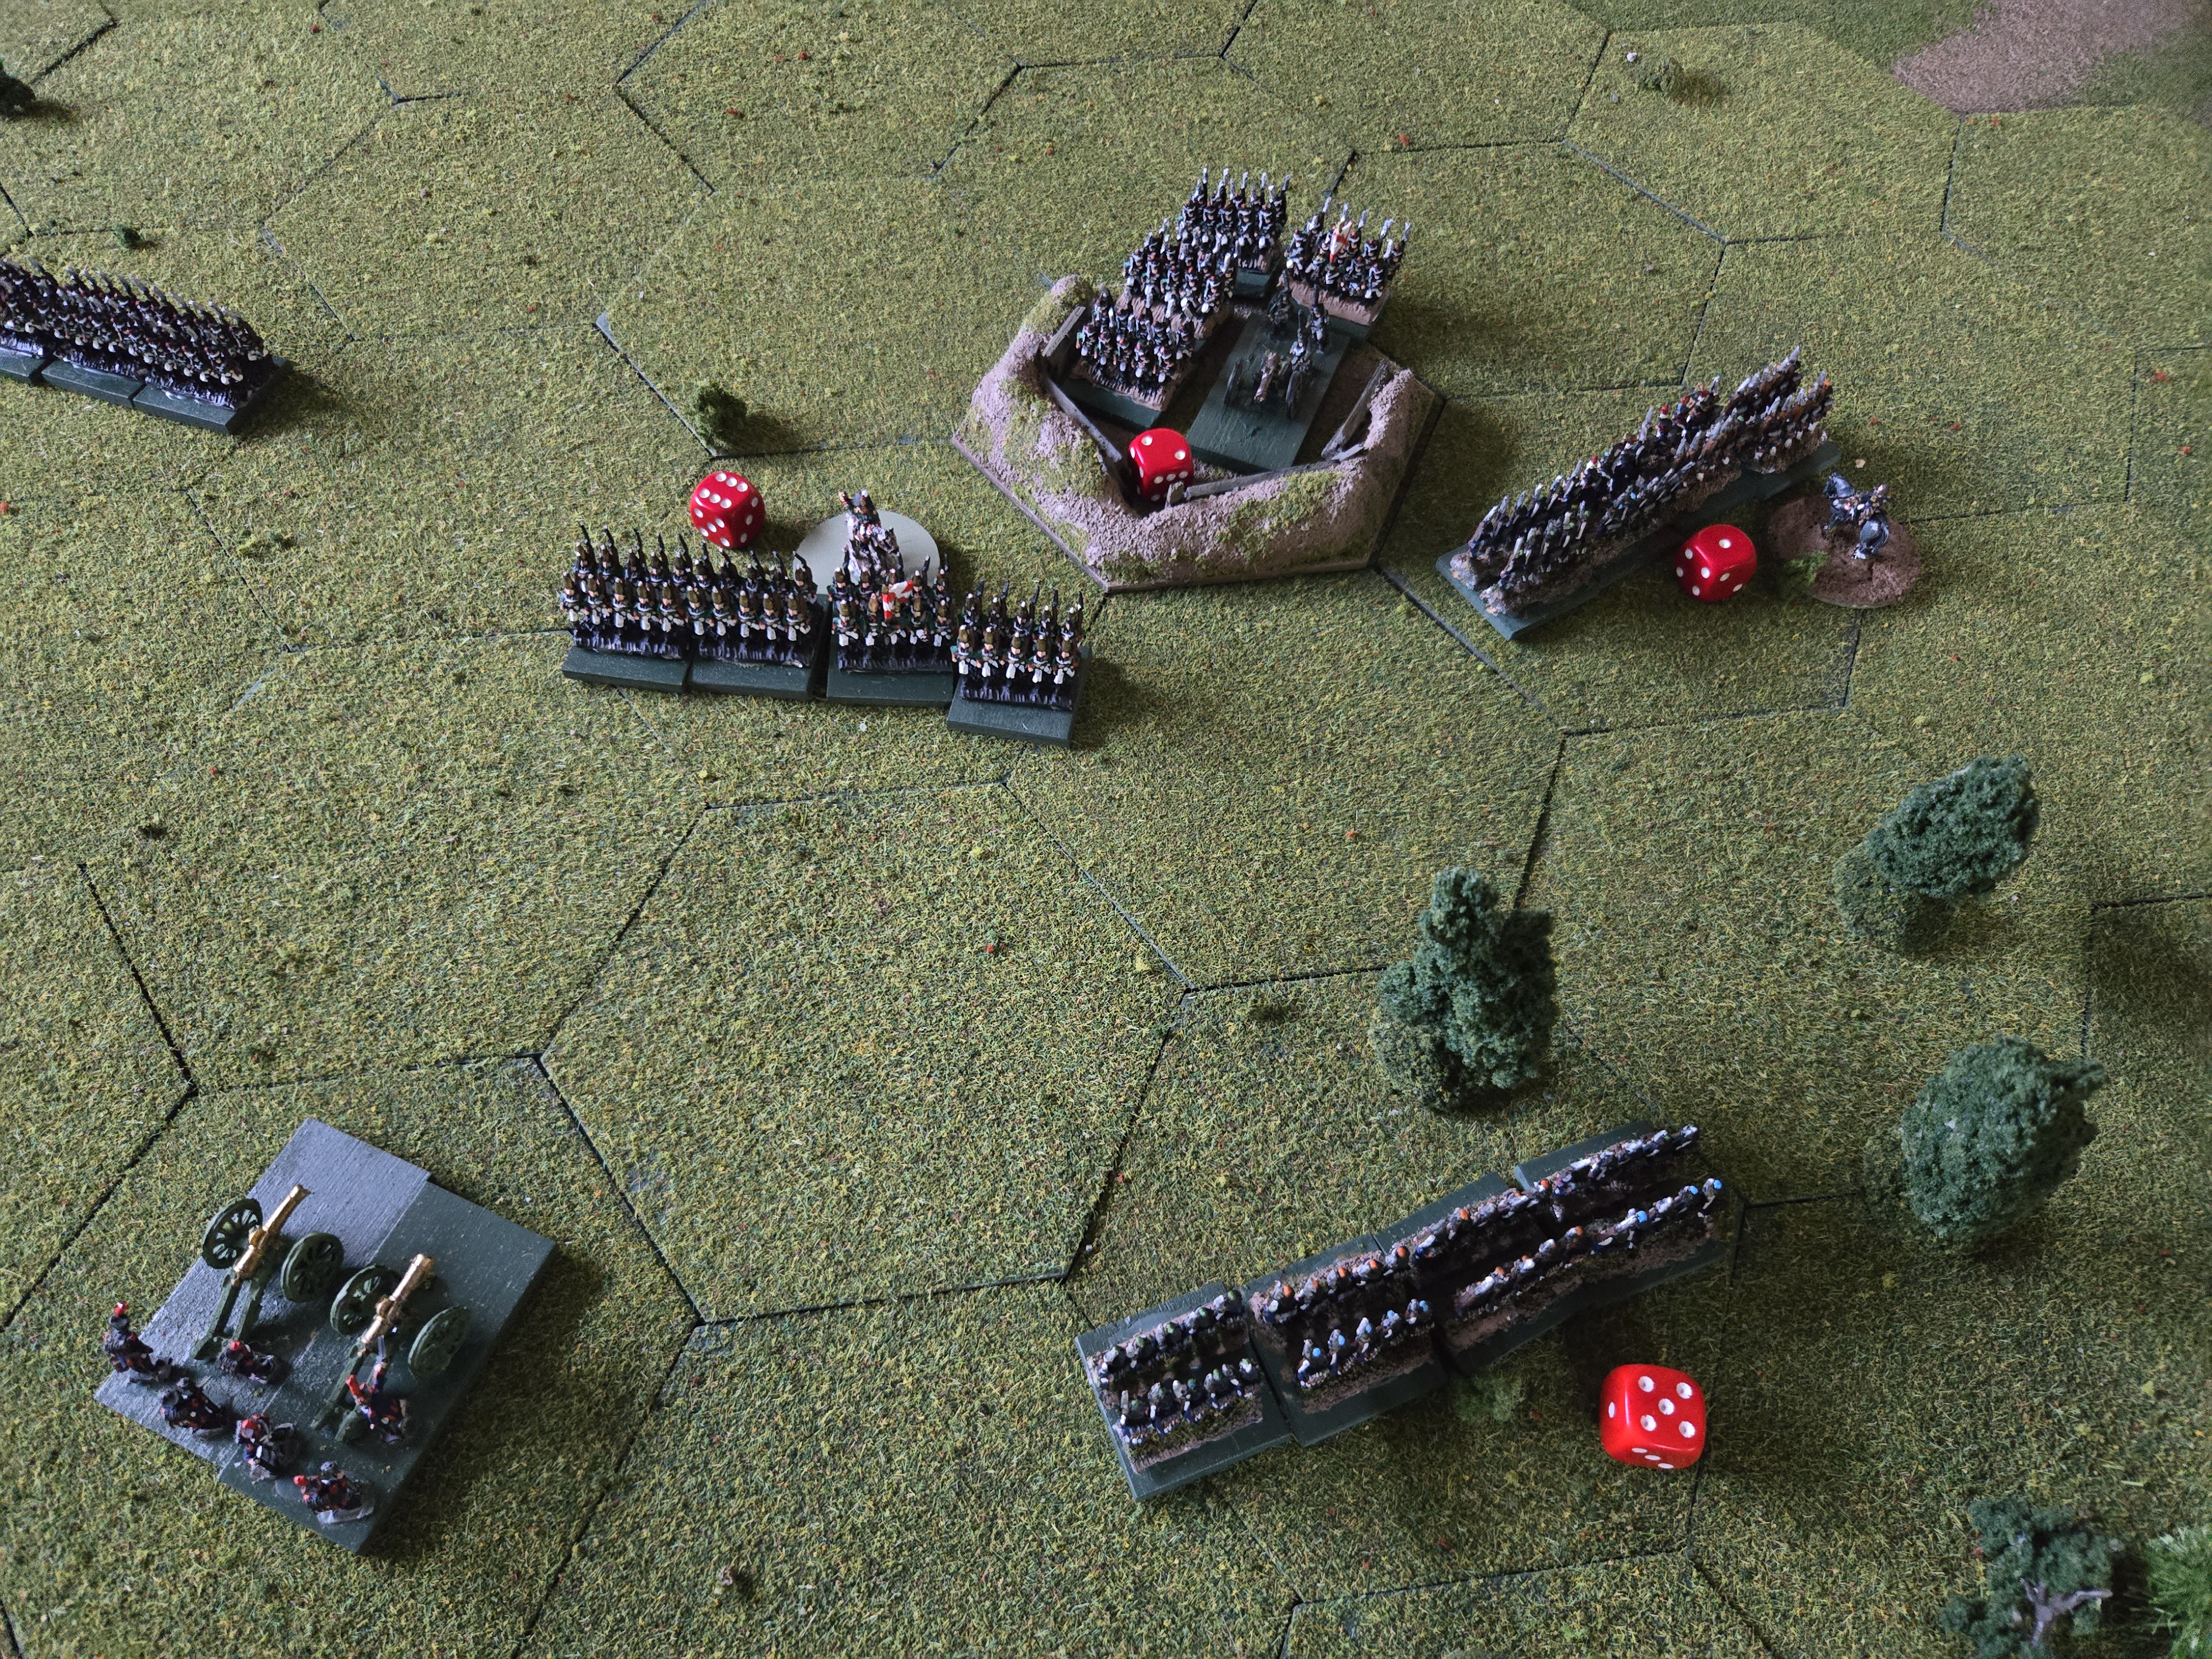
Turn 9
French have the Initiative. Ney's Corps Goes in. All of Davout's units disappear. Unfortunately the celebrating is short lived as per the scenario, when the second wave comes in, the first wave goes away. Still though, Davout's troops did all that was required of them and severely depleted the Russian defenders.
The second wave of the assault goes in now. Redoubt 2 is now unmanned but Redoubt 1 still has its position battery and an as-of-yet unharmed infantry brigade. Ney sends the lights and an infantry brigade and guns against Redoubt 1. Meanwhile, a French Infantry brigade moves towards redoubt 2 to engage the Guards who are still there but badly depleted. The French will need to knock them off balance as they'll surely start rallying the hits off. (plus, Guards get a +1 to rally, and they receive a +1 for being in cover. Rallying requires a roll of 4+ to knock off 1 hit. A roll of "6" knocks off 2 x hits.
The Russians occupy Redoubt 2 with the Guards...
 |
| The second wave arrives. Ney's Corps. White dice are order markers. |
 |
| Ney's men surround Redoubt 1 and will start shooting this turn. The Russians send their last reserve brigade to support redoubt 1. |
 |
| The Russian Guards immediately occupy Redoubt 2 with the Guards. They begin rallying next turn. Worth noting here that the position batteries are gone once the initial defending unit is destroyed. Now it's only the Guards redoubt 2 (a formidable force on their own). I allowed an extra D6 to volley fire to represent the position batteries in the Fleches. |
Turn 10
French 5 orders, Russians 3 orders. Russians steal the initiative from the French.
The Russian Guards rally off another hit in Redoubt 2. Meanwhile the French begin assaulting the supporting infantry next to redoubt 1 and destroy them, moving to occupy the hex. Redoubt 1 is half surrounded now. During the shooting phase, more hits are placed onto the Russian unit defending Redoubt 1.
 |
| Redoubt 1 with lots of French units around it. |
 |
| French Lights in Redoubt 1! Units are moving with all possible haste to redoubt 2 now. |
 |
| tied morale clocks at 10 at the beginning of turn 12. Any retreating french brigade will put the french at 11. While Ney wants to assault with everyone, if he fails the assault, that will add more to the clock. each failed assault will be 1 on the clock which runs out at 14! A destroyed unit will add 2 to the clock. Another decision to make! Volley fire? Or melee? |
 |
| Ney moves everyone up towards the redoubt and skirmishes with the guards. He will go with a mixed approach here. Assault with one brigade, then shoot with the others. |
 |
| Risking one more assault, the French send in a brigade to cause casualties and wear down the Russian Guards. While they lose (1 more to the morale clock!) they inflict a WHOPPING 5 hits on the guards (the guards have an impressive 8 strength points). The Guards are one more from breaking. Ney knows this is a good time to bring in the lights again - from the same Legere unit that stormed redoubt 1. |
 |
| During Turn 13, the lights move into position and fire, eliminating the Grenadier Guards and enabling the seizing of the position on Turn 14. The game is over! |
 |
| Ney's light detachment ends up seizing both redoubts for him. Battle Honors to all! |
That was fun. Lots of unexpected things happened in this battle and I'm not going to lie, at the end of turn 8, I was not thinking this plan was going to succeed. Martin - if you're reading this - well done. It was a gusty plan and it worked, even though it was riskier than I would have liked.


