A very hectic week and weekend but that doesn't mean I didn't have time (who can't piece together parts of an hour?) to finish up another One Hour Wargame using Scenario #4 from the book. (Take the High Ground). In this case, I figured, what better way to play McPherson's Ridge than using OHW (in case I don't actually get to play the Black Powder battle this month as planned)?
 |
| become something of a staple, lately. |
Take the High Ground (Scenario #4) seemed to be the perfect match for recreating the Battle of McPherson's Ridge using the NT One Hour Rules system as there is an elongated ridge system in the middle of the map that a side must seize. Both sides enter from their respective baseline however it's important to note that the Yankees have 2 Regiments standing atop the ridgeline. It's a fierce race to get to the hill.
I still diced for forces, but counted "Cavalry" as "Infantry" in this regard because, let's face it, this was an infantry battle!
The subsequent game had all of the tension, suspense, and carnage you'd expect from this classic infantry assault!
Forces:
Both Union and Confederate:
3 Infantry Regiments, 2 "Zouave" [veteran] Regiments, 1 Artillery Battery, 1 Commander Stand (faithfully representing General Heth and BG Meredith, the commander of the famed "Iron Brigade."
The Yankees placed their 2 "Zouve" Regiments atop the ridgeline, with the rest of the Brigade (s) coming up behind them. These units would represent some of the Iron Brigade's veteran Regiments who were waiting to meet Archer's Brigade in the woods.
 |
| Heth's Division advancing down the Chambersburg Pike towards Gettysburg |
 |
| Calef's Guns ready to change out with Hall's Battery. Cutler's Brigade coming up behind him. |
 |
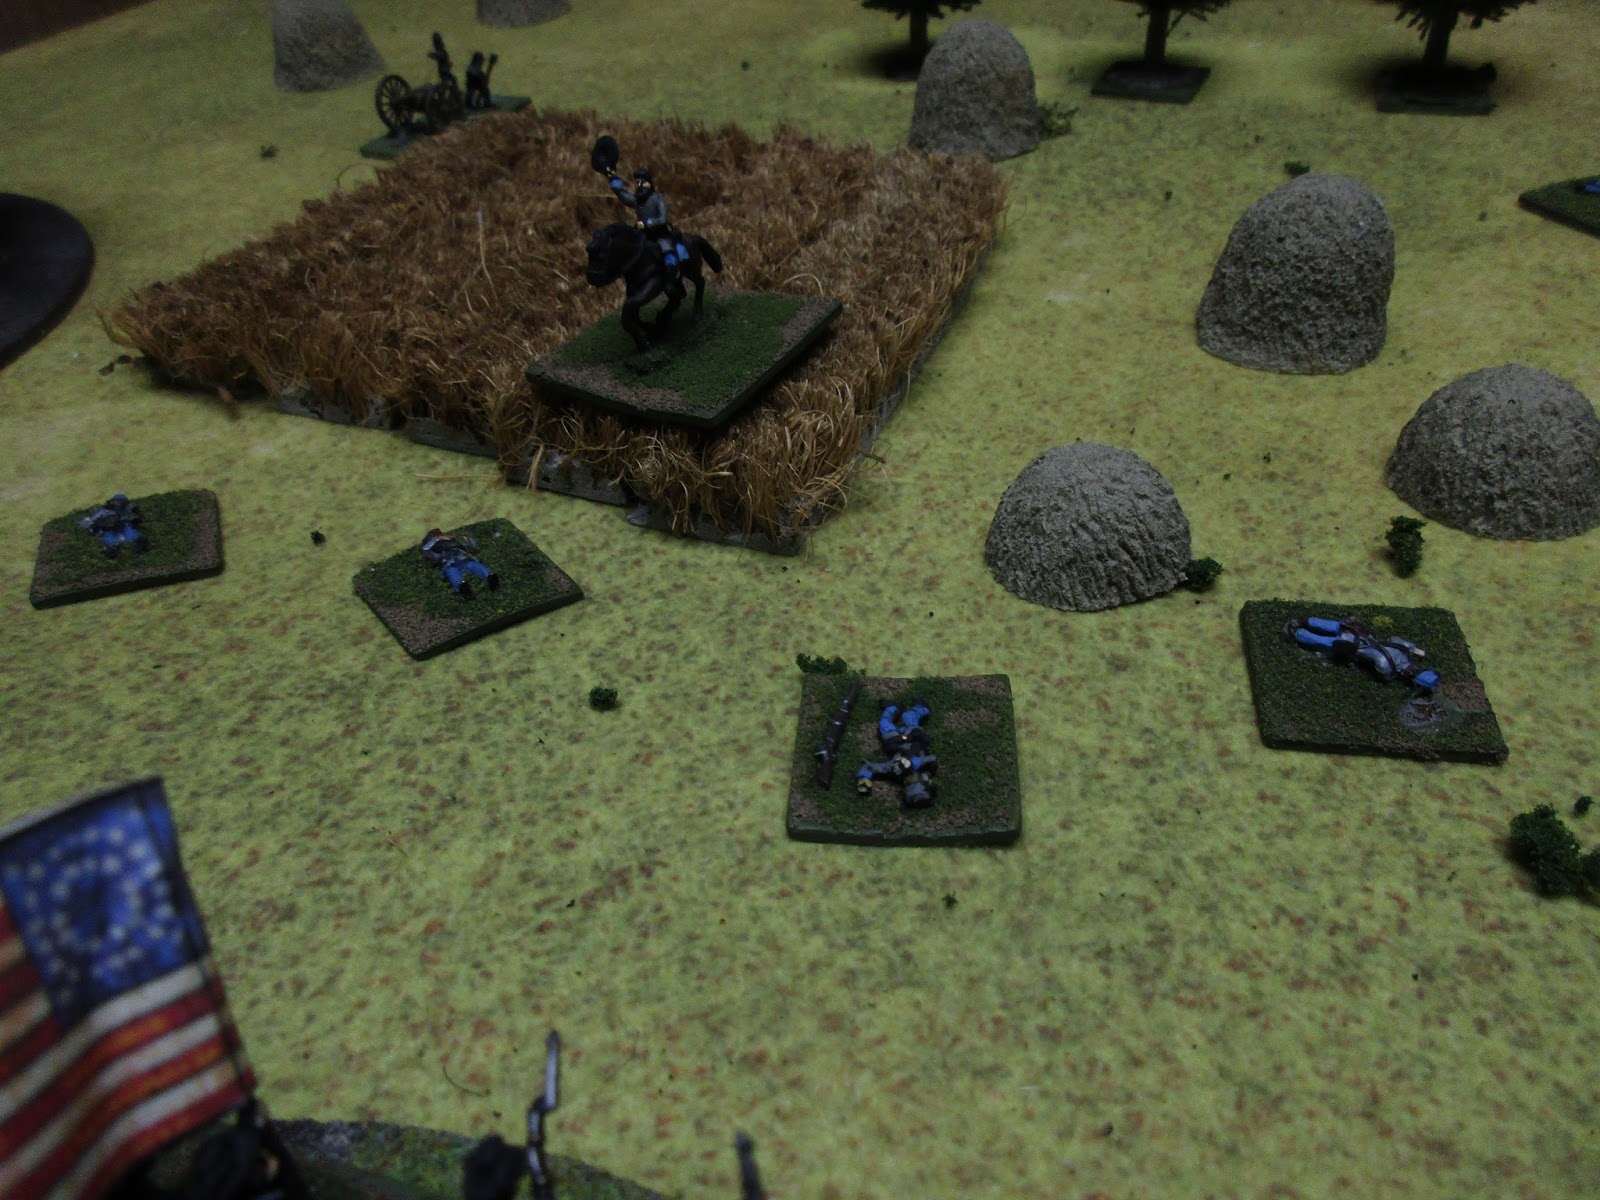
| Some of the 7th or 14th Tenn. Troopers suffered badly during the advance and those hit pips were just placed there - 22 total hits! Where is General Heth to rally them? |
The Rebels advanced, as they always did, with considerable elan and in the face of withering Union fire. Zouave units receive a special +2 to their die roll and this heaped the casualties on as the Rebels came on.
 |
| Moving into the Herbst Woods, the men of the 1stTenn will march straight into the muskets of 19th Indiana or 24th Michigan. |
 |
| 24th Michigan moving up to hold the flank after their march |
 |
| BG Solomon Meredith surveys the sounds of the battle, deciding where best to throw his weight |
I should mention here that I added 2 "special" rules in this instance. I allowed the Artillery to use a turn to "limber" thus allowing them to move 12" (a rule which i felt favored neither side in this case) and a "rally" rule where instead of moving or shooting, a regiment, if it had an officer touching it, could rally off 1D6 worth of hits.
 |
| The Iron Brigade's men hold firm! |
 |
| Calef's Battery, probably switched out with Hall's Battery by now (I'll have to look that one up) firing at Davis' men near "the railroad cut" |
A bitter fight is shaping up on the Union right as Cutler's Brigade moves into position to defend the Union's precarious right flank. Runners and couriers are reporting troubling messages of massed Confederate units to the northwest "Rhode's Division you say? These men to our front are from Heth's Division" Cutler has no time for that now. There's a Zouave (veteran)Regiment in front of him and a mere battery of guns to hold the entire Union flank before Howard's "Flying Dutchmen" can come up.
Captain Hall curses at the cluster of officers and marching troops near the toll-house "IT'S ABOUT DAMNED TIME YOU MEN SHOWED UP HERE" One of the officers yells back "THAT WILL BE ENOUGH, CAPTAIN HALL, MAN YOUR GUNS AND HOLD THIS RIDGE AT ALL HAZARDS!"
 |
| Rebel Zouaves fire a devastating volley at Hall's guns and the accompanying infantry, trying to force the battery back. |
 |
| 55th North Carolina in the railroad cut, taking a withering fire from the 14th Brooklyn. Excelsior! |
 |
| The Rebel troops are in a rough way in the railroad cut, with Cutler's men firing from an advantageous position. Still to keep the game going, I resisted the urge to give the Union troops a +2 modifier for firing down into the embankment. |
 |
| Meanwhile in the Herbst woods, the Rebels are finding "those damned black hatted fellows, again" |
 |
| A veteran North Carolina unit suffers heavy casualties and Heth finally shows up to rally them. unfortunately it's a mixed blessing as only 1 pip comes off. |
 |
| rebel guns fire blind into the woods to their front |
 |
| A very strong Union position, still facing 2 Rebel Regiments on their left, and 2 very fresh Rebel regiments on their right. If they can fold a flank, they can break onto the ridgeline. |
 |
| regiment after regiment melts away under the Union fire. |
 |
| meanwhile at the railroad cut, another tough fight is ongoing. Hall will eventually pull his guns off the line to rally them and the 95th NY will break under the fire. |
 |
| Fire men! For God Sakes Fire! |
 |
| The mighty Rebel Zouave unit moving up the hill and forcing Hall's guns off the ridge. This could be the break-in they needed! |
HAVE YOU WORD OF DAVIS? DAVIS? I BELIEVE HE WAS CAPTURED OVER THERE BY THE RAILROAD TRACK.
 |
| carnage in the woods |
 |
| Another duel breaks out among the carnage of the 95th NY |
 |
| Rebel valor would eventually give way to the turn sequence as these men would fall back, regroup and have another try at the ridge soon. Revenge, and all the honor of the day, would be theirs. A fleeting victory, though. |
 |
| The toll-house in the lower right and the skirmish at the railroad cut still going on as the Iron Brigade licks its wounds on the ridge to the left. |
 |
| General Doubleday? A Union Officer moves over to lend support to the fight, rallying hits if needed. |
that's all for now. Looking forward to more ACW action, possibly as part of a linked campaign? But also, Alex's mods for the NT One Hour Wargames "Horse and Musket" era are beckoning me to play. Also, this game probably demands an encore with Black Powder, a much more unpredictable game where troop formations, commander personalities (also strengths and weaknesses) come to light. Looking forward to more as ACW month continues at SOUND OFFICERS CALL!
 |
turn 15 ends with the Union firmly in control of the high ground and the Herbst woods, just like the real battle.
|


Excellent writeup sir. I can hear a Virginian accent in those quotes!
ReplyDeleteTrying the rules out tomorrow. Got the book now :) A little AWI encounter I think.
enjoy, Darren. These are minimalist, "no B.S" rules. I'm liking them more and more.
DeleteI've played a few AWI battles and they're not bad for any Horse and Musket period. Some advice - many people play them once and don't like them (myself included!) They were an acquired taste with me and I liked them after coming back to them after a brief hiatus.
I also have been starting to hack them and change a few things around, which is also part of the enjoyment!
So now I have tried them and they are really nice.
DeleteThere's a lot of hidden subtlety in there.
I'm thinking that leaders can rally, while elites can self rally - but if a leader is attached, he has no command radius and this will affect other unit's ability to move.
So much that can be hacked here, and great for campaign and operational level games.
Like that rally rule! :-)
ReplyDeleteSteve,
DeleteIt definitely prolongs the game a little and gives officer or command stands a purpose. Think of the possibilities for World War II games where you can have a small command post or a few radio operators, officer, and fellow with binoculars on a stand. Now you can have a reason to use them in the game!
Like that rally rule! :-)
ReplyDeleteThat looks great too. Never dipped my toe into ACW, too little time too many periods sadly.
ReplyDeleteCheers,
Pete.
Glad you enjoyed it, Pete. No worries about ACW - there's an era for everyone in the book!
DeleteGreat report and photos! I think we are playing a OHW game net.
ReplyDeleteThanks Rodger! It was much fun. Looking forward to trying a campaign game next.
DeleteThe Iron Brigade! Hurrah, boys! Hurrah!
ReplyDeleteForward Iron Brigade! *THWACK*!
DeleteEnjoyable game report. Nice work turning the scenario into the battle for McPherson's Ridge! Are you thinking of using the scenarios to play out campaign engagements?
ReplyDeleteI'm glad you enjoyed, David. Yes it was very similar to McPherson's Ridge I just added a little more terrain.
DeleteYes I'd like to link together some of the NT scenarios for a campaign. Possibly allow the attacker to select the next scenario in the campaign and have forces that go from one scenario to the next, but adding reinforcements.
Very good write up.
ReplyDeleteGreat write-up! Made my list of the week's best:
ReplyDeletehttp://beast44a.blogspot.com/2016/04/battles-of-week-17-april-2016.html
Thank you beast! Its an honor!
DeleteI thought maybe you'd solved the mystery of how to defend the hill in this tough scenario! Instead, we are forced to await the results in suspense...
ReplyDelete