It being New Years Eve and all that I thought I'd see 2019 out with a nice, simple wargame. Tonight's "Neil Thomas Tuesday" Fight was a real nail biter with an Austrian and French clash along a nameless river during the 1809 campaign.
The scenario played was actually from the
One Hour Wargames book but expanded to 4 x 4, with setup guided by the rules from the
Napoleonic Wargaming. book The resulting clashes were completely isolated on each side of the table due to the fighting around the crossing sites, resulting in 2 completely different engagements occurring independently of one another.
 |
| French left grouping making for the hill at speed |
Forces were picked straight from the Army Lists in "
Napoleonic Wargaming" and I stuck to the 8 unit max for both sides, Force composition was selected on the train ride to work this morning 😀
French:
2 Line Infantry Units
1 "Levy" Allied Infantry Unit (Hesse Darmstadt Troops)
1 Elite Guard Unit
1 Light Cavalry
1 Heavy Cavalry
1 Voltigeur Unit
1 Artillery Battery
Austrian:
4 Line Infantry Units
1 Elite Grenadier Unit
1 Light Cavalry Unit
1 Heavy Cavalry Unit
1 Artillery Unit
 |
| Austrian columns strike for the primary bridge |
 |
| General Lodz commands the Grenadiers today. |
 |
| French Voltigeurs work their way up the flanks on the right moving towards the ford |
Austrians were the "red" player from the scenario and went first. Their cavalry reached both crossing points on turn 3.
The Austrians make good use of the cavalry's mobility to reach the bridges first. They throw their Cuirassiers across to the French side to force the French to stop their advance and crash into an infantry unit. It's a good idea to disrupt the enemy's advance and prevents the French from crossing the river. On the Austrian right, the fight will be on the French side of the river and that's a good thing.
 |
| Austrian heavy cavalry rumbling up to the bridge |
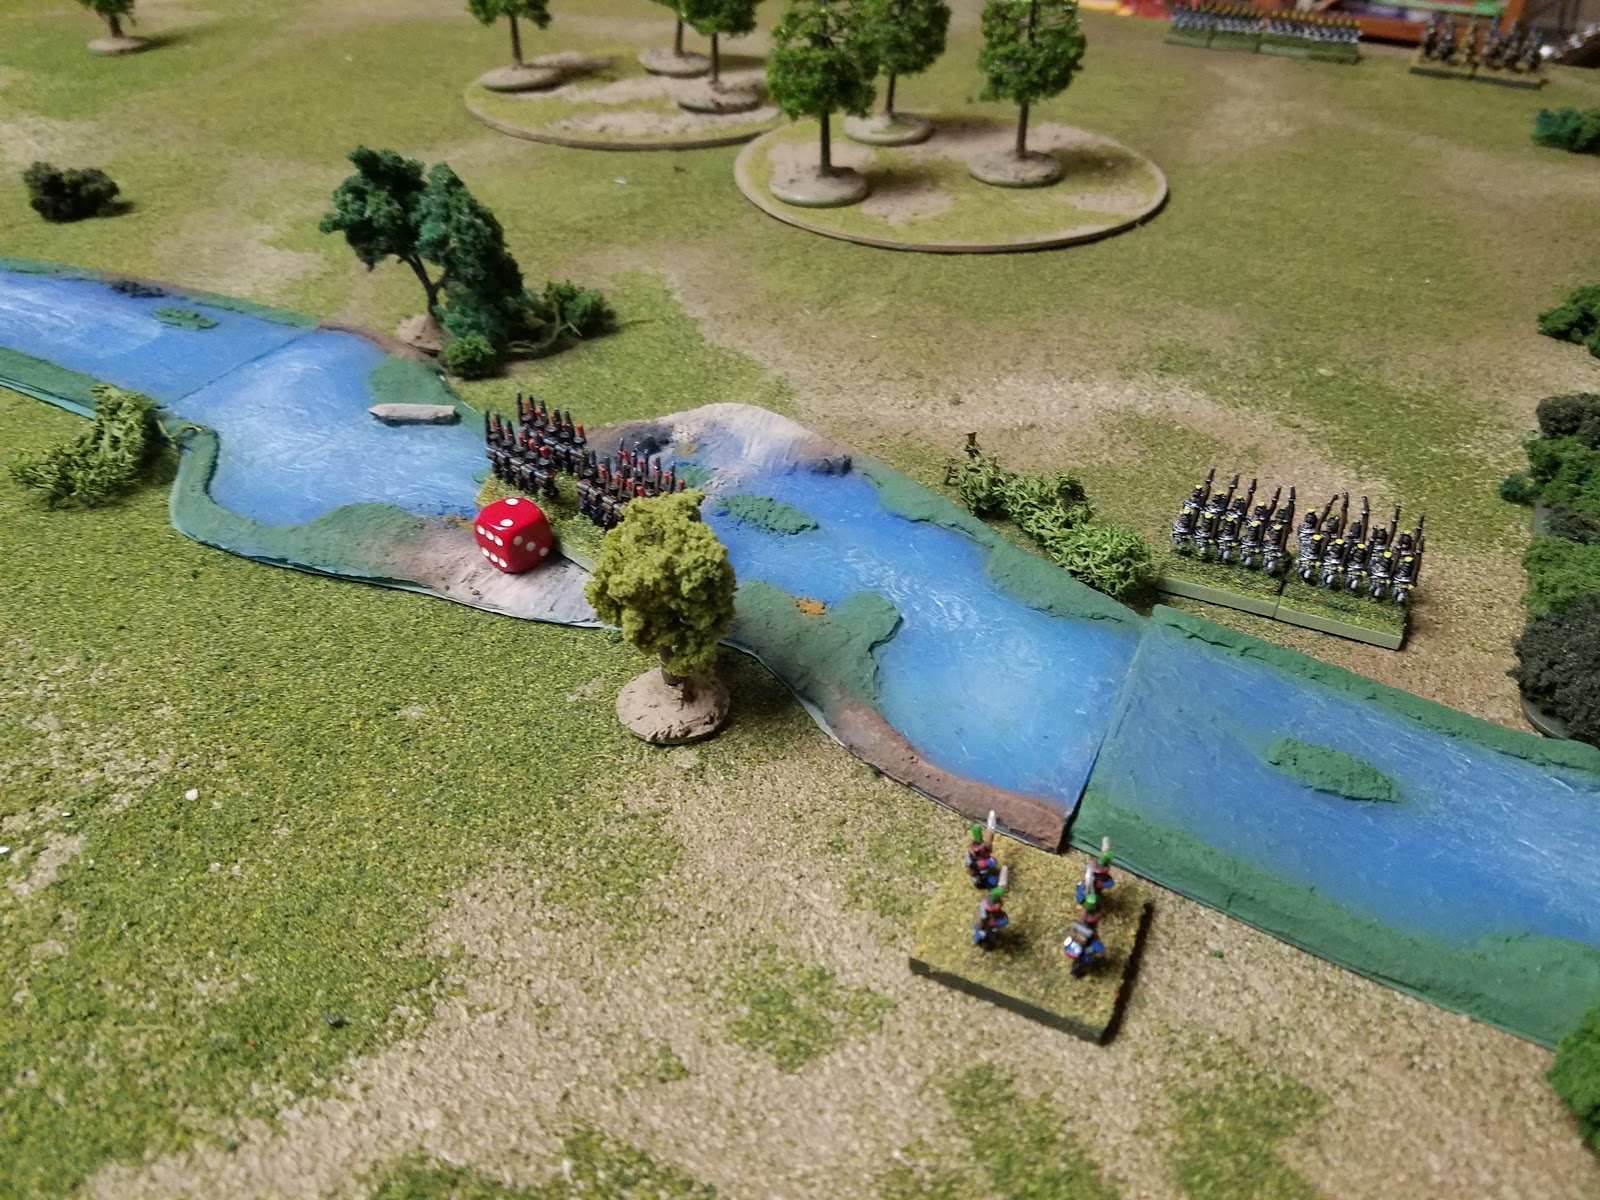
Meanwhile on the other flank, the Austrian light horse reaches the ford and are swiftly charged by the French light cavalry. The fight for the ford is nasty, with constant back and forth charges! Once again, the value of cavalry is apparent as a screening force, buying time for the slower infantry to move up to the ford.
 |
| Austrian light horse reaches the ford |
 |
| And are attacked by the French light horse! Brutal fighting in the river! |
 |
| Both sides lick their wounds - one of many charges between these 2 light units during the battle. Note the Austrian columns moving up from behind. |
 |
| The Austrians aren't the only ones who have infantry approaching! French infantry arrive on the scene! |
Classic rookie mistake follows on turn 4 when the French Cuirassier move to attack the Austrian heavy horse on the bridge. The French fail all of their saves and are promptly thrown back from the combat. The only problem? Their retreat path is blocked, and so an entire elite unit of French Cuirassier are wiped out and become the first knocked out unit of the battle.
 |
| French Cuirassier - Now you see them... |
 |
| Now you dont! |
The next turn, the Austrians expand their bridgehead on their right by throwing their own heavy horse onto the french side of the river and assault the infantry to their front. The French infantry unleash a crushing volley and pass their saves even amidst the massive number of hits (6 hits!). Only 1 hit gets through but it's enough to force a retreat.
 |
| Austrian cuirassier charging |
 |
| Austrians preparing to storm the bridge |
 |
| General Lodz supervises the crossing |
 |
| Austrians |
 |
| Firing at the Austrians on the far bank |
On the French left, the situation is not looking good. That cavalry attack by the Austrians really screwed up the plan. The artillery is deployed on the hill and the Hesse troops are moving on the flank to fire on the bridge. General de Division Gruyere doesn't dare put them in anywhere else because they're levy troops and they really don't want to be there... The Guard are staying put with Gruyere safely behind them. The French are prepared to repel the Austrians at their bridgehead but it's going to be close.
At the ford on the French right, things are heating up also.
 |
| French lights skirmishing with Austrians while the assault column moves up. The French attempt to charge into the Austrian assault column and are repulsed. Eventually the French light cavalry are driven off and destroyed by the Austrian light horse. 2 French units down! |
The French columns reach the ford and instead of deploying, they go straight into battle! Hammering into an Austrian column who were also headed for the ford. The fighting is bitter and see saws each turn! The fate of the ford is still well up in the air!
On the French left, the Austrians throw a Hungarian regiment across the bridge to expand the bridgehead and the Grenadiers are right behind them with General Lodz in tow!
 |
| Heavy Combat at the bridge! |
 |
| Heavy combat at the ford! |
 |
| The first column of Hungarians makes straight for the foreign allied troops! They would push these poor fellow practically off the table. |
 |
| General Gruyere watches the crossing |
 |
| Hesse troops evaporating under the approving eye of General Lodz |
Meanwhile things are not going the Austrians' way at the ford. Both sides deploy into line after some hard but inconclusive combats. The combat see saws back and forth but some bad rolls and very bad morale check rolls later, the Austrian infantry unit guarding the ford evaporates and the French still have a line unit and a light unit in the battle. The Austrians, needing to slow the French advance and whittle their lead elements down, throw their exhausted cavalry back into the fight.
 |
| Mein Gott they want us to charge again?!!? Austrian cavalry charges teh French infantry at the ford. |
The Austrians have 1 reserve regiment and throw it in at the bridge, making its way straight for the French battery in the hopes of assaulting it. Problem? The battery is within 8 cm's of a line infantry unit and cannot be charged. The Austrian column switches targets and assaults the line troops, but they're repulsed with heavy losses.
This was really the climax of the battle, and the last chance for an Austrian win. The French meanwhile train every gun and musket onto the advancing reinforcements coming off the bridge! The artillery gets 6 shots, and teh infantry shoots as well. The advancing Austrians never had a chance.
 |
| Shoot at them with everything! They're coming straight for the hill! |
 |
| French resisting the Austrian crossing |
 |
| At the ford, the French are advancing to the Austrian side! Note the lights are reduced to a single stand! |
You know it had to happen - the Guards face off against the Grenadiers at the bridge! General Lodz glares at General Gruyere!
 |
| The generals glare at each other as their troops unleash deadly volleys |
The guards are hit and I roll for Gruyere's casualty check....box cars! the General goes down.
The French exact a mean toll on the Austrians for the loss of their General, and Lodz's unit is shot out from under him! The Grenadiers evaporate after rolling a "1" on their morale check.
 |
| Lights cross over at the ford |
 |
| French line troops storm the bridge and destroy the remaining stand from the Hungarian regiment. Both crossing sites are in French hands and the Austrians are down to 2 units. The battle is over! |
Thoughts and Lessons Learned
I haven't played a proper game of Neil Thomas' "Napoleonic Wargaming" in awhile and this was a great refresher. The rules are simple and to the point and I believe they really deliver on what they promise. You will make decisions about the timing of attacks, the best place to deploy your artillery, and whether or not to commit your reserves. Speaking of reserves, the attrition-based nature of the combat means that the game will likely last almost the entire 20 turn limit suggested by Mr Thomas in his rules and so the timing of when you commit your reserves is extremely important. No doubt, throwing a fresh Austrian regiment across the bridge towards the end of the game could have been a disaster for the French if their artillery was 1 single centimeter further from its infantry, as they would have forced 2 French units to leave the field if they would have exited off the table.
Cavalry proved itself extremely useful as well and you really can use cavalry doctrinally in these rules by screening for your slower troops to deploy and disrupting your enemy's attacks by forcing his infantry to deploy to defend against your oncoming cavalry.. Admittedly I never used the light cavalry shooting capability and I probably should have done that, but I did make good use of my cavalry's mobility here. Finall y on the subject of cavalry, ensure you are leaving plenty of room for them to retreat from a combat! There is nothing worse than losing your "elite" Cuirassier unit when it only has 2 hits garnered from an inconsequential combat!!!
All in all, a great game and a very good time. I'd like to keep this tradition of
"Neil Thomas Tuesdays" going but in the future I will likely not have the kind of time I had tonight and will probably play something a little quicker like One Hour Wargames.
Happy New Year everyone!


Excellent way to end the year! Gruyere melts under pressure...
ReplyDeleteHappy New Year!
Happy New Year, Jonathan! Yes, Gruyere certainly melted under the pressure! :)
DeleteSuper game / AAR, I love the way that the Thomas 8 unit type rules includes a bit of everything .. including the Guard! and the Guard / Grenadier face-off is very much a consequence of his scenario style.
ReplyDeleteThe French Cuirassier disaster was one of the those good moments of control being wrested from the player.
Agree with Jonathan, an excellent parting shot to 2019.
Cheers, Norm. I used to dislike the constraint but i get it now. You have all of the resources that a Napoleonic general would have had to accomplish his mission. The challenge of selecting a balance of forces based on what you want to do is also fun.
DeleteWhat a splendid game, lovely troops, especially the Austrians imho...And Happy new year!
ReplyDeleteHappy New Year, Phil! Im glad you liked the game.
DeleteNew terrain looks great! Nice to see those rules on the table.
ReplyDeleteI spent the evening playing 5 Crowns w. Mr. Winkie, but am planning for some 1HW madness soon. been going back and forth with Dale about turn sequences, inspired by Norm's Eagles at QB use of turn sequence.
And I must get some painting in for the competition!
Thanks!
DeleteGreat game and a lot of subtlety in those rules rules despite fast play.
ReplyDeleteYou get a good result in a decent time, with good narrative.
Happy New Year again.
Thanks, Darren. I wanted something simple I could play. Plus I'm looking at the feasibility of running these rules with single-base unit stands and wanted to get more familiar with them again. I still prefer "slack chowder" best for tactical horse and musket - which is odd because it's been over a year since I've played it!!
Delete