After a few weeks of outstanding gridded wargaming, I returned to an "open" concept this Sunday to get a game of Mr. Neil Thomas' "Napoleonic Wargaming" on the table and to test out a handy QRS I've put together for the game.
 |
| Note the measurements are in inches instead of cm's! |
Today's fight? A battle for the French "Bridgehead" using Scenario 5 from One Hour Wargames. This battle was a desperate affair that could have been taken straight from the pages of "Thunder on the Danube".
The French have a unit across the river and the Austrians are throwing everything but the kitchen sink at the bridgehead to contain and destroy it. A roll of the dice for both OOBs confirms that this is not going to be an easy task for the French with "the dreaded OOB #2" the French have only 3 line infantry units, 1 artillery unit, and 2 x light infantry units. The Austrians fared better, rolling up 4 line infantry units, 1 light infantry unit, and 1 artillery unit. The Austrians will better be able to sustain casualties than the French and have much better firepower.
I played Napoleonic Wargaming straight from the book without any modifications, but my QRS has a few untried ideas to spice things up. The scenario sees the Austrians randomly approaching from 3 possible directions - as if the French needed any more difficulty!
Turn 1 - Austrians go first in each turn (although adding an initiative roll would have greatly increased the tension in this game - something to think about going forward).
 |
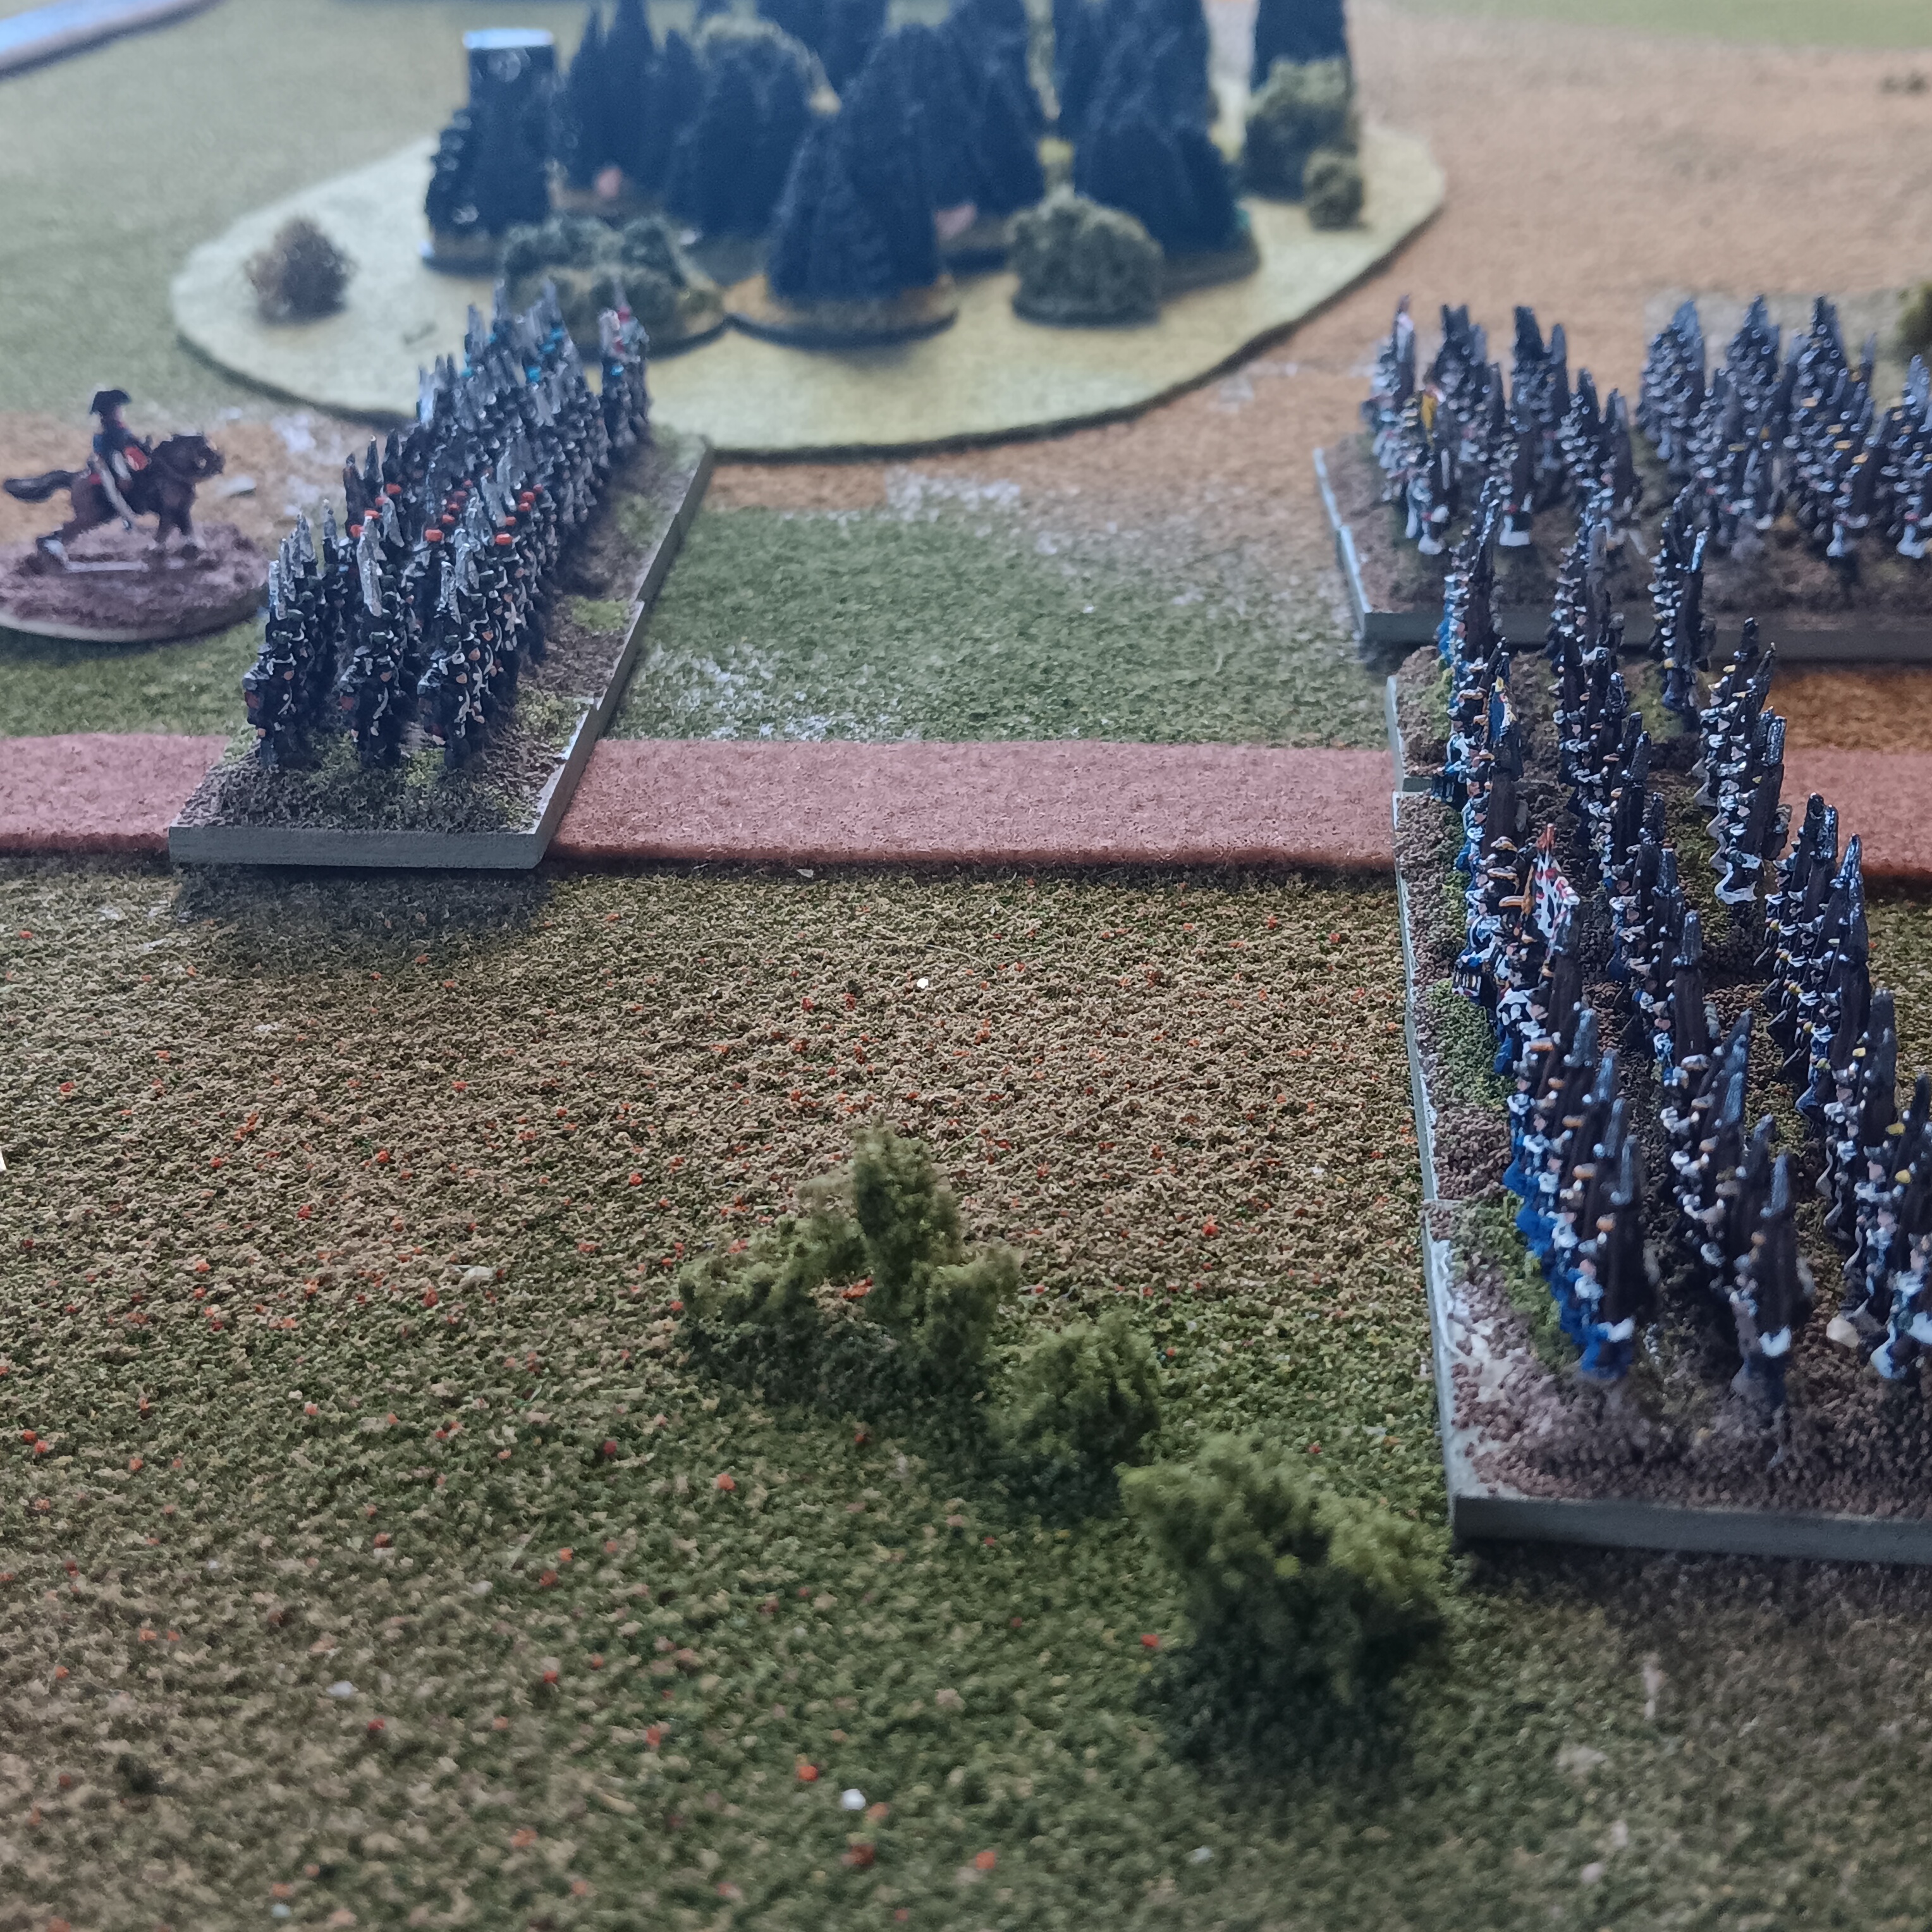
| The Austrians roll up the middle approach and come barreling down along the road to the bridge The French slowly move up, anchoring their left flank along the woods to their left, and hoping the Austrians dont roll up an approach from that direction! |
Turn 2 - French reinforcements arrive as the Austrians march closer to the bridgehead. The French battery moves as quickly as they can to cross the bridge and unlimber on the other side.
 |
| Limbered battery arriving while 2 x Austrian line units bear down on the lone French unit defending |


 |
| Austrian reinforcements arrive from another point. They are marching with all haste to the field. The guns will position themselves atop the hill while the infantry attempts to flank the bridgehead |
 |
| Austrian reinforcements rushing to the battle! |
 |
 |
| It's not all white coats here! French reinforcements also entering the battle. The guns will support from a central position while the infantry expand the bridgehead, taking the fight to the Austrians. Turn 4 - The battle is joined as a deadly fire erupts along the Austrian line! Both sides join in the carnage.   Fighting erupts at the bridgehead and both side pour musketry into the other. The Austrians have an element in columns ready to assault when the signal is given!  The Austrian line hammers into the French who have "hopefully" been weakened enough from fire to give ground.   View from the Austrian side as the combat is ongoing, both sides' reinforcements are marching up! French artillery is setting up while the Austrian guns in the foreground are occupying their firing position atop the hill.   Another aspect of NT's Napoleonic Wargaming rules is that if a retreat is blocked, the unit is eliminated. Pretty harsh but in this case they'll have just enough room to fall back! Note the French reinforcements coming up on their right.     Turn 5 - The Austrians are using a combination of movement and fire to bludgeon the French but the French are committing their reserves aggressively (perhaps too aggressively?) and assaulting the encroaching Austrians.     Turn 6 - High drama as the French slow down a bit. Realizing that they've over-extended themselves, they attempt to extricate themselves and keep a bad situation from getting worse. The unit that withdrew from a few turns ago is now thrown into the fight against the Austro-Hungarians approaching along the river. Meanwhile the French "elites" in the center go into line and deploy to defend the bridgehead. They know there are light detachments coming up that can also be thrown into the fray, but they're fragile and while they can move & shoot, they cannot stand up to a large line Regiment in a one on one fight.    Here, the French unit that went on an initial rampage is facing off against 2 depleted Austrian units, who are content to stay there and fight it out with them while their flanking element assaults the French left. A tough day indeed! Turn 7 - The Austrian flank attack starts in earnest as the Hungarians slam into the depleted French infantry and destroy them.    |
 |
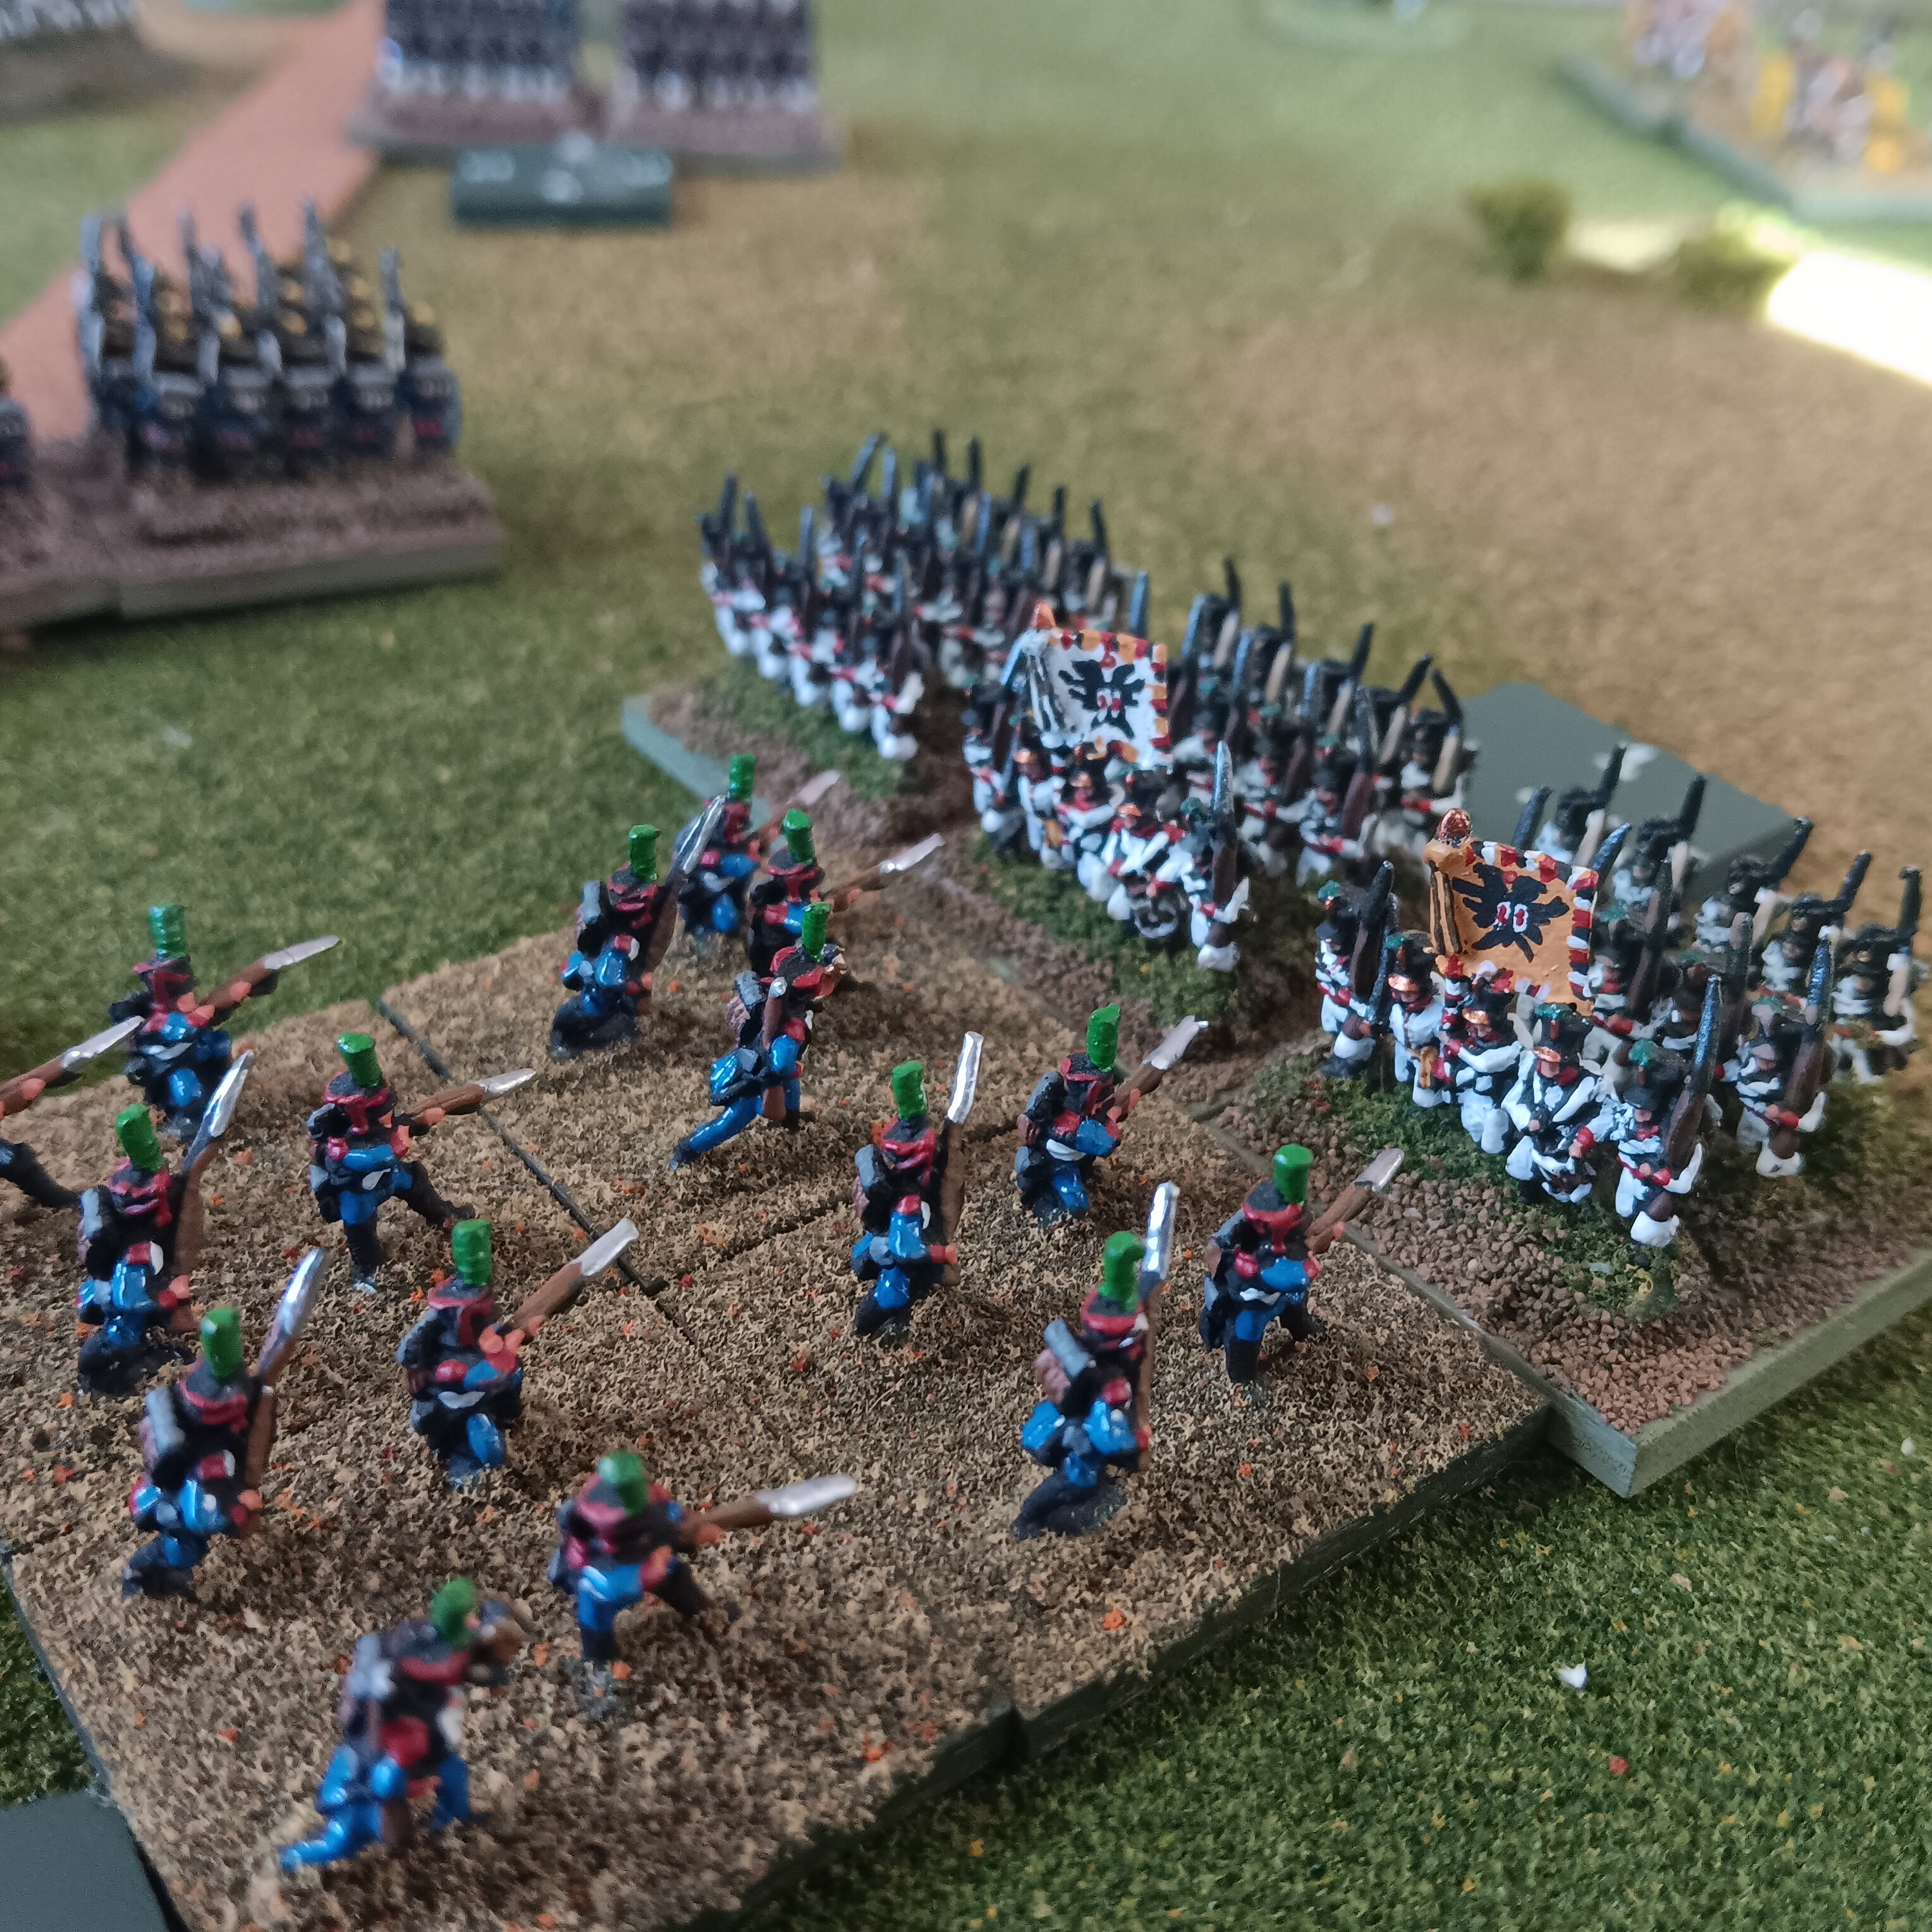
| Firefight with the Grenzers in the woods! |
 |
| Lots of French units firing. The French are desperately fighting on all sides to keep the Austrians at bay but the noose is tightening! |
 |
| Knowing full well the retreat rules, the Austrians keep assaulting the bridgehead. One light unit will inevitable be destroyed as it has no room to retreat! |
 |
| The lights are fighting as hard as they can, but they don't fight back in the open in melee! |

 |
| Austrian gunners sending rounds downrange! |
 |
| A couple turns went by when I forgot to take morale checks for both sides who lost stands from firing (this happens when playing solo from time to time). I end up placing a red marker on a unit to remind me to conduct the MC. both of these tough French units pass. The French still have 3 units left (the Artillery were driven off by the Austrian guns! (failed a save) |
 |
| The French reduce the bridgehead a bit and the elite center unit moves closer to the lights to support them, as 2 Austrian units nip at the flank. |

 |
| Beginning of Turn 9 it's looking grim for the French |
 |
| The Austrians attack the lights from both sides, wiping them out |
 |
| Ouch! |
 |
| The French elites in the center are surrounded and cut off from their retreat! |

 |
| Deadly grapeshot knocks down what remains of this once-proud regiment. Only a single French unit remains! |
 |
| Double Ouch! All of the Austrian units fire on the remaining French unit and it is destroyed. The game ends on Turn 10 |
That was a wonderful and entertaining game and to be perfectly honest I cannot remember a NT Napoleonic game that was not fun and entertaining. I do think the French could have been played differently here to win this game, but they did not play to the strengths of their forces and they did not properly analyze the victory conditions (IE doing the staff-work). So what went wrong?
LESSONS LEARNED
Victory Conditions. If you own OHW, go check out Scenario #5 "Bridgehead" again! It's a tough one. The conditions for victory are "no enemy units on the north bank of the river within 12" of the bridge". Yikes. The French (Blue) also go second and the Austrians (Red) get the first go each turn. That makes the woods "key terrain" in my opinion (hindsight is 20/20). The French were graced with not 1 but 2 skirmisher units who should have come on first and immediately occupied the woods as a bulwark.
Light Detachments. That leads me to my next point. Lights fight as close order infantry in terrain so this should have been an easy way for the French to dig in and be extremely difficult to remove. Very big mistake here!
Aggression. Aggression on the table is never a bad thing if it has a purpose. The French in their vigorous attacks early-on pushed multiple Austrian units back, but wore the French down to the point where when the Austrians arrived in numbers, the French units were all too weak to really to attack again. In fact the critical point of the game was the Austrian flank attack right at the bridge into the weakened French infantry regiment on the left flank. The NT rules are very good but units get worn down quickly! You should only commit, especially in melee, when you know your chances of winning are good. If you're the red player in this game, you get to apply pressure to multiple points at the same time and it pays to be aggressive. In fact you should be shooting or assaulting every time once in position if you're the Red player. As the Blue player, you should temper aggression until you have enough combat power built up on the north bank. Then you can start pushing the enemy units back!
Planning. I dont think I dilly-dallied in getting French units over to the north bank. There wasn't a moment wasted in reinforcing the bridgehead, but the units crossing should all have been selected in support of the plan. I was more concerned with shoring up the beleaguered units north of the river instead of carrying out the plan.
Well I hope you enjoyed looking at this little AAR as much as I enjoyed playing this game and writing about it! I hope everyone has a great week.
Steve, very much enjoyed this interesting and dynamic scenario. I was pretty sure that I had played all the scenarios in the book, but couldn’t recall this one with troops coming in at different points - so as you suggested, I dived into the book.
ReplyDeleteThe terrain looks familiar ….. but not the situation, so I must get this to the table ….. perhaps an early test when the growing Pocket Armies for the napoleonics are strong enough!
Nice to combine the One Hour Scenario, with the ‘Napoleonic Wargaming’ rules, which I prefer over the OHW rules, not least because they have a morale element and also units can move and fire, which significantly alters the balance of the OHW scenarios from being pro defender under the OHW rules.
Glad you enjoyed this batrep, Norm. The OHW book is a gold mine for scenarios and I think I've only played "bridgehead" a handful of times but with the different possible OOBs and arrival locations, there are dozens of different ways this scenario can play out.
DeleteThis scenario would easily work across any era and I am really tempted to give it a go with a WW2 rules set as well :)
I agree too I much prefer the 4 x base NT rules over the OHW rules which I feel are just "too" simple ).
This scenario sounds like a cut-down version of Aspern-Essling - always a fascinating action.
ReplyDeleteYou are quite right, Ion. Switch out woods for an urban area (with a walled church!) And instant Aspern, and coincidentally one of my favorite battles!
DeleteThat was an excellent scrap, and "Bridgehead" is one of my favourite scenarios which works in many periods, particularly WW2 when there were so many examples of bridgehead battles (Primasole Bridge anyone?). Wrt the dreaded Light Infantry units, Mr Thomas has some slightly odd ideas about what these represent and how Light Infantry regiments operated. A very simple suggestion I came across in a mod to basic OHW Napoleonic rules, was to allow them to operate as Close Order infantry as a formation change. They can then keep their special characteristics for close terrain.
ReplyDeleteThanks Martin. I'm almost embarrassed at not having played this scenario more often. It's excellent! I like your thoughts on light infantry. The Napoleonic Wargaming rules allow them to fight as close order when in terrain which make those woods certainly key terrainand brings on a new levelbof importance to light troops.
DeleteHaving 2 x light detachments "should" have been a strength but due to my mismanagement were a liability.
Court martial proceedings to follow!
Nice game report. A tricky OHW scenario, one I have played a few times and have mostly failed to establish a bridgehead.
ReplyDeleteThanks Peter. This is a tough one that I intend on playing a few more times to see if I can do it.
DeleteWhat a cracking game there and it shows you can have lots of fun with relatively few units. I've played this scenario before and found it a hard one for the Attacker, but was using different rules for the SYW. I must re-visit his Napoleonic rules as I now have enough units I feel to play the rules as they do look fun.
ReplyDeleteYou won't be disappointed, Steve. I have enjoyed his 4 x base rules immensely and they worked great with 6 units on a 3x3 surface. The book calls for 8 unit armies on a slightly bigger surface but the rules gave an awesome game without too much fuss.
DeleteAlso the rules have an appendix with an "Ancien Regime" army list and I've played many SYW battles with them. I even posted guidance on my blog for how to do so. Will post the link.
Deletehttps://soundofficerscall.blogspot.com/2020/04/neil-thomas-napoleonic-wargaming-rules.html?m=1
Deletehttps://soundofficerscall.blogspot.com/2020/06/epic-battle-of-prague-1757-neil-thomas.html?m=1
I just dug the rules out and not having looked at them for years, I'm suitably impressed at how good they look:). Well that's the bed time reading sorted out for the next few nights!
DeleteGlad to be of service sir :) spreading the good word of Mr Neil Thomas' excellent rules!
DeleteBrilliant stuff Steve. NT's rules in general seem to build morale into the activities pre and post combat, and give a great narrative with very light mechanics. I have a bunch of Napoleonics in plastic ready to go for my junior d&d group as they have expressed an interest. I was going to use Blucher, but you have me thinking about NT now...
ReplyDeleteThat's a tough one, Darren. Blucher are great rules! Some of my favorite NAPS rules!
DeleteWow that was another bloody affair Steve - and as you say, seems very hard for the French! Do the NT rules put any restrictions/disadvantages on the Austrians - I find they tend to have all sorts of negatives in most rule sets (being the proud owner of a 28mm Austrian army, amongst others!)
ReplyDeleteHi Keith! Yes sir the blue side has it tough in this scenario. I'm going to play it again and see if I can beat it. I love the scenario because even the "defender" must attack to win.
DeleteAs far as NT's Napoleonic rules he has 3 "special rules" as he calls them, for the Austrians. "Linear Tactics" which is that up to 1805, no unit may adopt assault columns, "Sluggish Infantry" which is all changes of formation take 1 full move (which I foolishly did not apply) and the "Cuirassiers" rule which is meleeing Cuirassier have a save throw of 6 against enemy cavalry.
All very sensible and easy to apply if you ask me.