Thanks to Jonathan and Norm for schooling me in the latest version of TF-ON otherwise I'd still be playing a a dated copy of the rules!
I had a few minutes after work today to try out Norm's latest & greatest version of "Two Flags - One Nation" his excellent ACW rules. (download available in the link section on the right hand portion of this blog)
I played the introductory scenario "Action at Mill Creek" which is located in the back of the rules. Norm was nice enough to provide 2 x scenarios, first being Mill Creek, and second being a personal favorite of mine, McPherson's Ridge from the Battle of Gettysburg. I played Mill Creek because I have just enough Regiments for the battle and most of the terrain needed was already out.
The Rebels' mission is to evict the Union from the field and especially the heights on the other side of Mill Creek.
 |
| Schenk's Division, with Porter's 1st Brigade and Richardson's 2nd Brigade on the table, astride the road. 3rd Brigade under Keyes is marching swiftly to arrive! |
The Union starts with 2 Brigades on the field and another marching to arrive as reinforcements. The Rebels begin with all of their force, 8 full Brigades in all with divisional artillery.
 |
| Brigadier General Holmes' Louisiana Brigade occupies the Rebel flank. They'd march in lockstep with the 1st Brigade to their left and assault the heights on the opposite bank of Mill Creek. |
 |
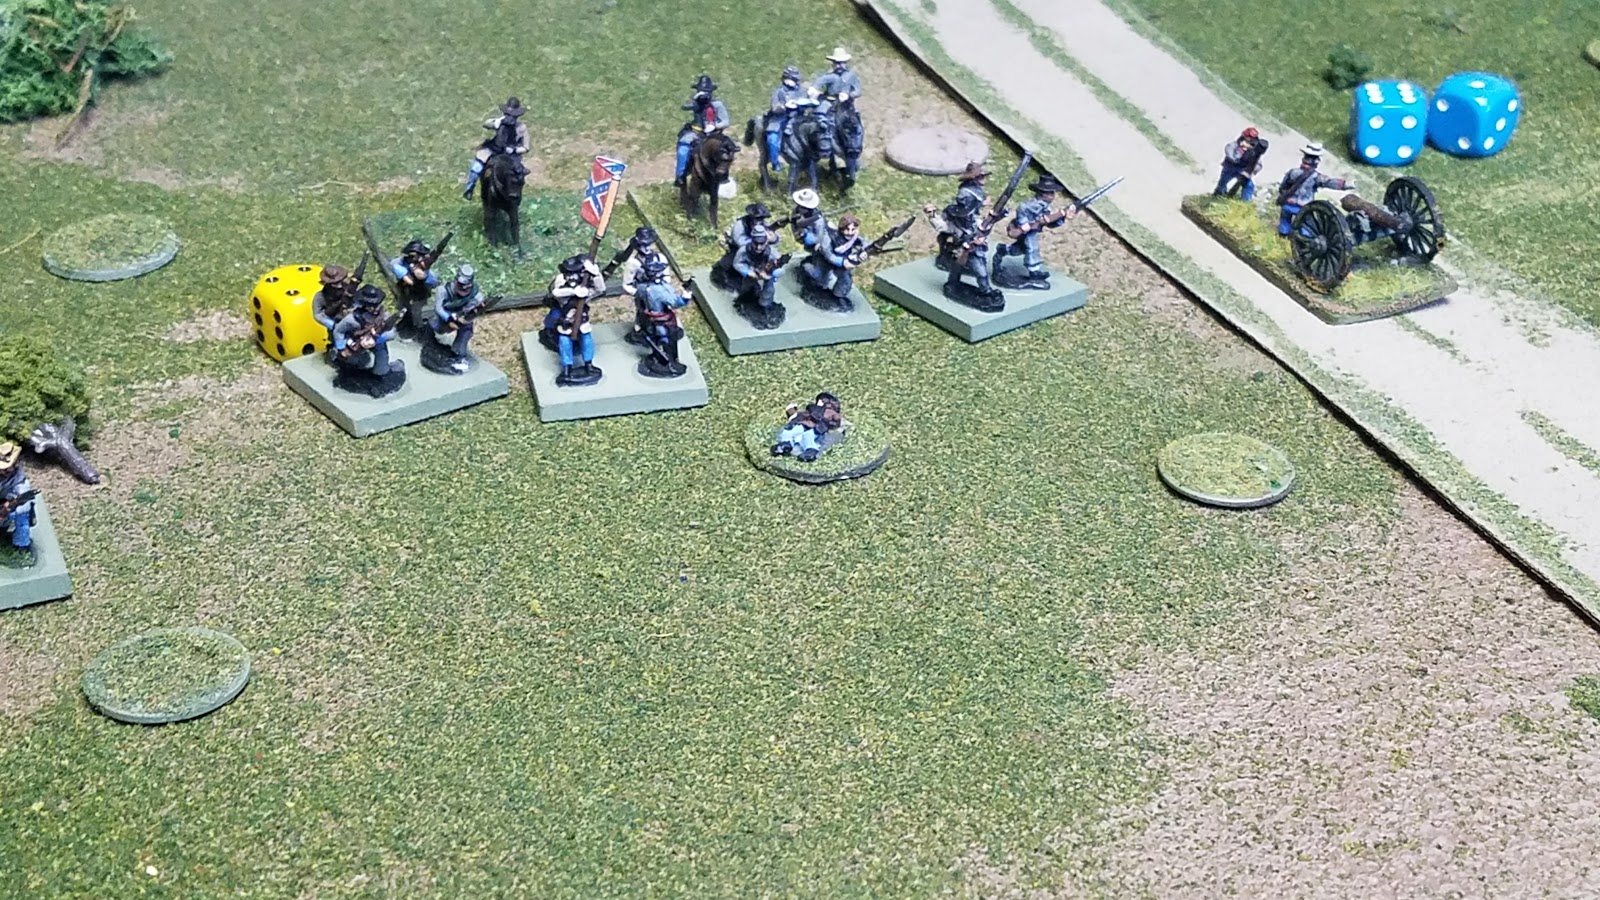
| Porter's Brigade upper right, with Richardson's Brigade low-center. The Artillery Battery is from the 1st Ohio Artillery. |
 |
| Richardson sees the fight heating up with the 7th Ohio so he attaches himself to that unit. The 7th Indiana, Zouaves in dress only, are on their right. |
 |
| The Rebels come on quickly wherever the terrain allows. |
 |
| End of Turn 1 |
 |
| 3rd Brigade surges forward |
 |
| The Rebels are massing at Mill Creek |
The game flows very smooth - much smoother than the first time I played. The action is developing nicely with the Yankees firing their artillery as the Rebels come on. The whole thing plays out like something from a history book as terrain hampers some of the Rebel Regiments. Others find themselves quickly getting into trouble. The Union gunners train their guns on the 13th Virginia Infantry and it starts to accumulate casualties.
 |
| RANDOM EVENTS! Beginning of turn 2, the Union play the confused orders result on the 52nd Virginia and they fall back along with the Brigade commander. |
 |
| Union guns pound the Rebels as they come on. Even amidst rough casualties, the tide and momentum of the Rebel assault probably can't be stopped! |
 |
| Here they come, boys! Pour it into them! |
The 13th Virginia takes more cannon fire and fails their capability test (as noted by the casualty marker and the strewn-about stands). The Brigade commander gets a close shave from a shell but lives to tell about it. Meanwhile the rebel cannonfire is ineffective this turn.
 |
| 8th Ohio Artillery trains their guns on the 13th Virginia (straight ahead) |
 |
| Note the Rebel 3rd Brigade on the far left. They're about to cross Mill Creek and asaault the heights! |
 |
| The Louisiana troops approach the creek under fire. |
 |
| General Holmes attaches to the 6th Louisiana. They're going to need all the help they can get making this crossing un |
 |
| The Rebel 3rd Brigade splashes across Mill Creek amidst terrible fire. The steep banks disorder them as they fail their capability tests (of note, they would also be quick to rally - rallying in that same turn with both Regiments). |
 |
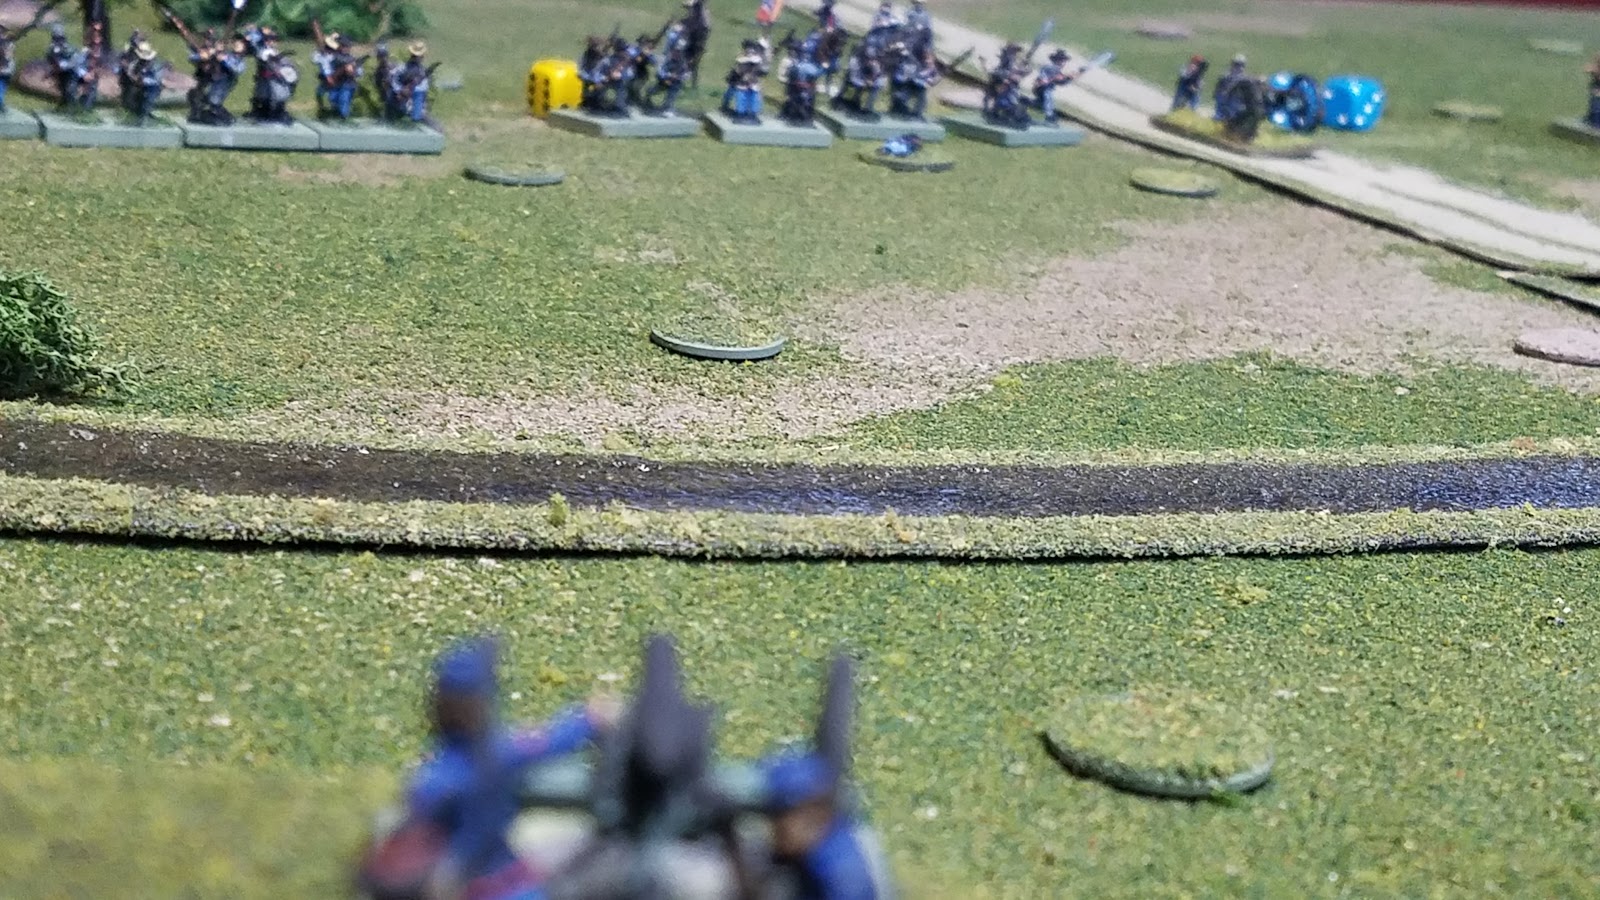
| Picture of the battlefield. Note the top-center where the Rebels are crossing Mill Creek. further to the south, they're making slower progress. Good thing, too, because the entire Union 2nd Brigade are armed with smoothbore muskets. The only units in this game to be so-armed! |
I played this incorrectly and launched the charge straight into the Union square, vrs from an adjacent square. either way, it played fine. The battle for the hills is about to be joined!
Beginning of turn 4, the Rebels get an "up and at em, boys!" result on the random events table and will add a +2 to their pre-charge capability test.
 |
| General Holmes rallies his men and drives them forward to assault the Yankees on the ridgeline. The 2 is a reminder of their charge capability test bonus. I love this feature! |
 |
| Meanwhile the Rebel assault on the left is starting to pick up steam. The men of the 7th Indiana and 7th Ohio are in musket range now! |
 |
| Holmes' Assault goes in! The Rebels yell their ghoulish war cry and charge the hill, bayonets glistening in the sun! They have a unit in support. |
 |
| They have 1 heavy casualty marker, but the Union pre-charge fire, while passing their cap test, is totally ineffective! 4 dice yielding no results! They're going to take the full brunt of the Louisianians' charge! |
 |
| Another unit, the 8th Louisiana, in support. |
 |
| On the Union Right, the men of the 7th Indiana can see the whites of the rebel eyes now! This is it, men! |
 |
| dramatic photo |
 |
| Ohio Infantry of 1st Brigade fire on the Rebels as they cross Mill Creek. The fight is about to heat up along the entire line! Where the hell is General Schenk and the 3rd Brigade??? |
 |
| hard fighting! |
I had to stop playing at the bottom of turn 4. The Rebels are about to enter close combat with the Yankee troops atop the hill, and combat will break out along the entire line very soon.
Wow what a great game so far! I cannot wait to play the rest of the turns. Without reinforcements, I'm not sure the Union will be able to hold out but you never know. There have been many reversals of fortune already, between the Confederate artillery arrving late (failed capability test to carry out their unlimbering action) terrain slowing down the Rebels (confusion played against a Regiment) and other Rebel units failing to rally, you never know what will happen. one thing is certain, it's a nail-biting Union defense of their position, and Two Flags-One Nation have been a great set of rules to fight it out with.
They have been simple enough for me to catch on quickly, and I love the ebb and flow of how the battle unfolds. The random events also add some great uncertainty and period flavor. I truly hope Norm gives the AWI and Napoleonic period the same treatment. He has really captured the imagination with these rules and done his homework. Stay tuned for Part II coming....soon?


Great post - and nice comment at the end; I was thinking how applicable these mechanisms would be for AWI too.
ReplyDeleteDarren the whole game i was thinking how perfect these rules would be for the AWI.
DeleteRiveting action, Steven! Having tried this scenario a few times, your play is very familiar. If the Federals dally in bringing on reinforcements, the Rebels have a good shot at victory. If they come in too early, the Rebels have a devil of a time.
ReplyDeleteYour Rebels made good progress against both the hill and river line. I am rarely that lucky. Using the Rebel left in a flanking maneuver to cross the creek has been my best tactic in driving the Federals from their positions.
Looking forward to the conclusion.
Cheers Jonathan. The yankees have been pretty unlucky so far but the terrain has helped greatly in slowing down johnny reb. Plus the entire union roght have smoothbore muskets! Cant wait to play through the rest of the game.
DeleteSteve, again, thanks for giving these rules table time and for putting so much effort into a superbly presented AAR. I can hear the sound of Union boots (3rd Brigade approaching), though the Confederate still seem to be in relatively good condition and may be able to hold their own against the fresh troops arriving! Your table looks lovely.
ReplyDeleteNo problem Norm the game has been much fun, tense, and challenging. I like this latest edition much better than the first edition! Some reinforcements will be necessary if the yanks are to hold on, i think. The ohio troops on the hill have well supported, fresh regiments in front of them.
DeleteThank you for your kind words about the table. I feel it's a good compromise without me having to use a hex mat. Much more pleasing to the eyes to use the squares in this case.
Wait until you see what i have planned for the TaM "37th Guards" game! :)
Thanks for the post; I enjoyed the write up!
ReplyDeleteHi. First time commenting, but I've been reading for awhile. I noted your liking Neil Thomas' WWII rules. I've played Battlefront, but find it slow going. Which set do you prefer, and why?
ReplyDeleteThanks, Mark